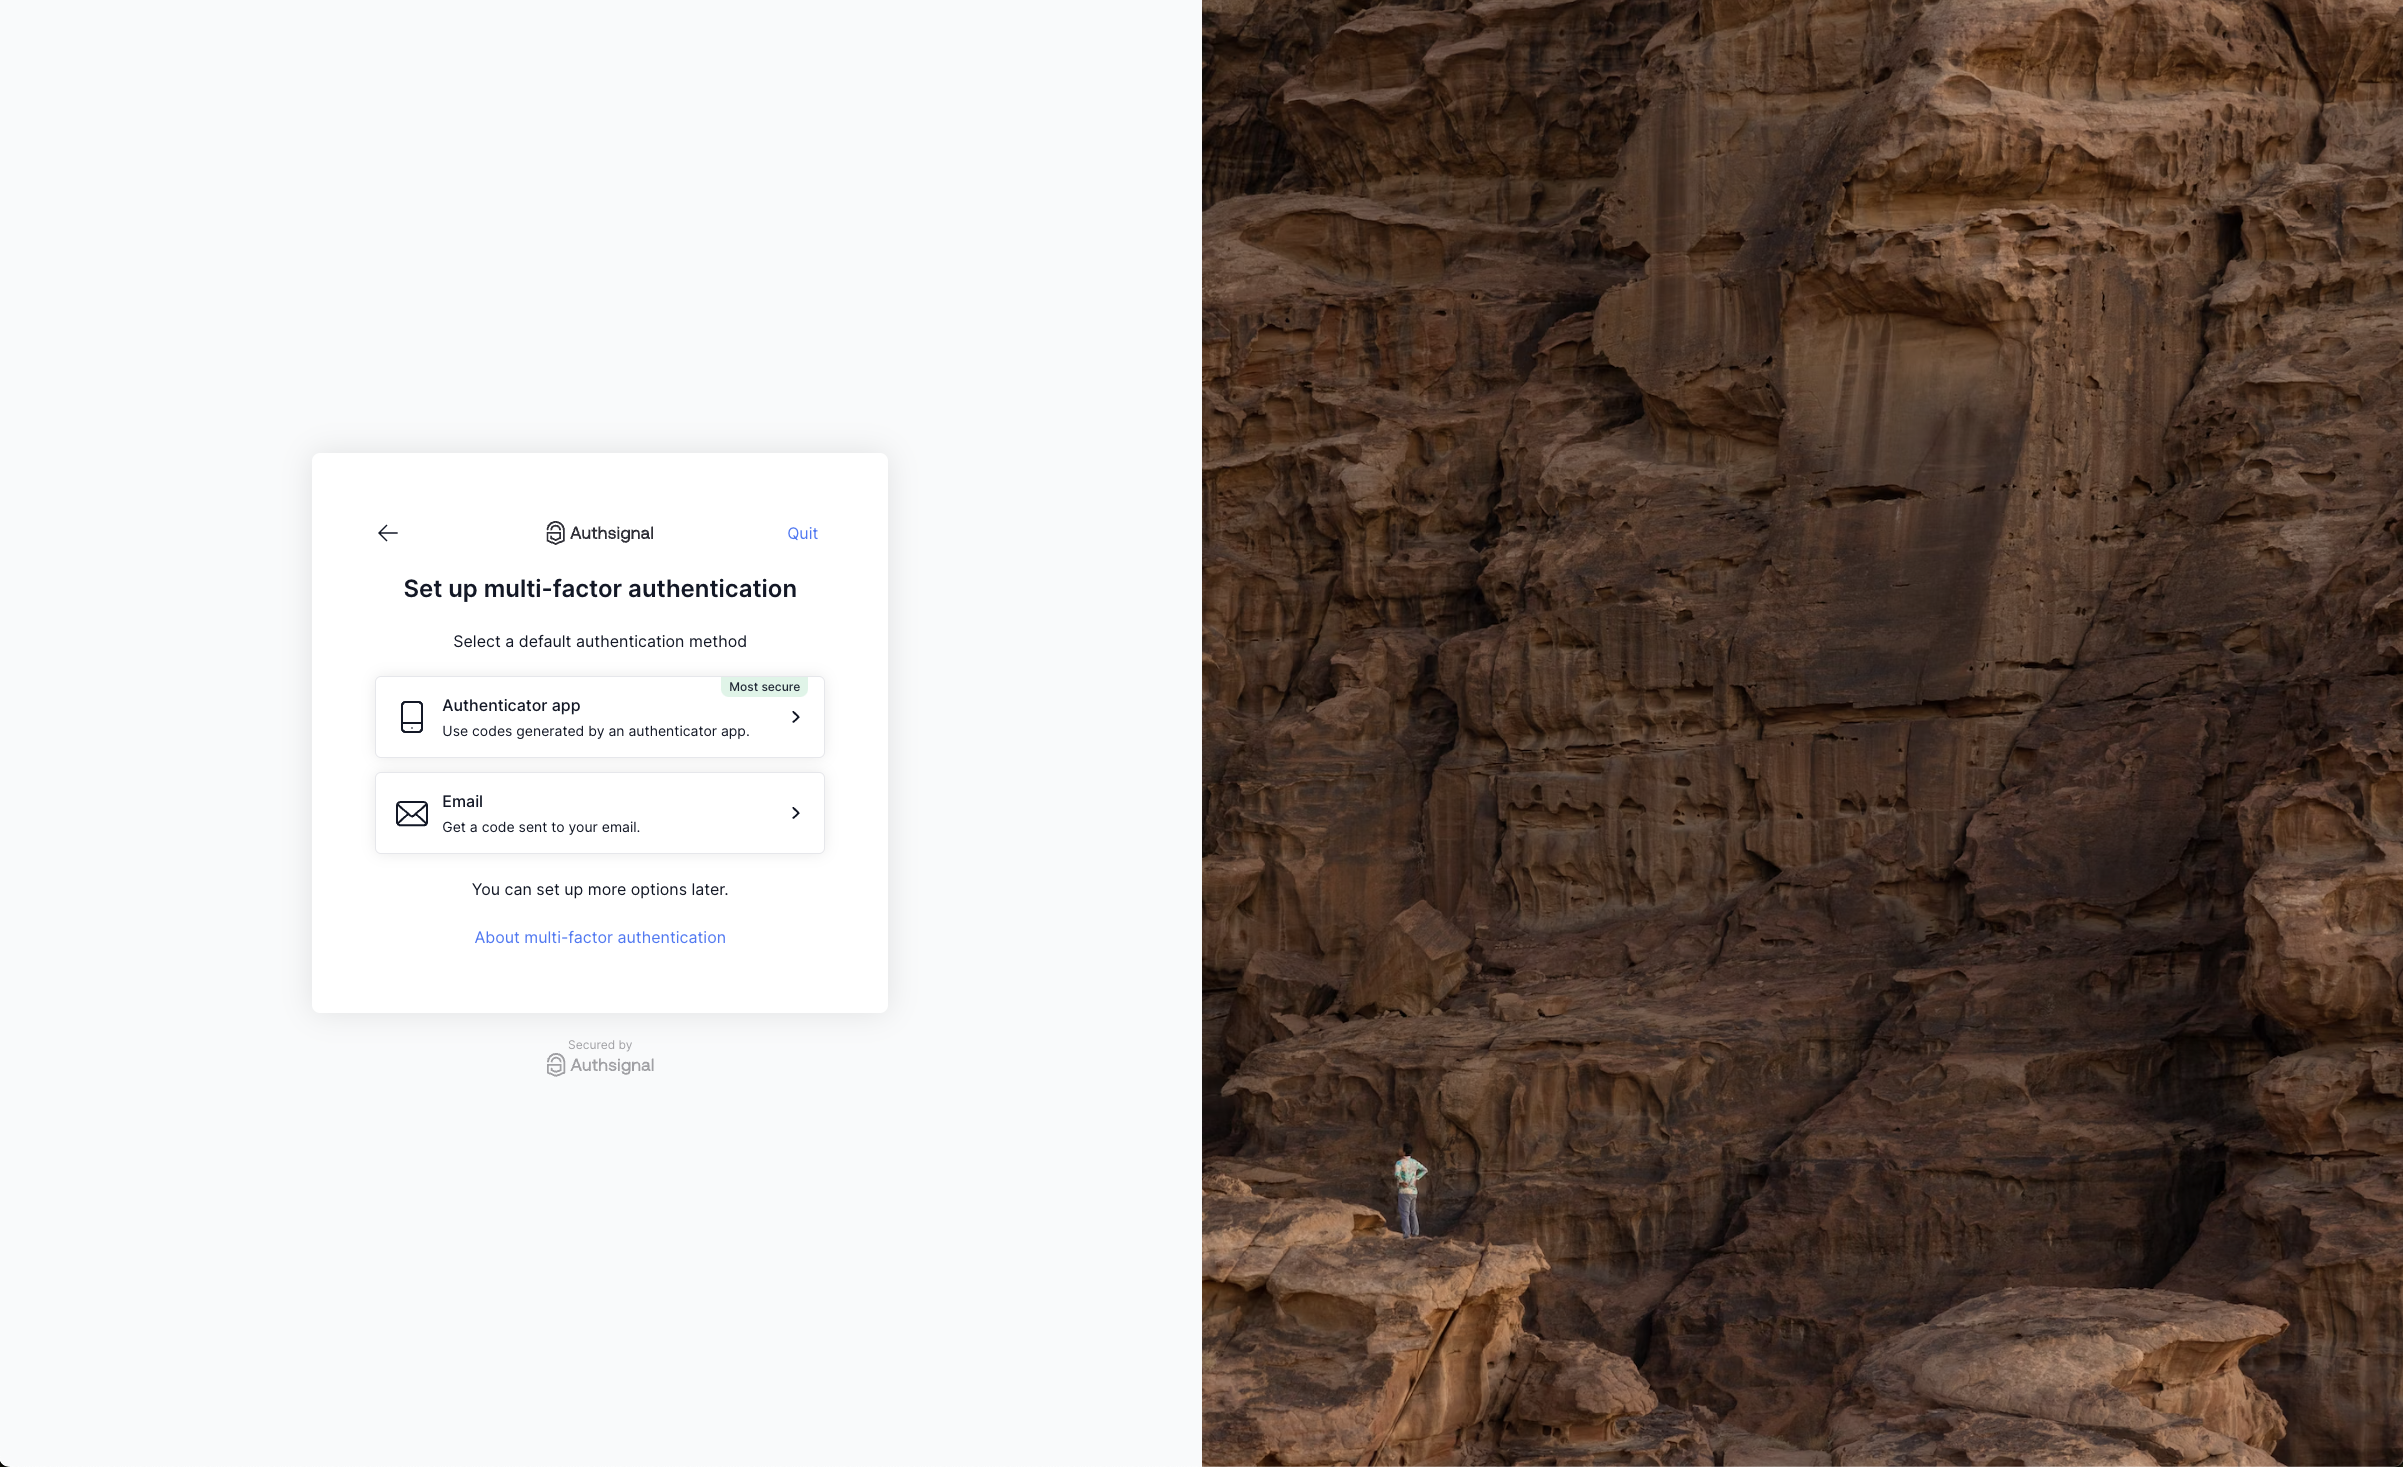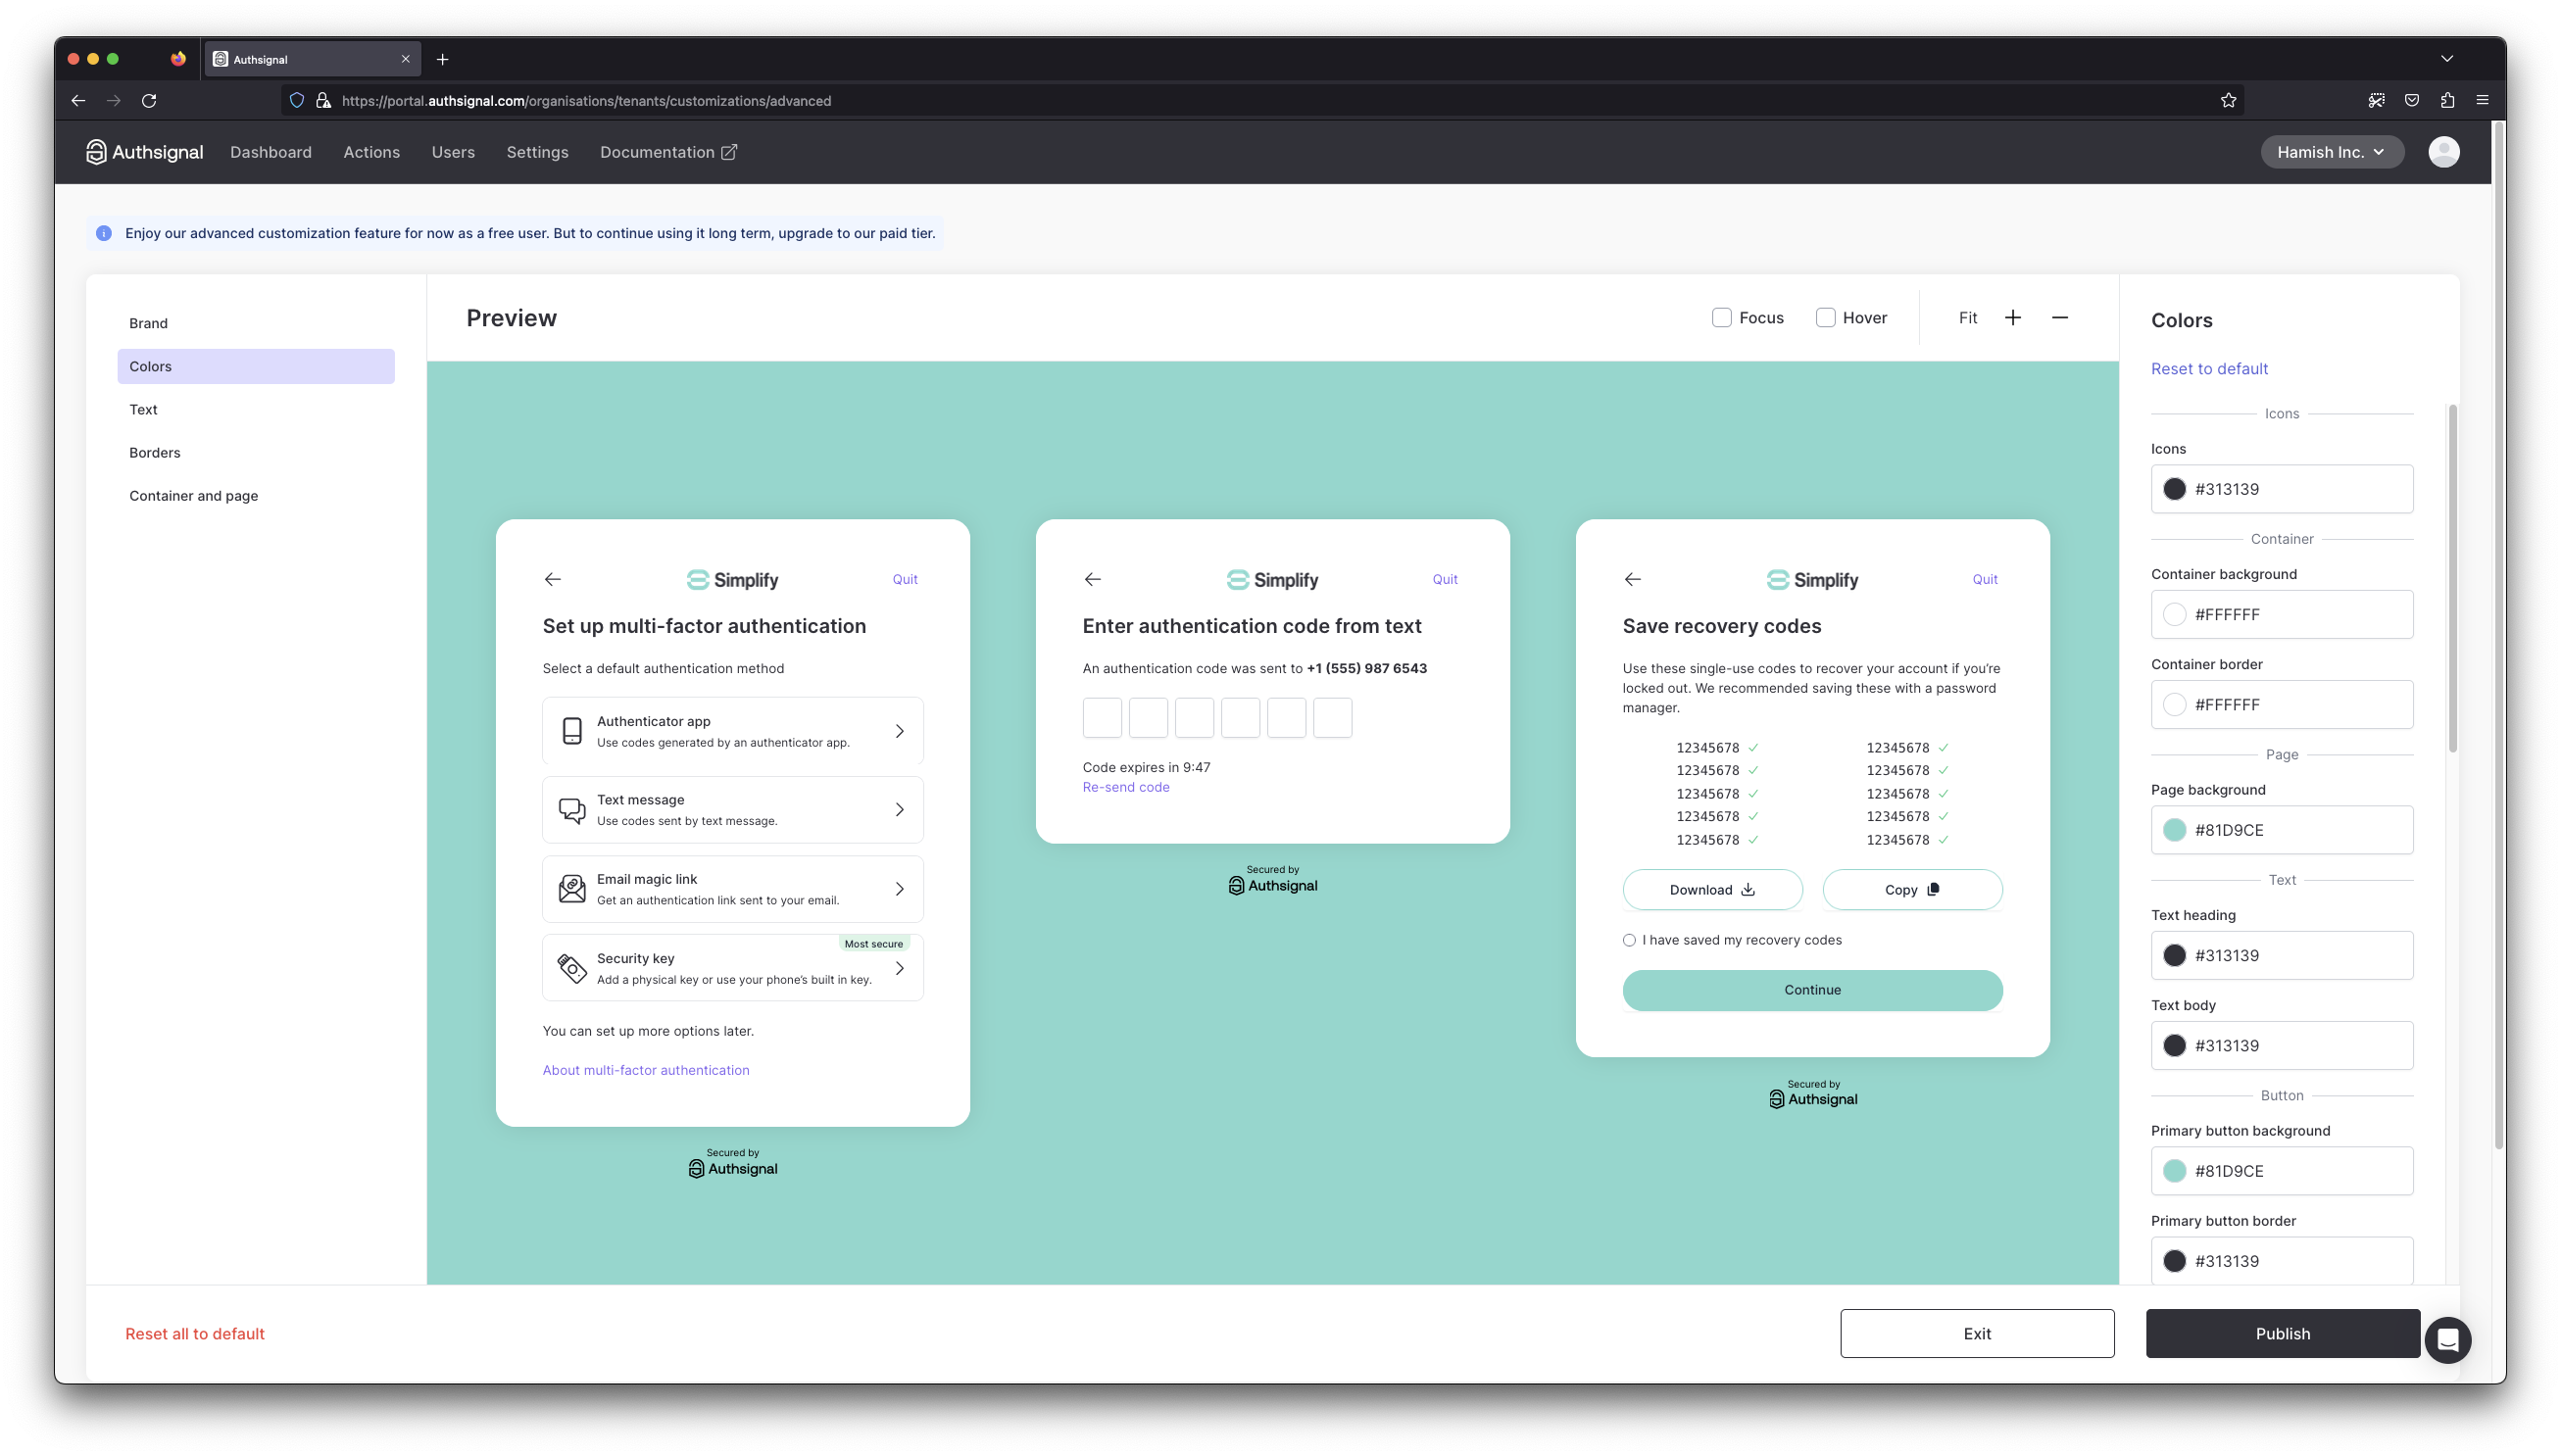
The advanced customization tool provides a preview of various pre-built UI screens.
Custom fonts
Set a custom font in the customization tool, under the Text tab. It applies to all text in the pre-built UI. A font is one or more font files, each with a weight; the live preview shows exactly how they render.Hosting your font files
Each file is awoff or woff2 served from your own hosting. Your server must allow cross-origin requests from the domains that serve the pre-built UI via an Access-Control-Allow-Origin header. Without it, browsers block the font and the pre-built UI falls back to its default font.
The preview loads font files from the portal’s origin, so a file that only allows your production
domains can fail in the preview yet work in the pre-built UI.
How font weights resolve
The pre-built UI uses three weights:
You don’t need a file for every weight. A weight with no file uses the nearest file you have. With a single Regular (400) file, buttons and labels look the same as body text.
If no file is 600 or heavier, the browser approximates headings by thickening your heaviest file. Add a Semibold (600) or Bold (700) file to use your font’s own letterforms instead.
If you supply one file, make it the Regular (400): it carries most of the text.
Variable fonts
A variable font is one file containing every weight. Choose All weights (variable font) as its weight; left at a single weight, only that weight is used and heavier weights are approximated.A different font for headings
Select Use a different font for headings. Headings use weight 600, so a single Semibold (600) file is enough.Custom templates
To override the pre-built UI’s layout you can provide a custom template. Custom templates, at a bare minimum, must contain the following structure.Adding custom HTML/CSS
Using a custom template allows you to add your own HTML/CSS. For example, if you wanted to show an image next to the pre-built UI you could use the following template: