Portal setup
- Navigate to the passkey setup wizard in the Authsignal Portal.
- Select I’m building my own UI.
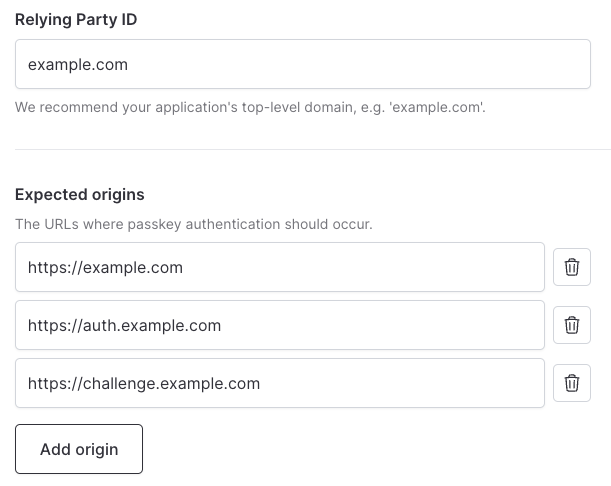
- Enter your primary domain. This needs to match the domain where your app is hosted (e.g.
example.com). Click Continue. - If your app includes any subdomains then you can whitelist these by adding expected origins.
SDK setup
Passkeys require integration from your backend server and your web frontend.- Get your tenant’s credentials from the API keys page.
- Follow the setup instructions for one of our Server SDKs - or integrate via REST with our Server API.
- Follow the setup instructions for our Web SDK.
Creating passkeys
In Authsignal, you define an action to let users create passkeys. This does two things:- It provides observability for all passkey creation events in the Authsignal Portal.
- It ensures that the passkey is securely bound to an existing user.
1. Backend - Generate token
In your backend, track an action using a Server SDK to generate a short-lived enrollment token.2. Frontend - Create passkey
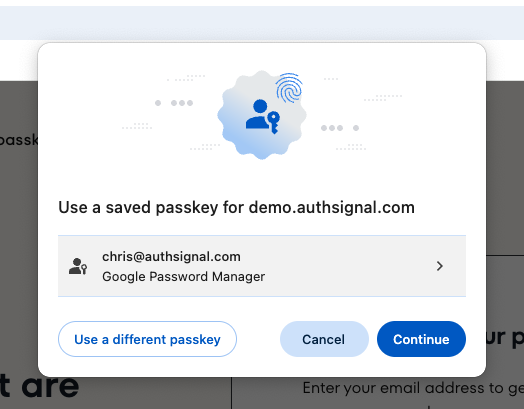
In your app, call the signUp method using the Web SDK, passing the token generated in step 1.Authenticating with passkeys
You can define another action to let users authenticate with their passkeys. This action will be used for observability and to authenticate the user on the server.1. Frontend - Sign in with passkey
In your app, call the signIn method using the Web SDK.2. Backend - Validate action
Pass the token returned in the previous step to your backend, validating the result of the authentication server-side.Using autofill
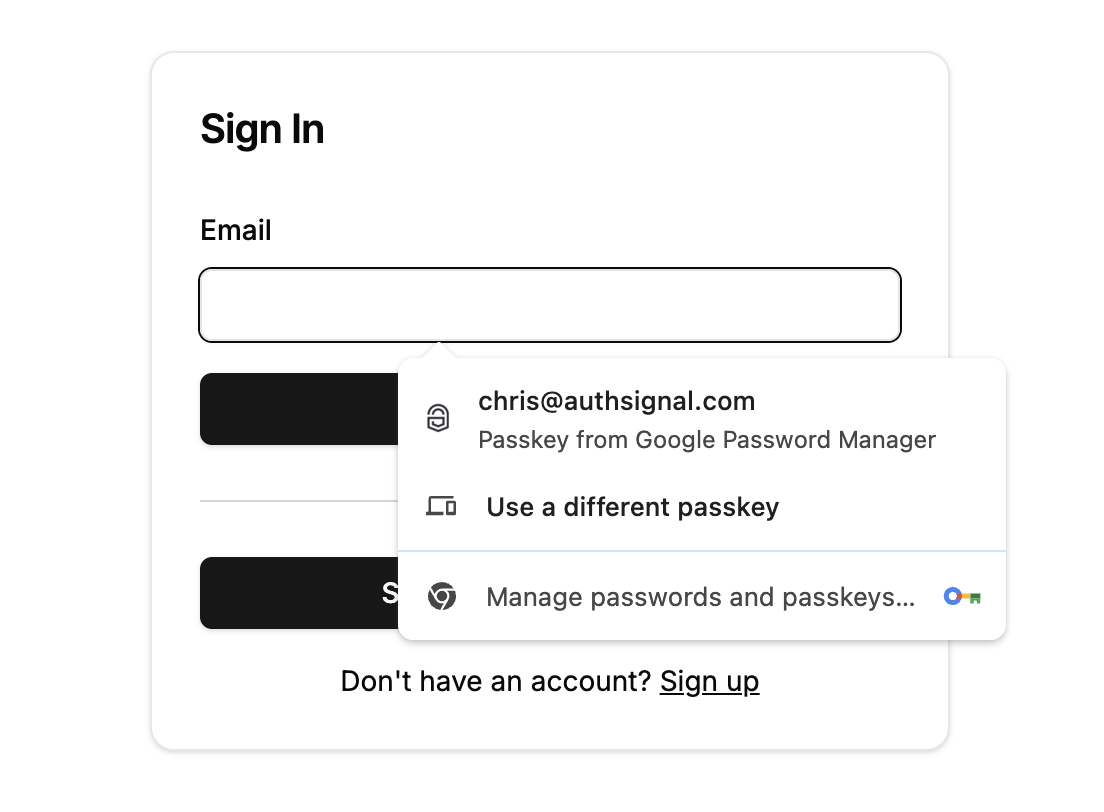
1. Frontend - Enable passkey autofill
In your app’s frontend, call the signIn method after the page loads using the Web SDK and set the autofill parameter to true.2. Backend - Validate action
Pass the token returned in the previous step to your backend, validating the result of the authentication server-side.Local development
For local development we recommend creating a separate tenant. Set your Relying Party ID tolocalhost for this tenant and add an expected origins entry which includes the port where your development server is running.
