- Recovery flows for when a user doesn’t have a passkey available.
- Uplift flows to accelerate passkey adoption.
- Advanced controls for customizing the passkey experience.
Setup
To set up passkeys for your tenant, head to the passkey setup wizard in the Authsignal Portal. When asked to choose your implementation approach, select I’m using Authsignal’s pre-built UI.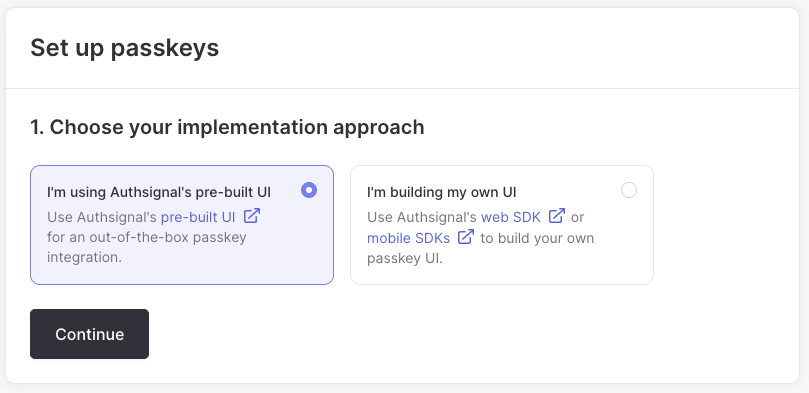
Set up a custom domain
If you do not already have a custom domain, you will be prompted to add one.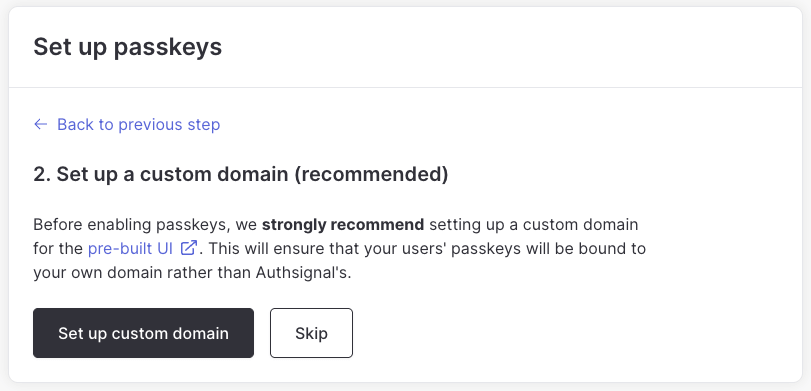
It is strongly recommended to use a custom domain for your passkey implementation.
Choose recovery methods
To avoid a user being locked out of their account if they don’t have a passkey available, we strongly recommend setting up recovery methods. If enabled, a user has to have at least one recovery method enrolled before they can create a passkey.
Uplifting users to passkeys
The uplift flow is how a user without a passkey adds one. It’s the equivalent of an “add a new passkey” flow, optimized for passkey adoption. To accelerate adoption, Authsignal will automatically prompt users who have enrolled a recovery method to create a passkey, including when they sign in on a new device that doesn’t have a passkey available yet.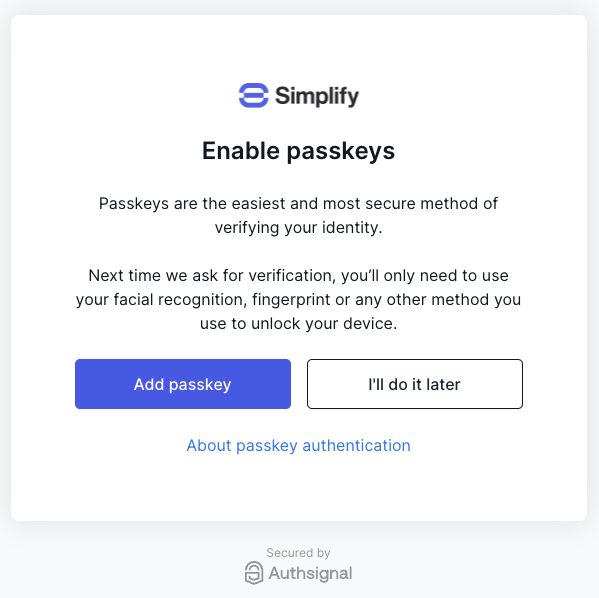
Advanced configuration
The pre-built UI comes with default settings optimized for the best passkey user experience. To customize the passkey experience, you can configure the following settings:- Authenticator attachment: Control which categories of authenticators can be used to create passkeys.
- Platform: How the user unlocks their device (e.g. Touch ID, Face ID).
- Cross-platform: Security keys or external devices via a QR code.
- Registration hints: Communicate hints to the browser to help it determine the best authenticator to use during passkey creation.
- Client device: Platform authenticators built into the device e.g. Touch ID, Face ID or passcode.
- Security key: External security keys and hardware tokens.
- Hybrid: Cross-device authenticators like smartphones.
Registration hints are currently an experimental feature and may not work in all browsers. Check browser support for more information.
Using in-app browsers on iOS and Android apps
To deliver the best passkey UX on iOS and Android apps we recommend using our Mobile SDKs. However, if you need to launch the pre-built UI inside an app-based browser then passkeys are also supported under the following conditions:- If using Android Custom Tabs then passkeys will work in the pre-built UI with no additional steps required.
- If using SFSafariViewController or ASWebAuthenticationSession on iOS then passkeys will work in the pre-built UI with no additional steps required.
- If using an embedded webview on iOS like WKWebView then passkeys will work in the pre-built UI provided you set up an associated domain. For more information on the steps required to configure your associated domain refer to the Mobile SDK documentation.
- If using an embedded webview on Android like WebView then passkeys in the pre-built UI are not supported.