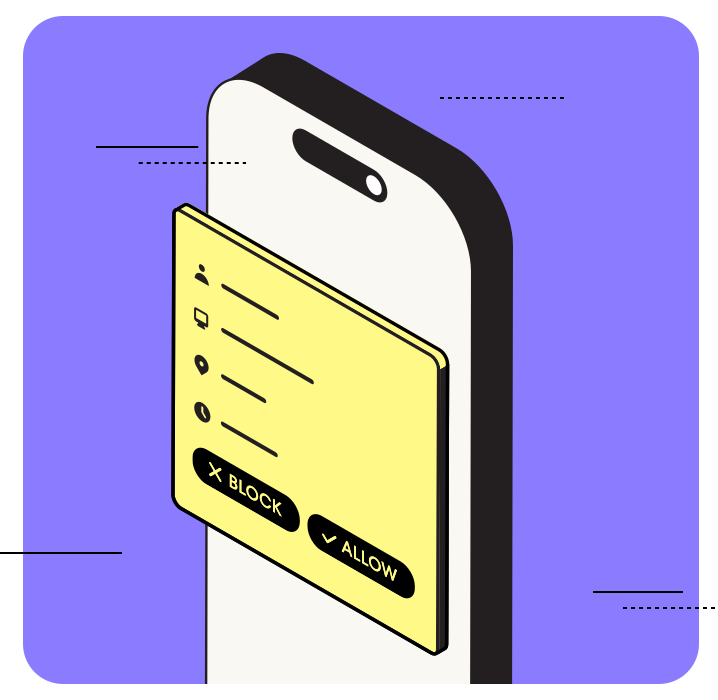
A push authentication request displayed on a mobile device.
- Enrolling a user for push verification by adding a credential in the mobile app. This step creates a new public/private key pair.
- Responding to an authentication challenge in the mobile app by approving or denying it. This step uses the mobile device’s private key to sign a message which is verified on the server using the public key.
Sequence diagram
The diagram below illustrates the sequence for a push verification challenge.Portal setup
Enable push verification for your tenant and configure a webhook endpoint for sending push notifications to your app. For more information on the payload which Authsignal sends to your webhook, refer to the webhook schema documentation for push.SDK setup
Server SDK
Initialize the SDK using your Server API secret key from the API keys page and the API URL for your region.Web and Mobile SDKs
Initialize the Web SDK and Mobile SDK using your tenant ID from the API keys page and your API URL.Enrollment
Scenario - Enroll users for push verification in your mobile app so it can be used later as a
method for adaptive MFA.
1. Generate enrollment token
In your backend, track an action for a user (e.g. “addAuthenticator”) to generate a short-lived token.2. Add credential
Use the token obtained in step 1 to enroll a new device credential for the user in the mobile app.Adaptive MFA
Scenario - Strongly authenticate users in a web browser with push verification and use rules
to decide when and where to trigger the authentication.
1. Track action
When a user performs an action that requires push verification, your backend should track an action (e.g. “signIn”) using our Server SDK.- Custom UI
- Pre-built UI
2. Initiate challenge in browser
In the browser, use our Web SDK to initiate a push challenge. This will trigger a call to your webhook with the push event schema so that it can send the user a push notification.- Custom UI
- Pre-built UI
3. Check for pending challenge in mobile app
Use the mobile SDK’s Get Challenge method to check if there is a pending challenge for the device.To display custom data points passed into the initial track request, mark the relevant custom
data points as public.
4. Present challenge in mobile app
If there is a pending challenge, present a dialog to allow the user to approve or reject the challenge. To approve or reject the challenge, use the mobile SDK’s Update Challenge method.5. Complete authentication in browser
Once the challenge is approved, the polling request initiated in the web browser in step 2 will return a token that should be passed to your web browser app’s backend to validate the action in order to complete the authentication flow.Next steps
- Adaptive MFA - Set up smart rules to trigger authentication based on risk
- QR code - Implement QR code authentication
- Trusted device - Implement trusted device authentication
- Passkeys - Offer the most secure and user-friendly passwordless authentication