Portal setup
- Navigate to Authenticators in the Authsignal Portal, find email magic link, and click Set up.
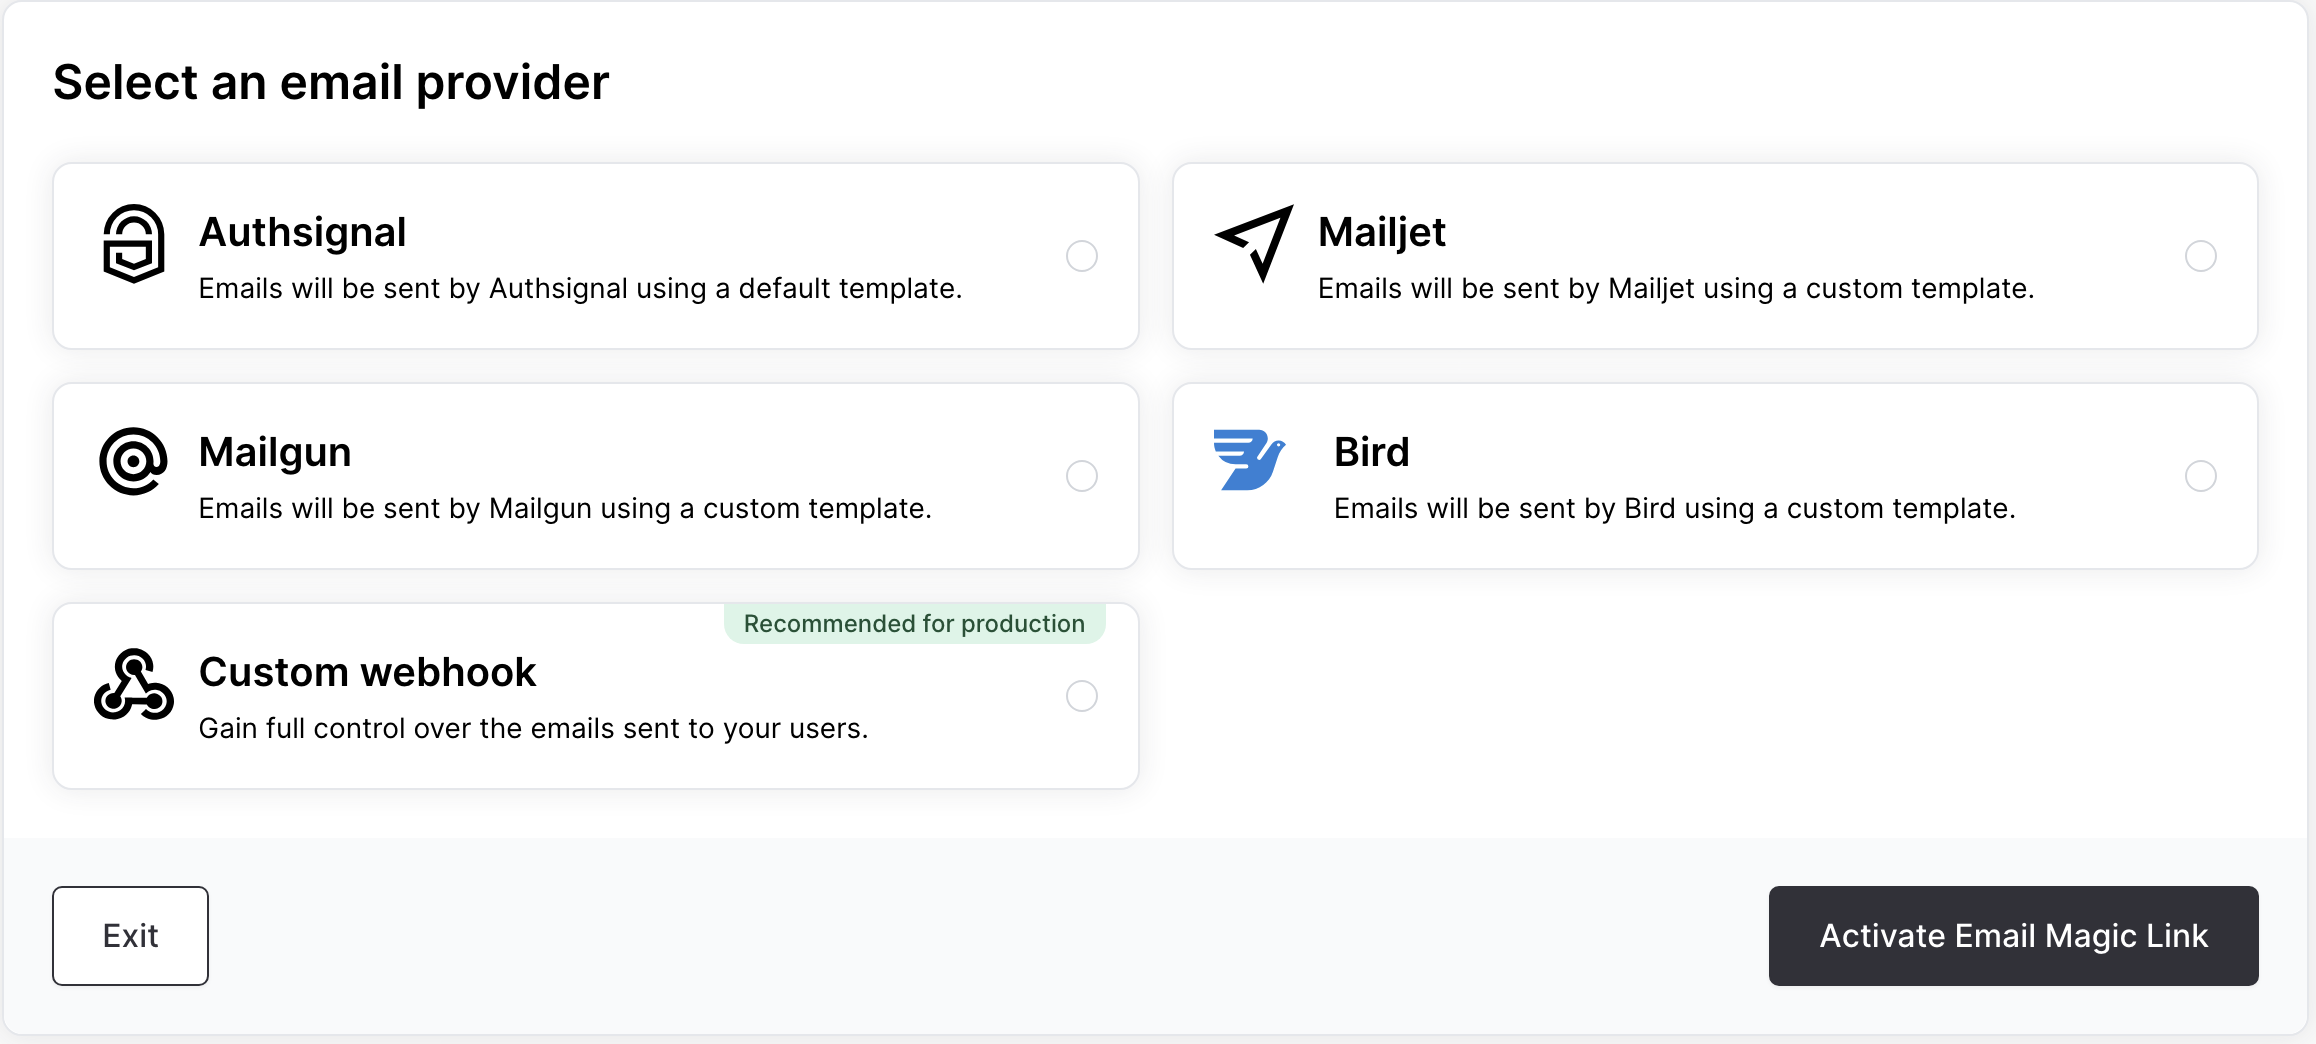
- Choose an email provider. You can choose Authsignal for development but it’s recommended to use an alternative provider in production for more control over templates and delivery.
SDK setup
Server SDK
Initialize the SDK using your secret key from the API keys page and the API URL for your region.Web SDK
Initialize the Web SDK using your tenant ID from the API keys page and your API URL.Adaptive MFA
The following steps demonstrate how to implement adaptive MFA with email magic link - either at sign-in or as step-up authentication when the user performs a sensitive action in your app (e.g. making a payment).1. Track action
Use a Server SDK to track an action in your backend. This step can apply rules to determine if a challenge is required.- Custom UI
- Pre-built UI
signIn or createPayment).
Each action can have its own set of rules.
To learn more about using rules and handling different action states refer to our documentation on actions and rules.
2. Present challenge
If the action state isCHALLENGE_REQUIRED then you can present an email magic link challenge using the Web SDK.
- Custom UI
- Pre-built UI
3. Validate action
Use the new token obtained from the client SDK to validate the action on your backend.Next steps
- Adaptive MFA - Set up smart rules to trigger authentication based on risk
- Passkeys - Offer the most secure and user-friendly passwordless authentication