Passkey autofill provides an incredibly seamless and secure way for users to sign-in using their passkey.In this guide, we will show you how to add passkey autofill to your Keycloak sign-in flow using Authsignal.When clicking on the username or password
input fields, users will be prompted to authenticate with their passkey that they added through Authsignal’s pre-built UI.
Passkey autofill.
Keycloak provider code example
The above example can be extended to meet your specific requirements.
To make things easy, we will make a few simple changes to your local development setup so that you can simulate a production environment, locally.
We will use mkcert to create a local SSL certificate and local-ssl-proxy to proxy requests to your local Keycloak server.
Replace keycloak-demo.authsignallabs.com with your domain. If using the pre-built UI, this will
differ from your Authsignal custom domain. i.e. keycloak-demo.authsignallabs.com which our demo
app uses vs keycloak-demo-auth.authsignallabs.com where the pre-built UI is running - in this
demonstration.
macOS/Linux
Windows
1
SSL Certificate Setup
brew install mkcertmkcert -installmkcert your_domain # e.g. mkcert keycloak-demo.authsignallabs.com
Take note of the path to the .pem files that are created as you’ll need them in the next steps.
2
Custom Domain to Local IP Address Mapping
Map your custom domain to your local IP address by adding the following line to your hosts file:
sudo vim /etc/hosts
Add this line:
127.0.0.1 your_domain # e.g. 127.0.0.1 keycloak-demo.authsignallabs.com
Open your browser and navigate to https://your_domain:8443 (e.g. https://keycloak-demo.authsignallabs.com:8443) which will redirect you to the admin sign-in page on your proxied https Keycloak server.
We need to add some custom code to the Keycloak sign-in page so that it can use Authsignal’s Web SDK to handle passkey autofill.Start by creating a new theme for your Keycloak instance, at the following path: themes/mytheme/login/login.ftl on your keycloak server.You can call the theme whatever you want, but for this example, we will call it mytheme.Add the following code to the login.ftl file. This code will allow autofill to work when the user clicks the username or password input fields.
webauthn has to be the last autocomplete attribute value in the list otherwise it will not work.
Create a Javascript file at themes/mytheme/login/resources/js/script.js and add the following code. This code is required to allow autofill to work when the user clicks the input.
themes/mytheme/login/resources/js/script.js
function setWebauthnAttribute() { var usernameInput = document.getElementById("username"); var passwordInput = document.getElementById("password"); const formElement = document.querySelector("form"); if (usernameInput && passwordInput) { usernameInput.setAttribute("autocomplete", "username webauthn"); // NOTE: Replace the following values with your Authsignal tenant ID and server URL var client = new window.authsignal.Authsignal({ tenantId: "YOUR_TENANT_ID", baseUrl: "https://api.authsignal.com/v1", }); client.passkey .signIn({ autofill: true }) .then((response) => { if (response) { const hiddenTokenInput = document.createElement("input"); hiddenTokenInput.type = "hidden"; hiddenTokenInput.name = "token"; hiddenTokenInput.value = response.token; formElement.appendChild(hiddenTokenInput); formElement.submit(); } }) .catch((error) => { console.log("error", error); }); }}function loadAuthsignalSdk() { var script = document.createElement("script"); script.onload = setWebauthnAttribute; script.src = "https://unpkg.com/@authsignal/browser@0.5.2/dist/index.min.js"; document.head.appendChild(script);}document.addEventListener("DOMContentLoaded", loadAuthsignalSdk);
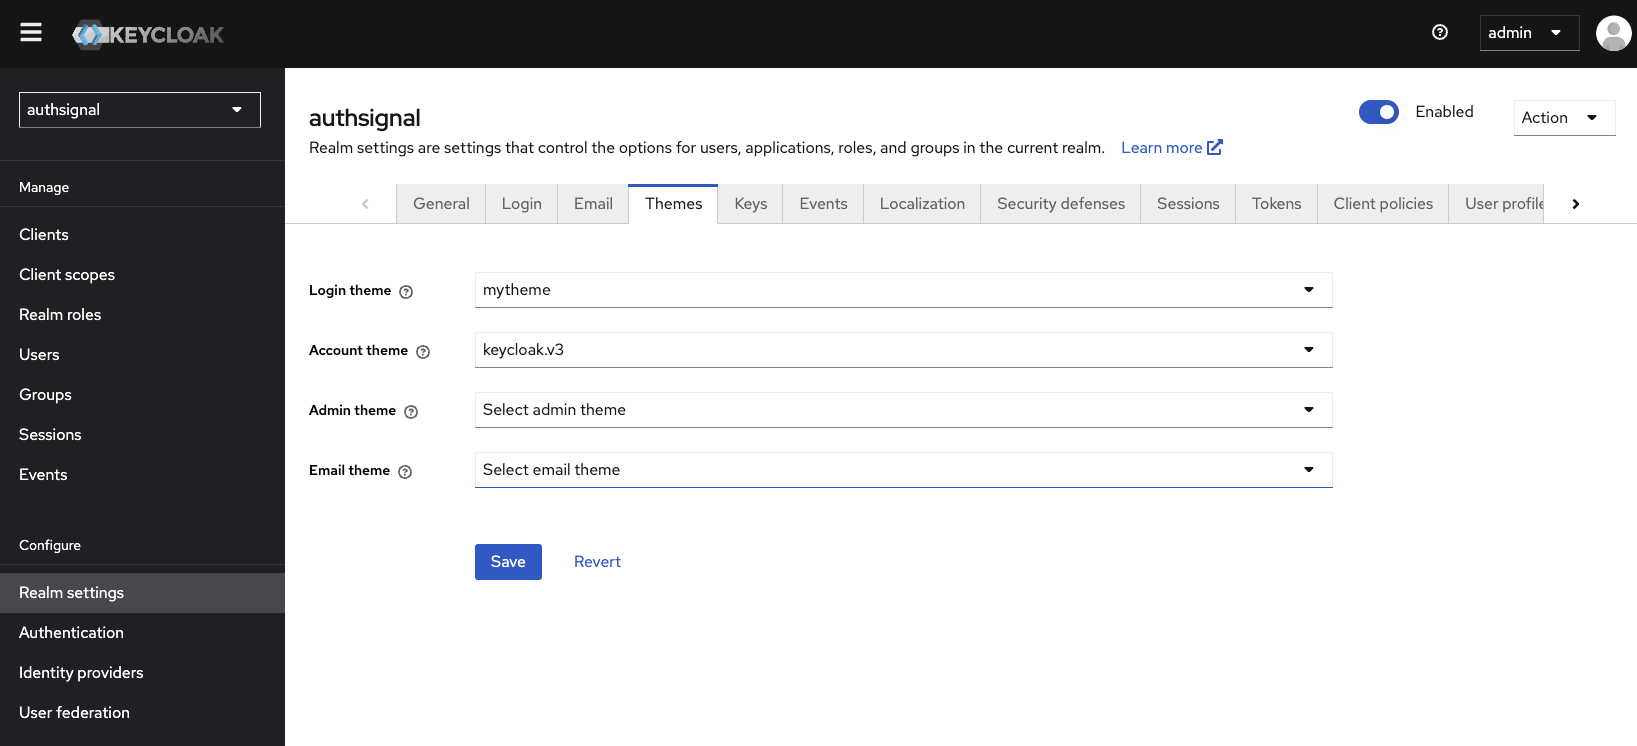
Restart your Keycloak server, and navigate to the Realm settings section in the Keycloak admin UI. Click Themes.
On the Login theme line, select mytheme and click Save.
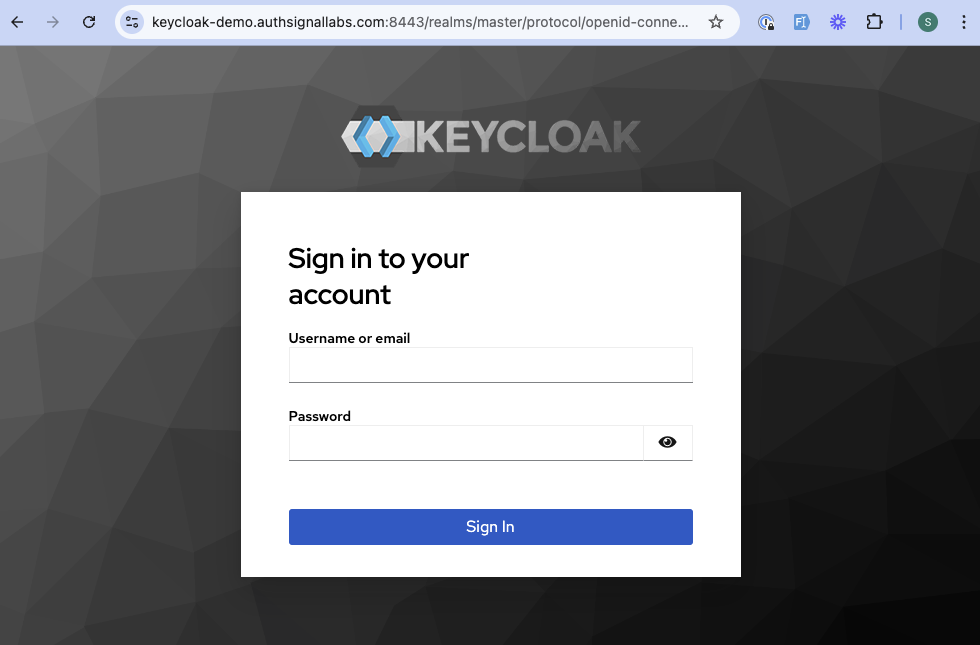
Opening the Keycloak admin sign-in page
You can style your theme by adding your own CSS to the
themes/mytheme/login/resources/css/styles.css file.
Navigate to your realm’s sign-in page and you should see the new theme.
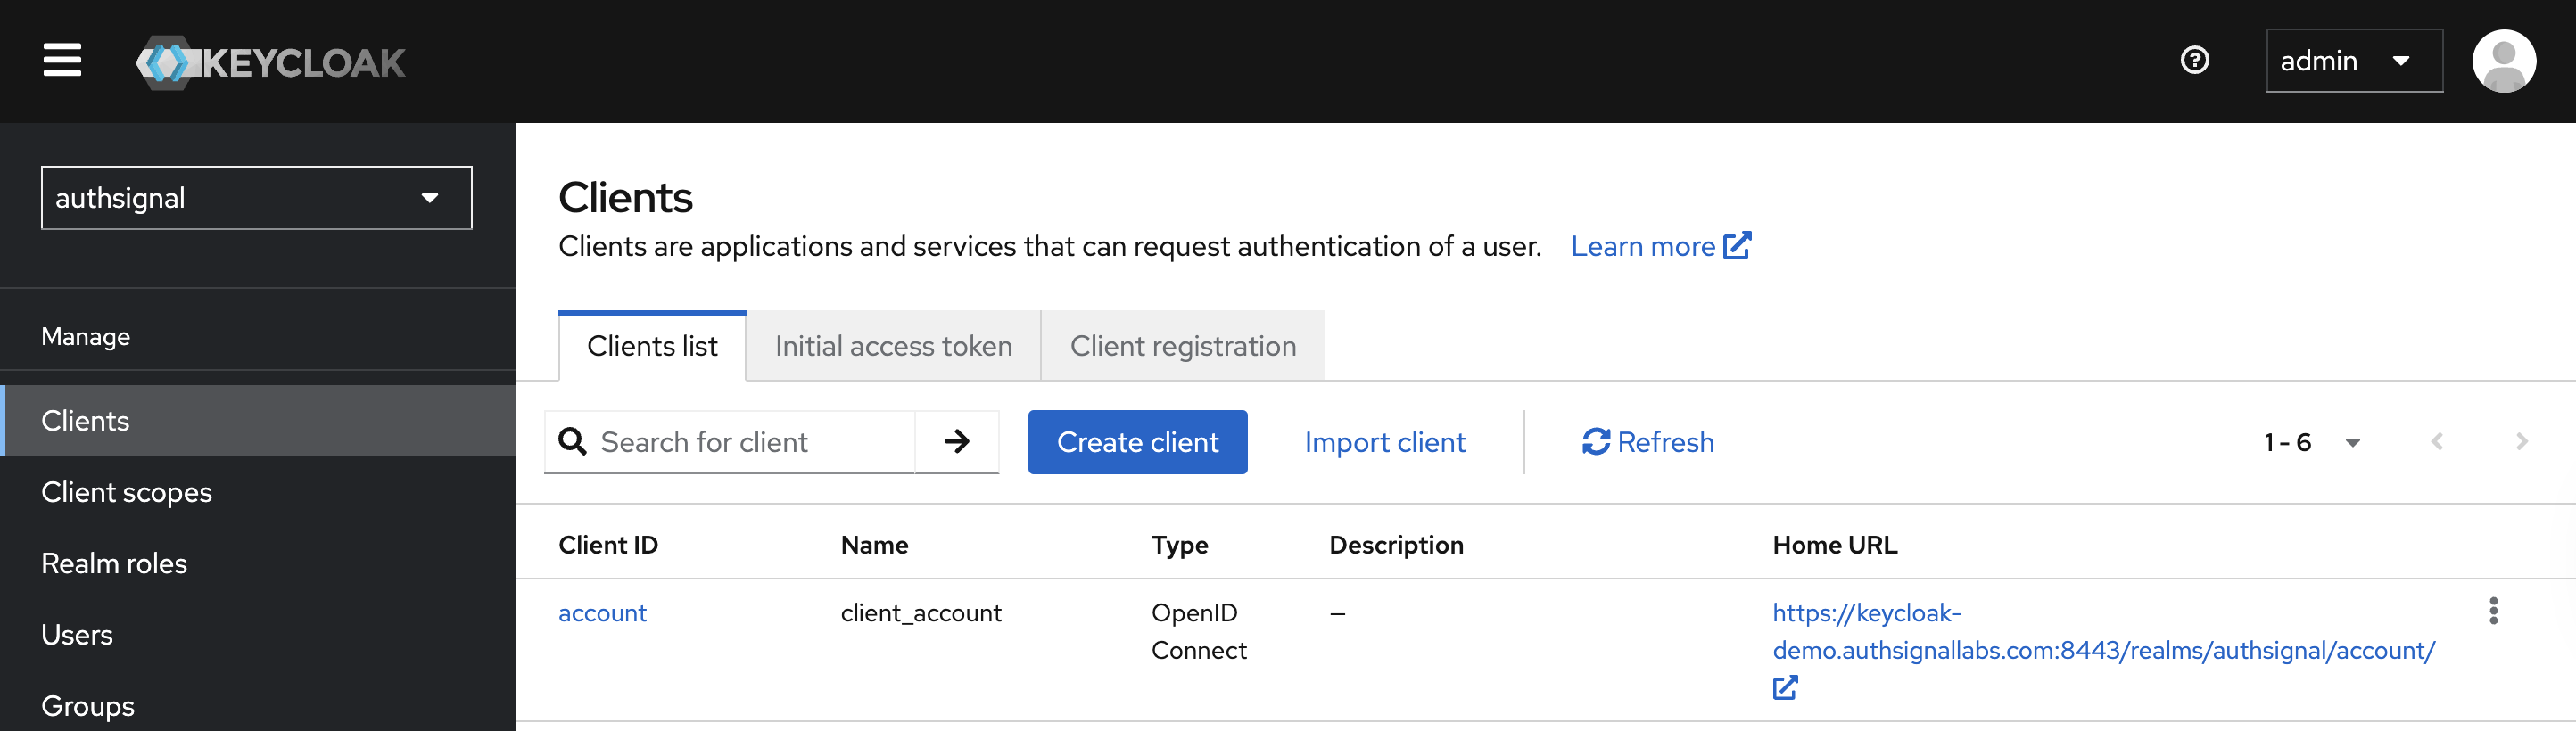
You can find your realm’s sign in page URL by selecting your realm and then navigating to the
Clients section in the Keycloak admin UI and clicking Home URL.
Before passkeys can be used on your Keycloak login page, you need to ensure that you have added your
Keycloak login page domain as an expected origin.As an example, in this demo the passkey configuration is as follows: