Overview
Duende IdentityServer is an ASP.NET Core framework for building your own login server in compliance with OpenID Connect and OAuth 2.0 standards. This guide shows how to integrate IdentityServer with Authsignal in order to add MFA after a traditional username & password flow.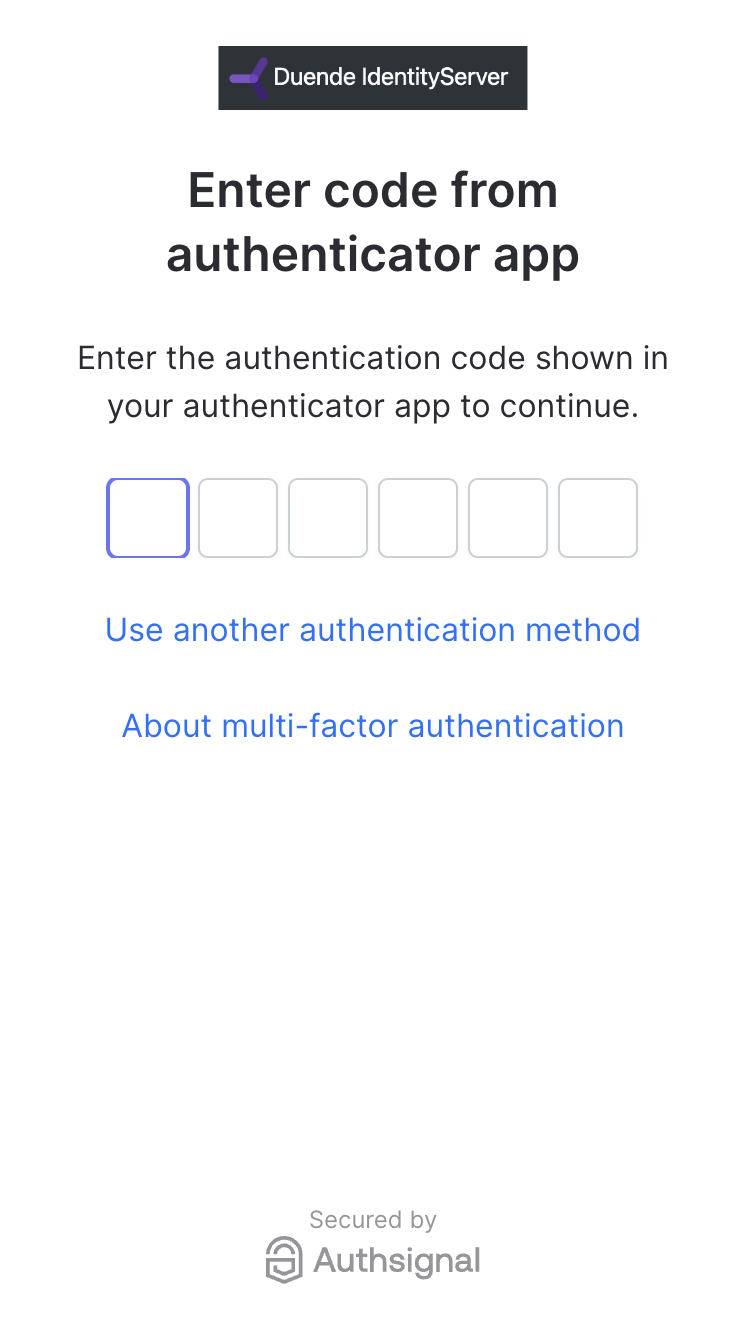
Implementing MFA with authenticator app using the Authsignal pre-built UI
- /src/IdentityServer
— the login server running on
https://localhost:5001 - /src/WebClient
— the application server running on
https://localhost:5002
Example Repository
Duende IdentityServer + Authsignal example repository.
Configuration
Enabling authenticators
For the purposes of this example, we have enabled authenticator app on our tenant in the Authsignal Portal.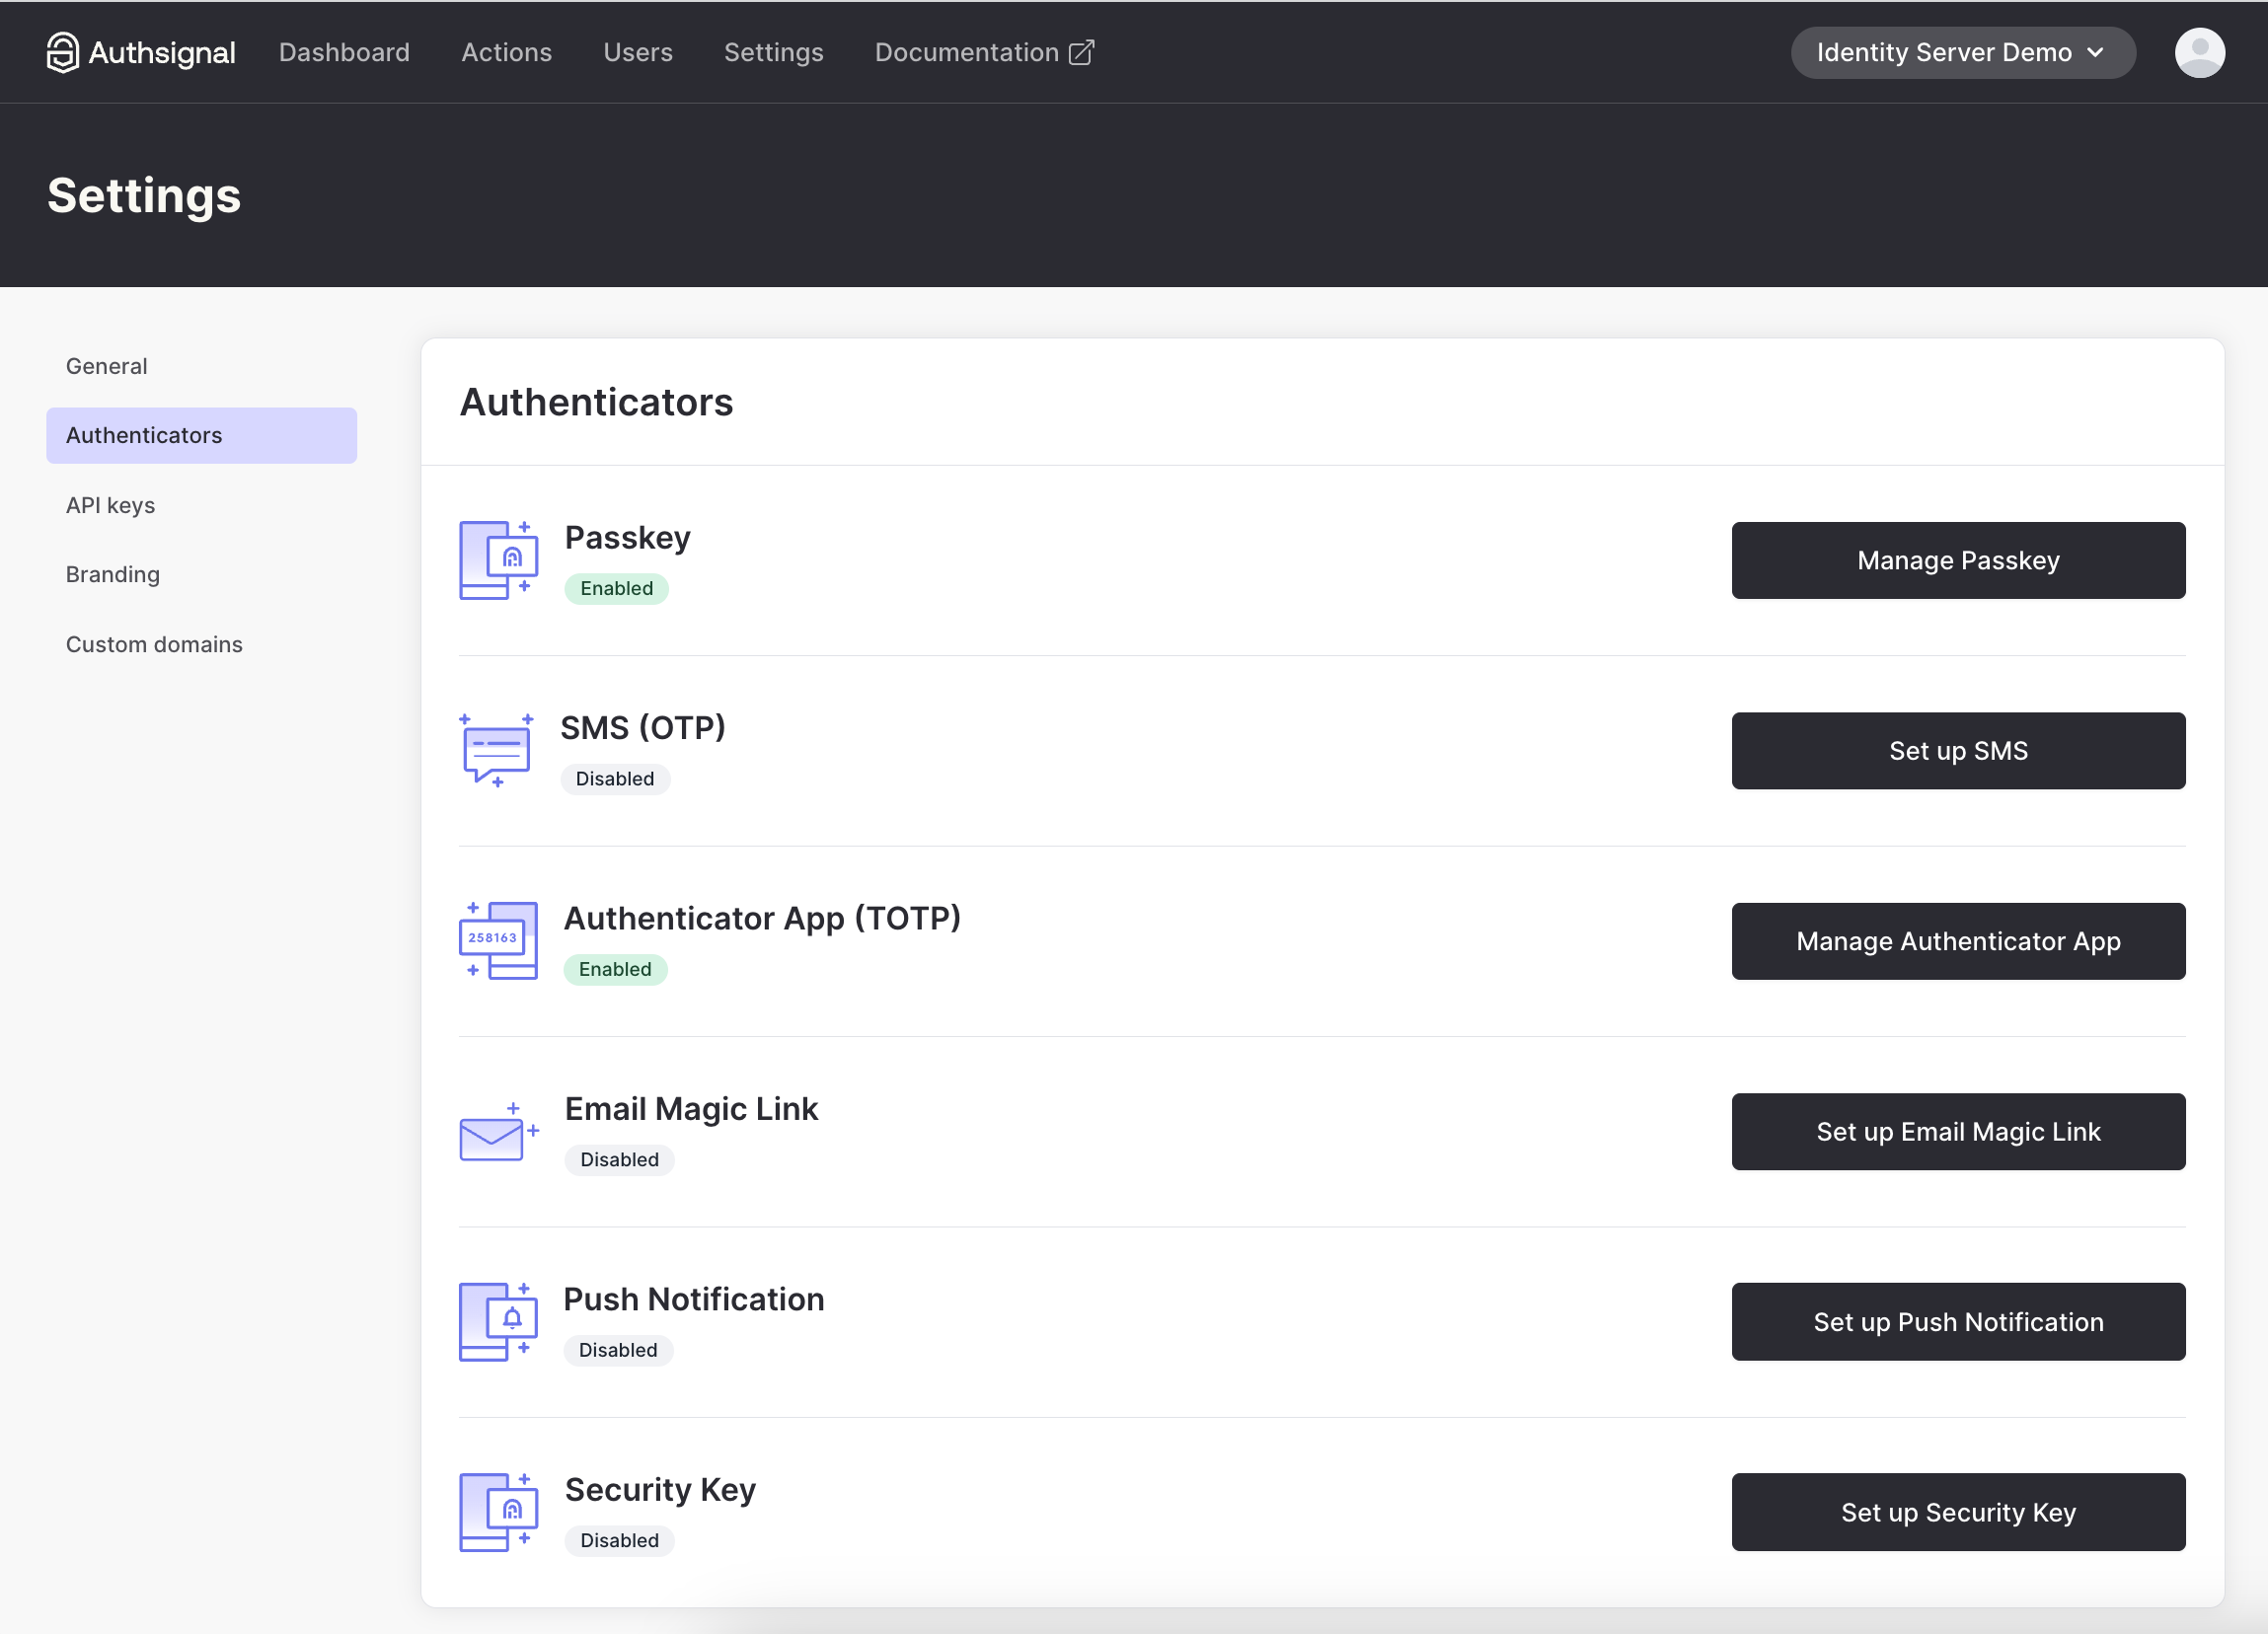
Configuring authenticators
Tenant credentials
Get your tenant’s credentials from the API keys page.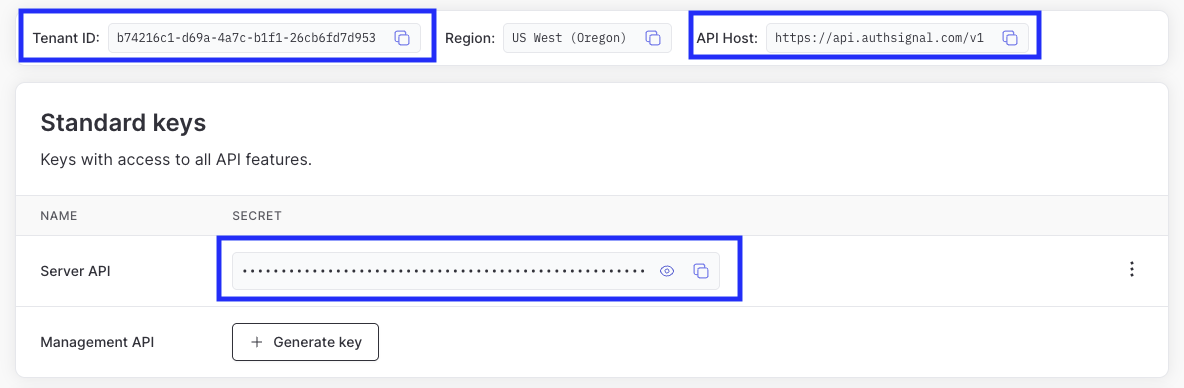
AuthsignalUrl to your API host and AuthsignalSecret to your Server API secret key.
appsettings.json
tenantId to your Tenant ID and baseUrl to your API host.
login.js
Adding MFA on login
The quickest way to add MFA to IdentityServer is to use Authsignal’s pre-built UI. We will redirect the user here after validating their username and password.MFA challenge via Authsignal pre-built UI
Authsignal’s pre-built UI can be highly
customized to align with your login server’s
existing branding.
Initiating the MFA challenge
To initiate an MFA challenge using the pre-built UI, we can track an action and use the URL that is returned. /src/IdentityServer/Pages/Account/Login/Index.cshtml.csRedirectUrl we pass to the track request here will be a callback endpoint that we will add to IdentityServer to validate the result of the MFA challenge.
Validating the MFA challenge
Once the user has been redirected back to IdentityServer, we need to validate the result. We do this by implementing a callback page which uses the token that Authsignal’s pre-built UI appends as a URL query param when redirecting the user back to IdentityServer. This token is used to lookup the result of the challenge server-side. /src/IdentityServer/Pages/Account/Login/Callback.cshtml.csRestricting MFA to authenticator apps
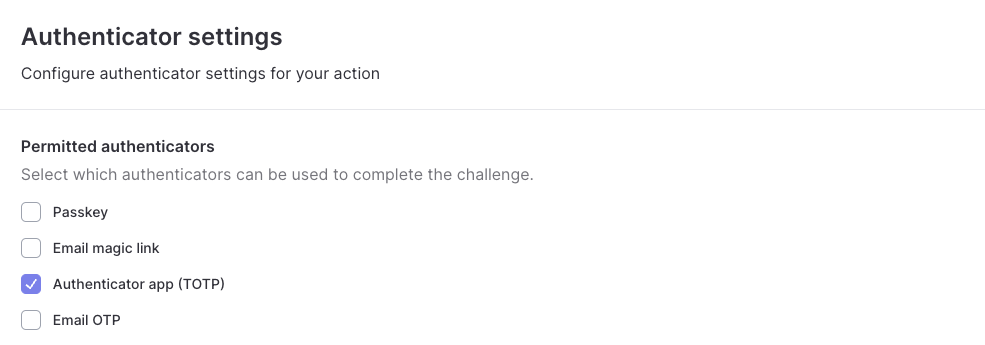
By default all authenticators which have been configured will be available to use on the pre-built UI, including passkeys. We only want to allow users to use authenticator apps for MFA. To achieve this we can go to the Settings tab of ouridentity-server-login action and update the permitted authenticators.