How to test your rules
1. Start a test action
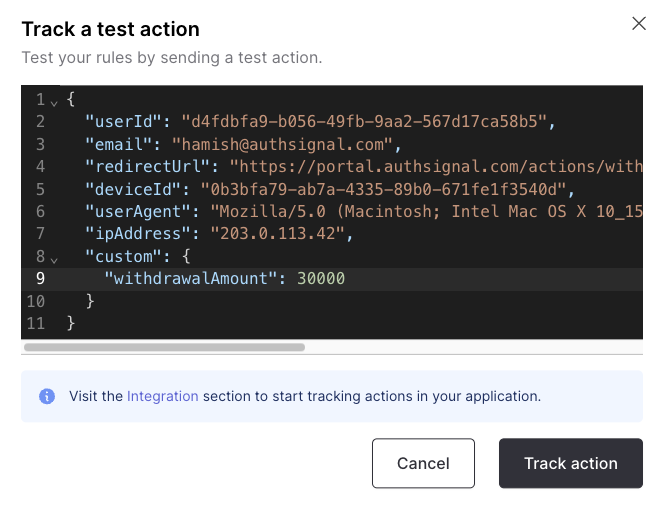
Go to the Latest activity tab of your action and click Track a test action button.
2. Add test data
A dialog will popup with default values foruserId, email, deviceId, userAgent, and ipAddress. You can change these to test different scenarios.
If you’re using a custom data points, you can add them here too .
3. Track the action
Click Track action and you will see a breakdown of the action response.
Understanding test results
When you track a test action with our Withdrawing high amount of funds rule, you should see that the action state is Challenge required.What happens next?
If the user hasn’t enrolled any authenticators yet, they’ll be directed to an enrollment page first, then proceed with the challenge. Click the Pre-built UI enrollment URL to set up authentication methods. Once the user has enrolled authenticators, they’ll be able to complete the challenge to proceed with the action.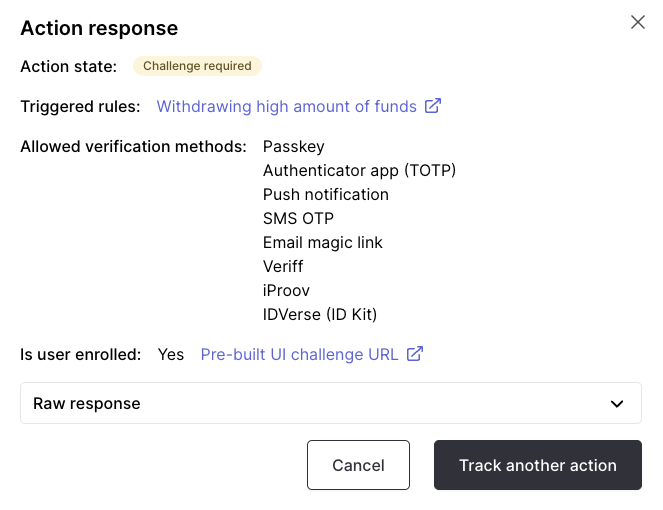
View the action details
If you want to see a full breakdown of a user action, refresh the page and you should see the test action you just created in the Latest activity table. ClickView details to see the full breakdown of the action.

