Integration steps
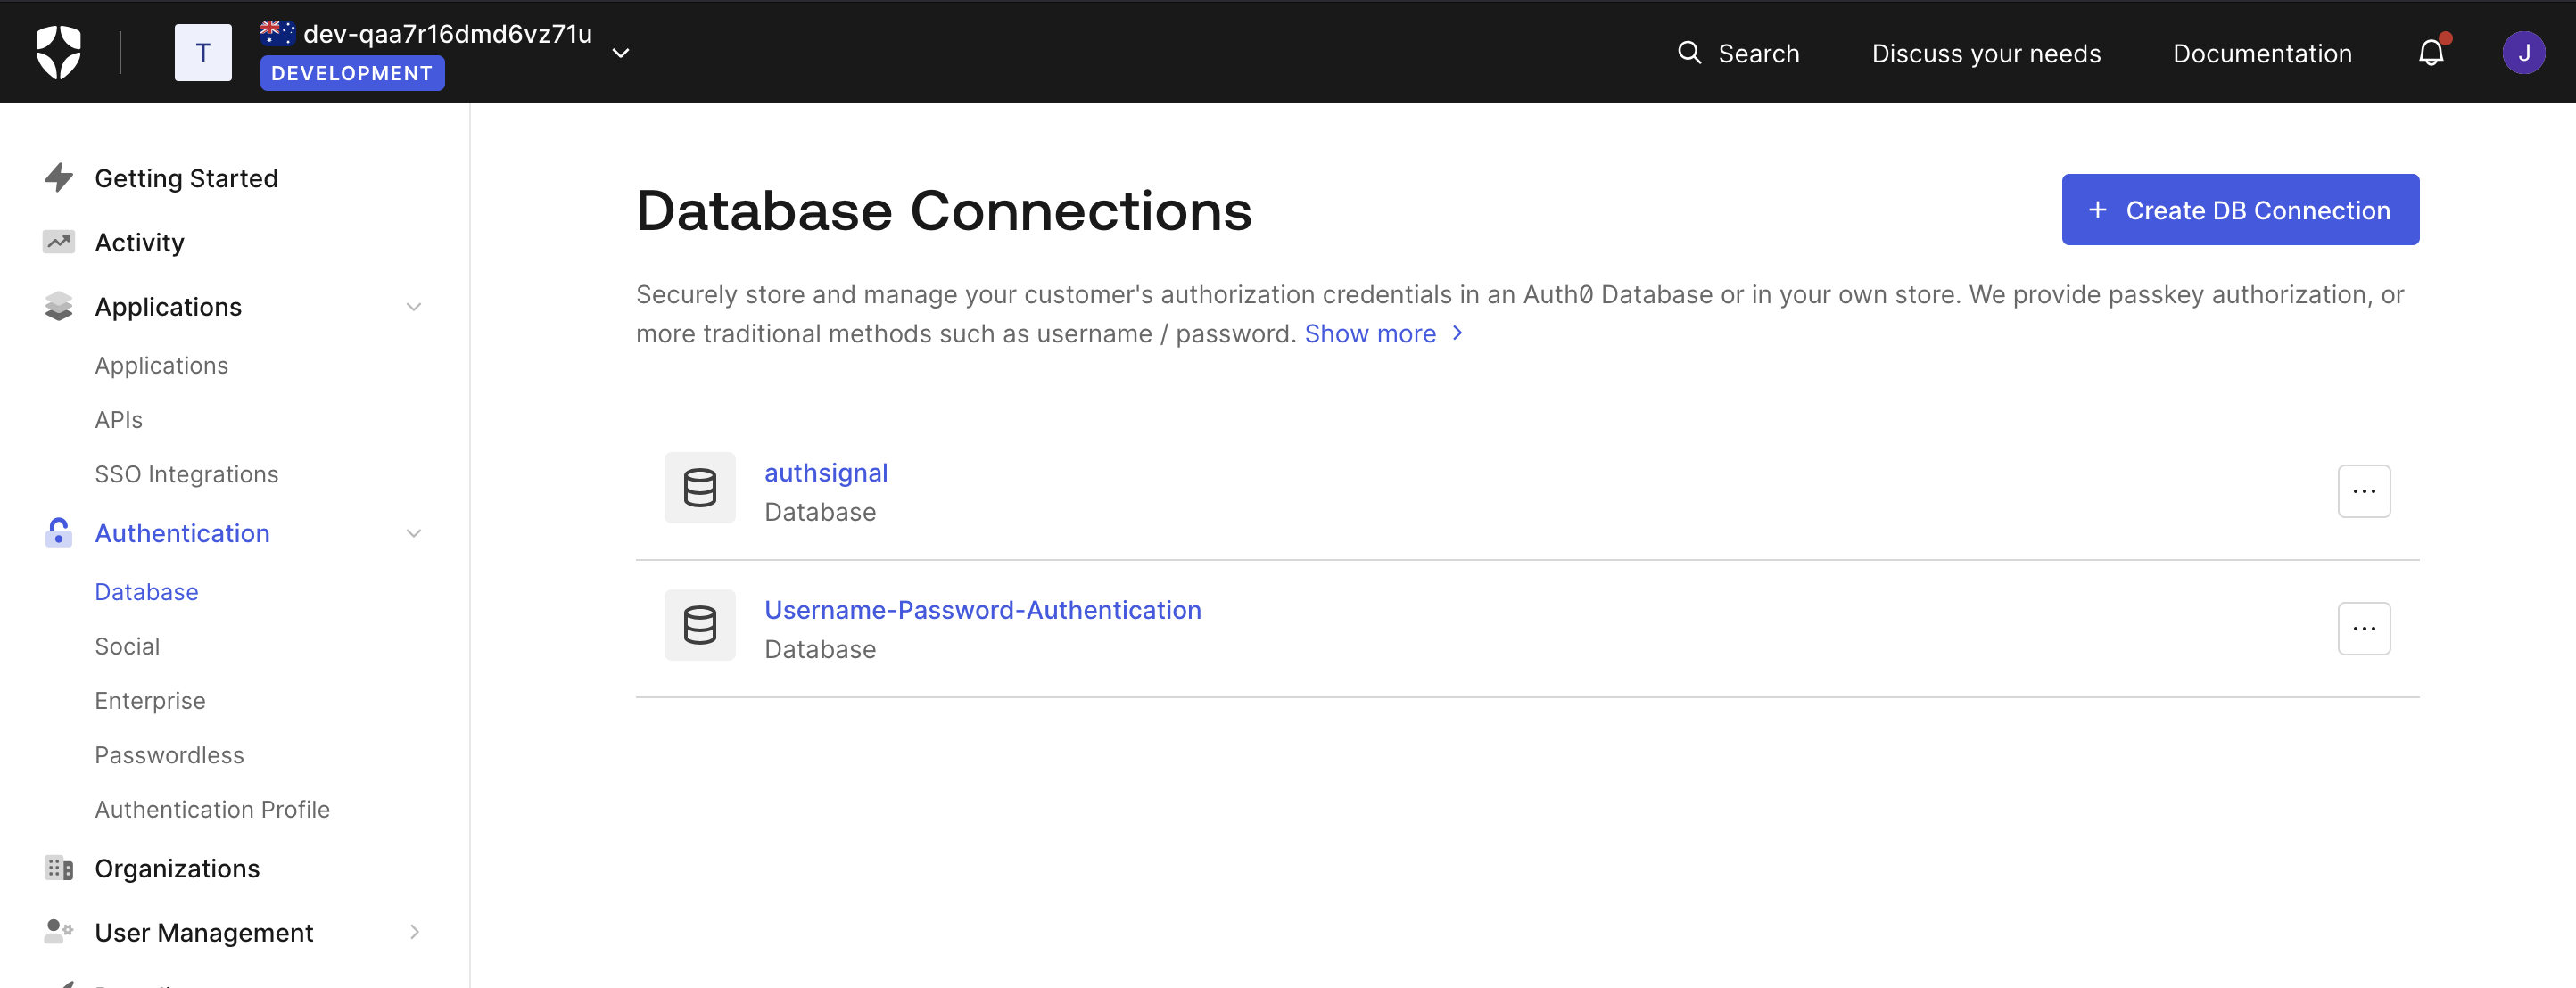
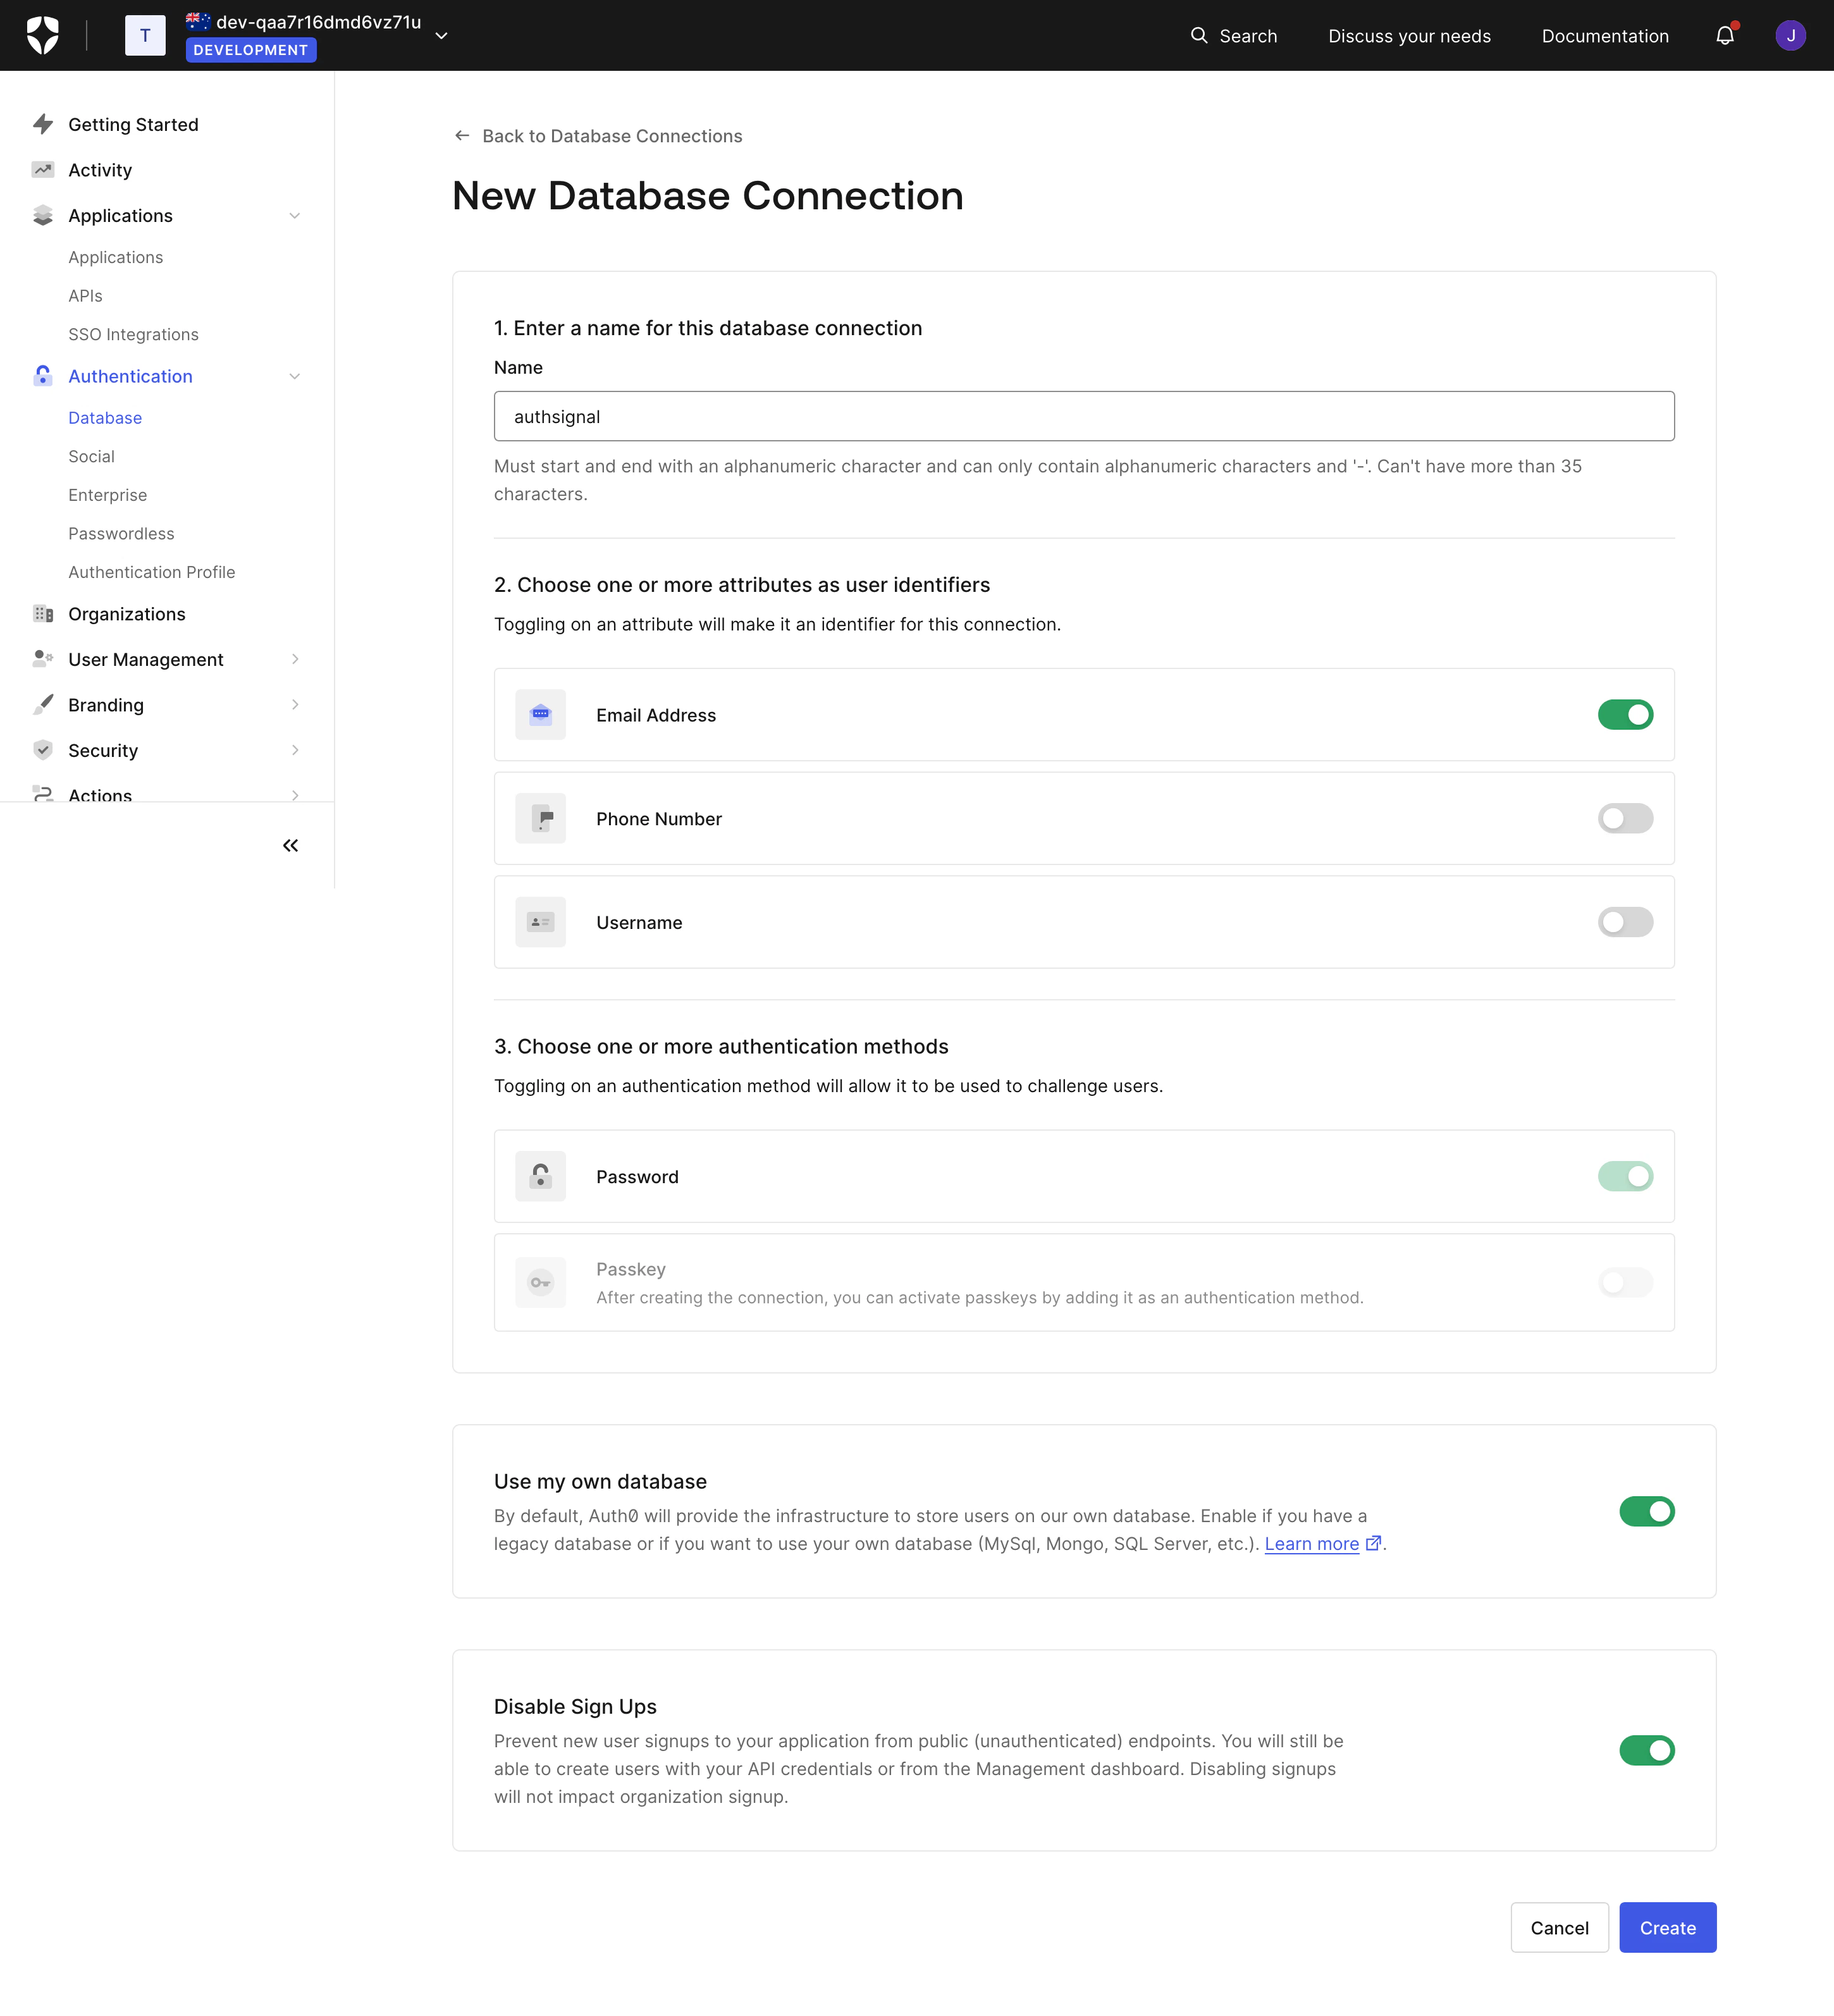
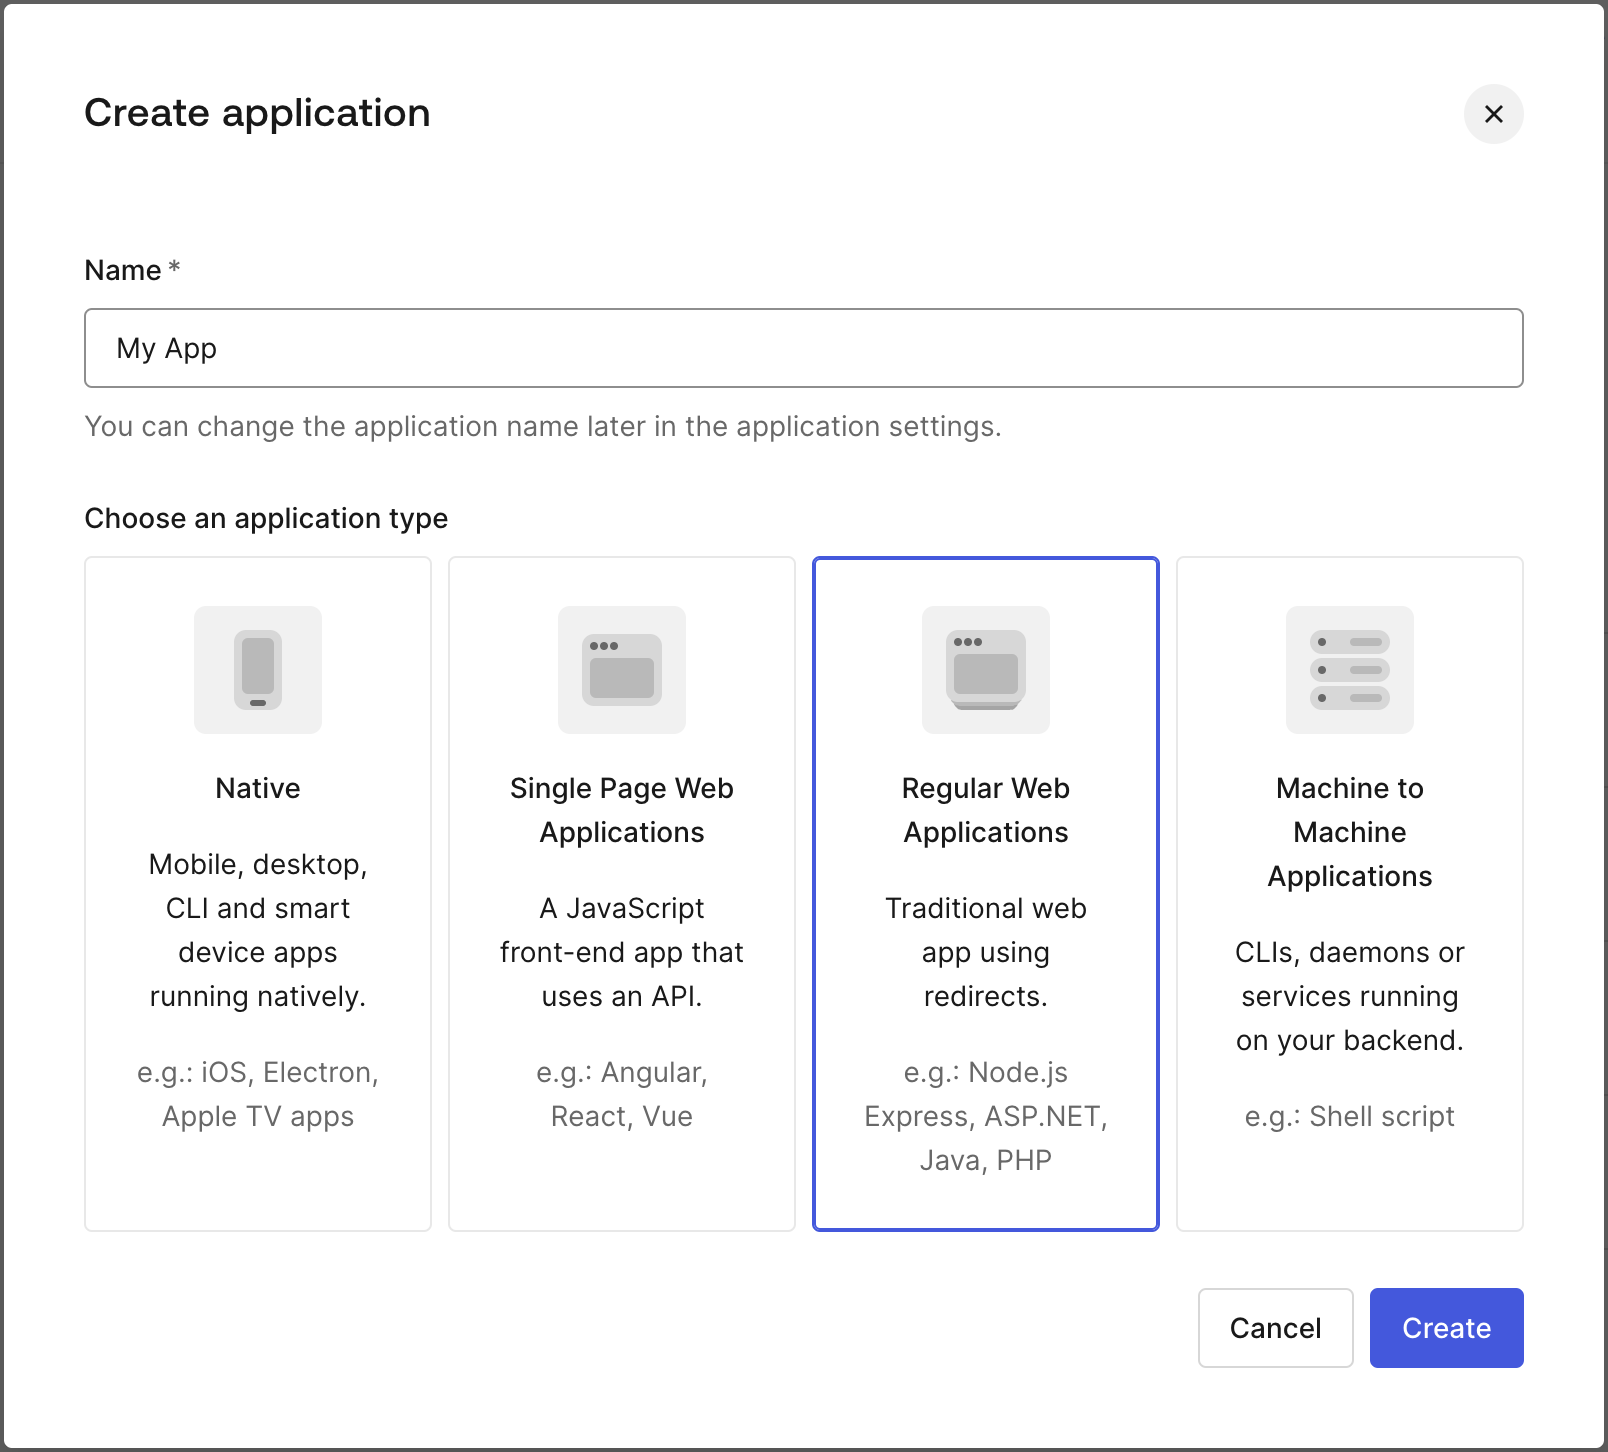
Create a new custom database connection
That’s it, we’ve created a new custom database connection, which will allow us to use Authsignal as an external authentication source.
Configure your Auth0 Application
Navigate to the Auth0 Application section
Navigate to the Auth0 Application section and click menu for on the application you want to configure, and select Connections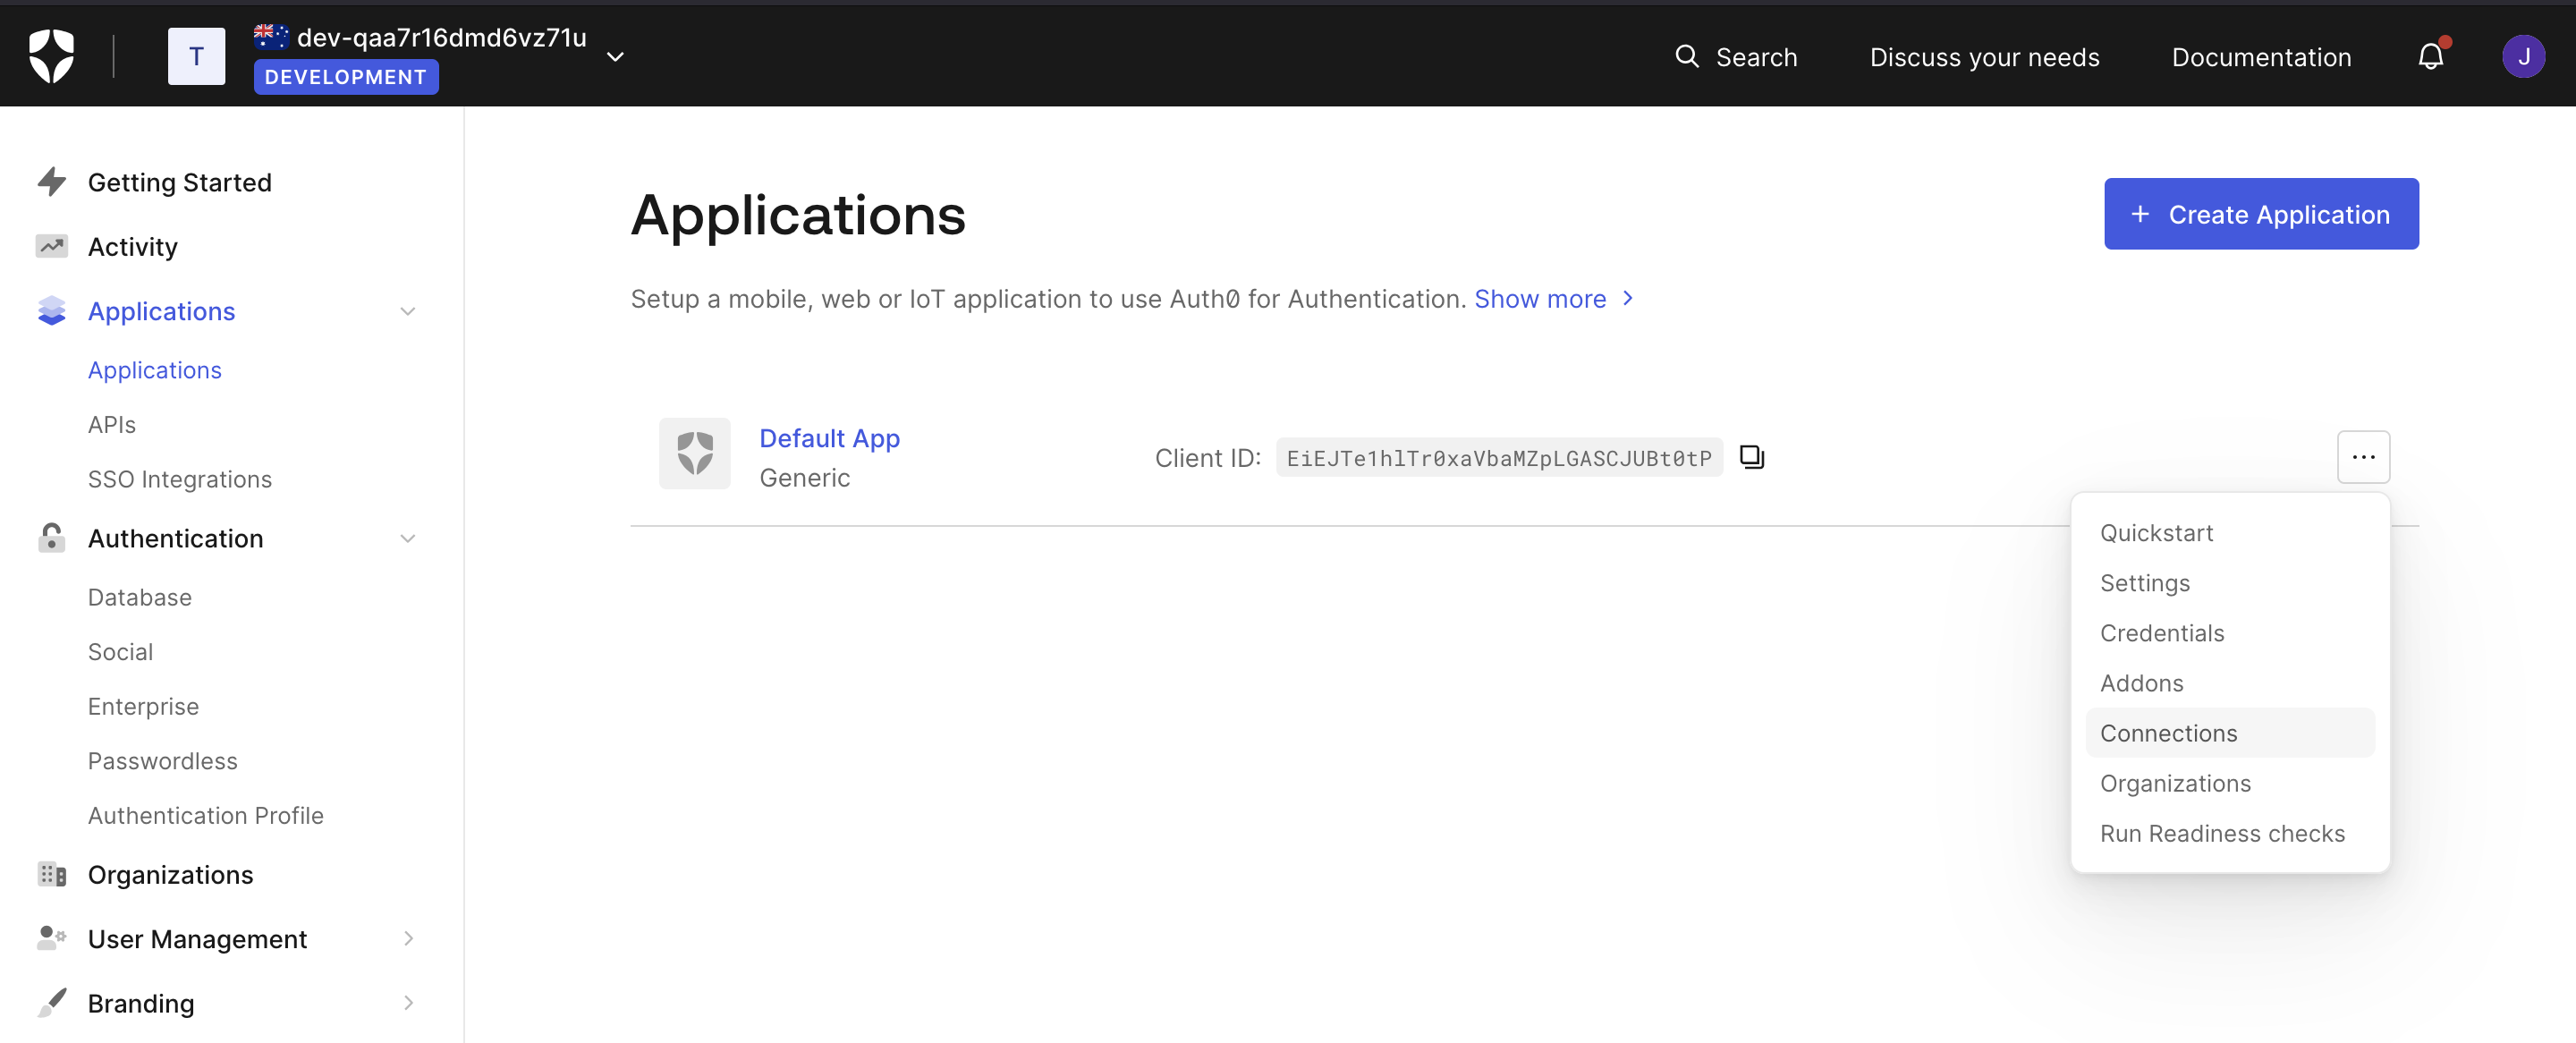
Turn on the authsignal custom database connection
Ensure that the “authsignal” (the name of the custom database connection we created in the
previous step) database connection is turned on.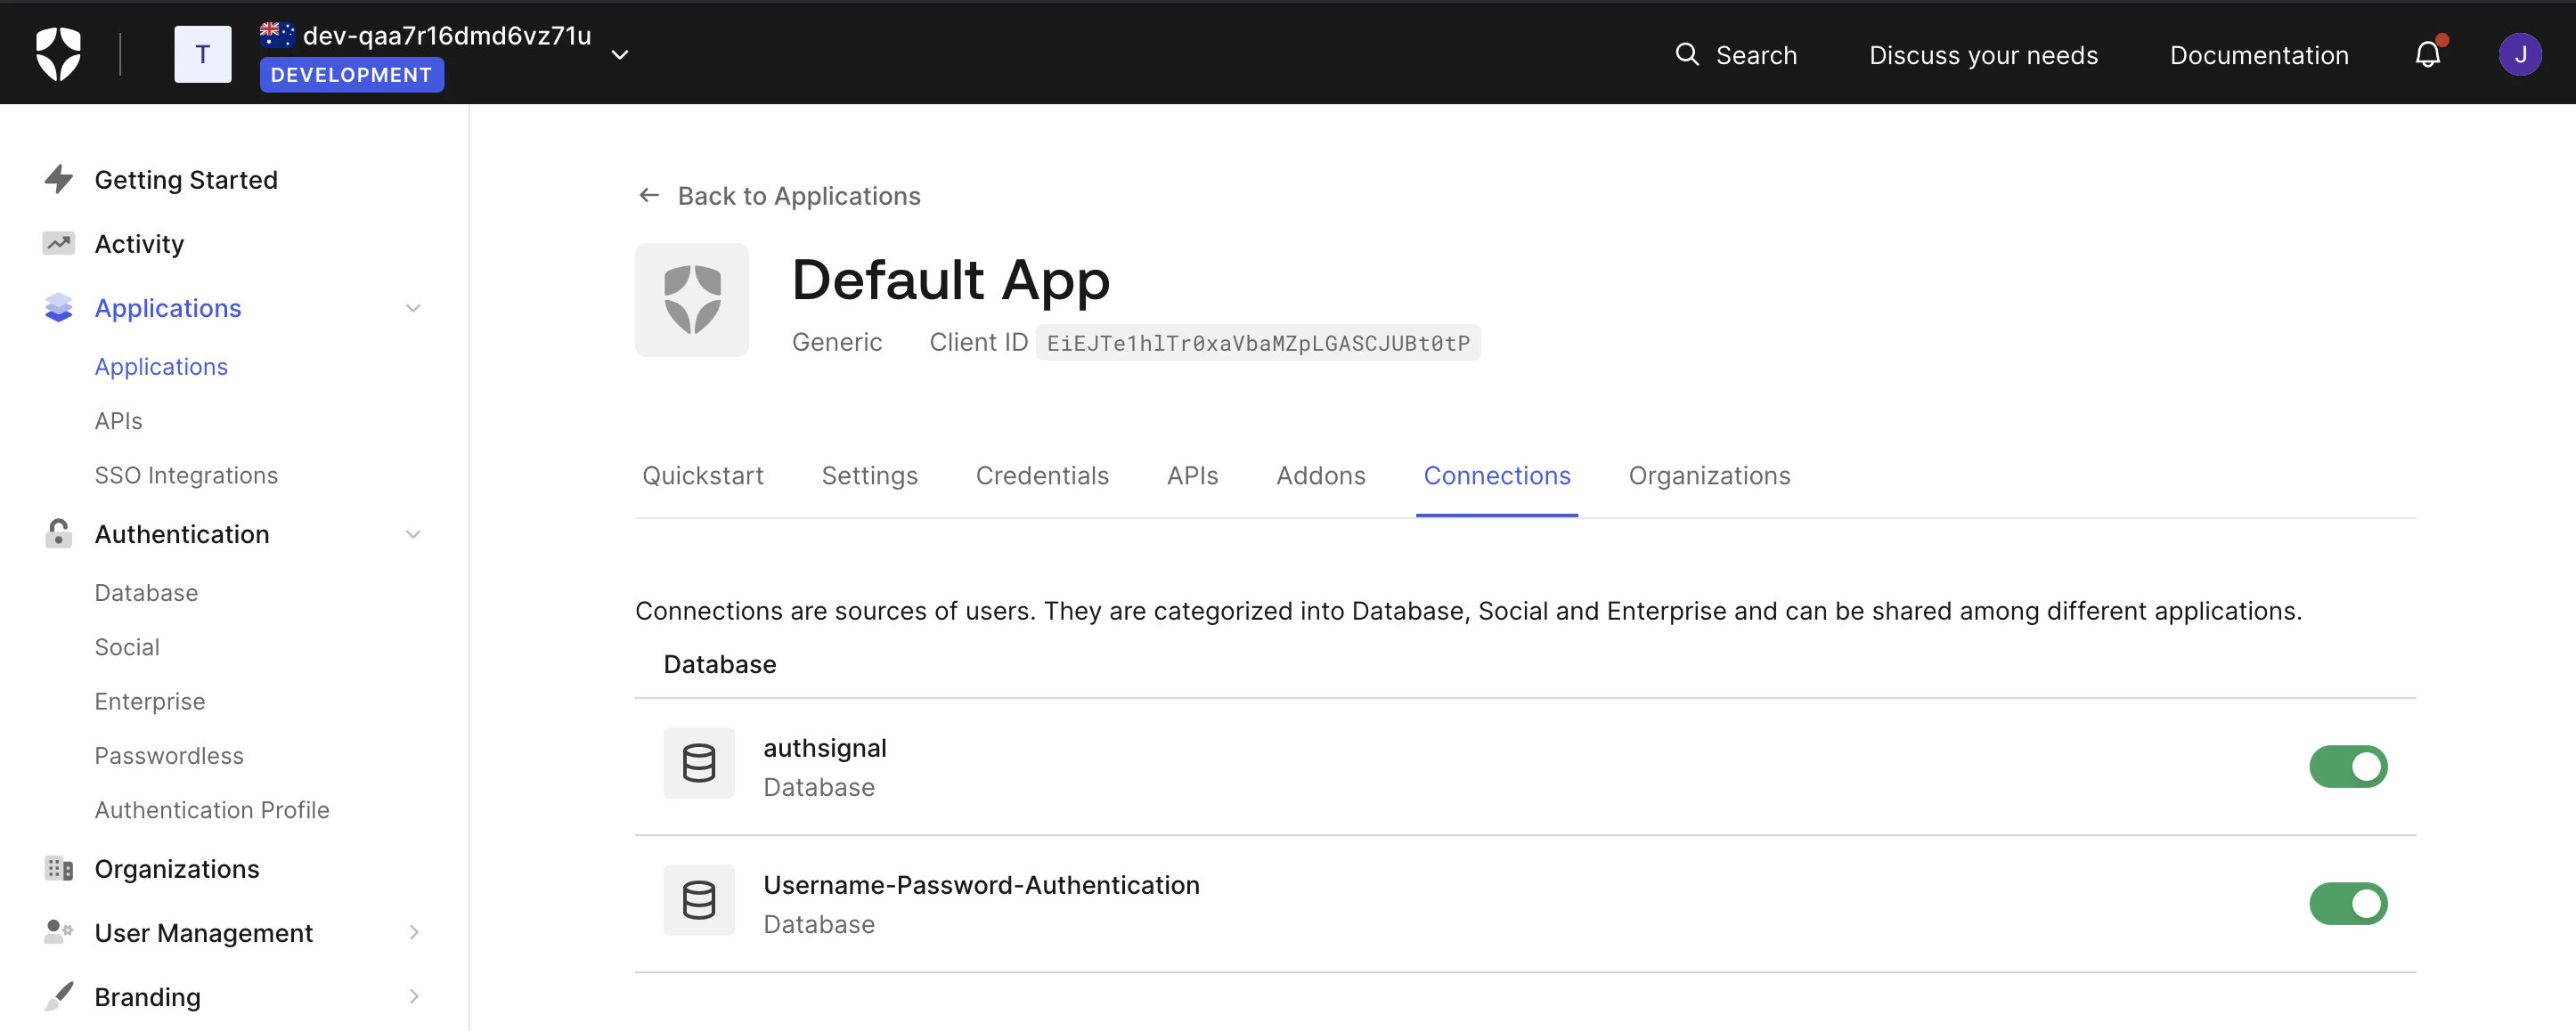
Implement a back-end API for validation
Once the above steps are completed, you’ll be able to complete the final step of the integration, the back-end API implementation takes care of validating the Authsignal challenge token (for example when a user completes a passkey sign-in) and issues an Auth0 access token. The following steps will guide you through the two critical steps that you need to implement in your back-end API. In this guide we will use a Node.js implementation, but you can use any language you prefer.Initiate Passkey auto-fill on the client side
Initiate Passkey on your mobile client, see documentation.
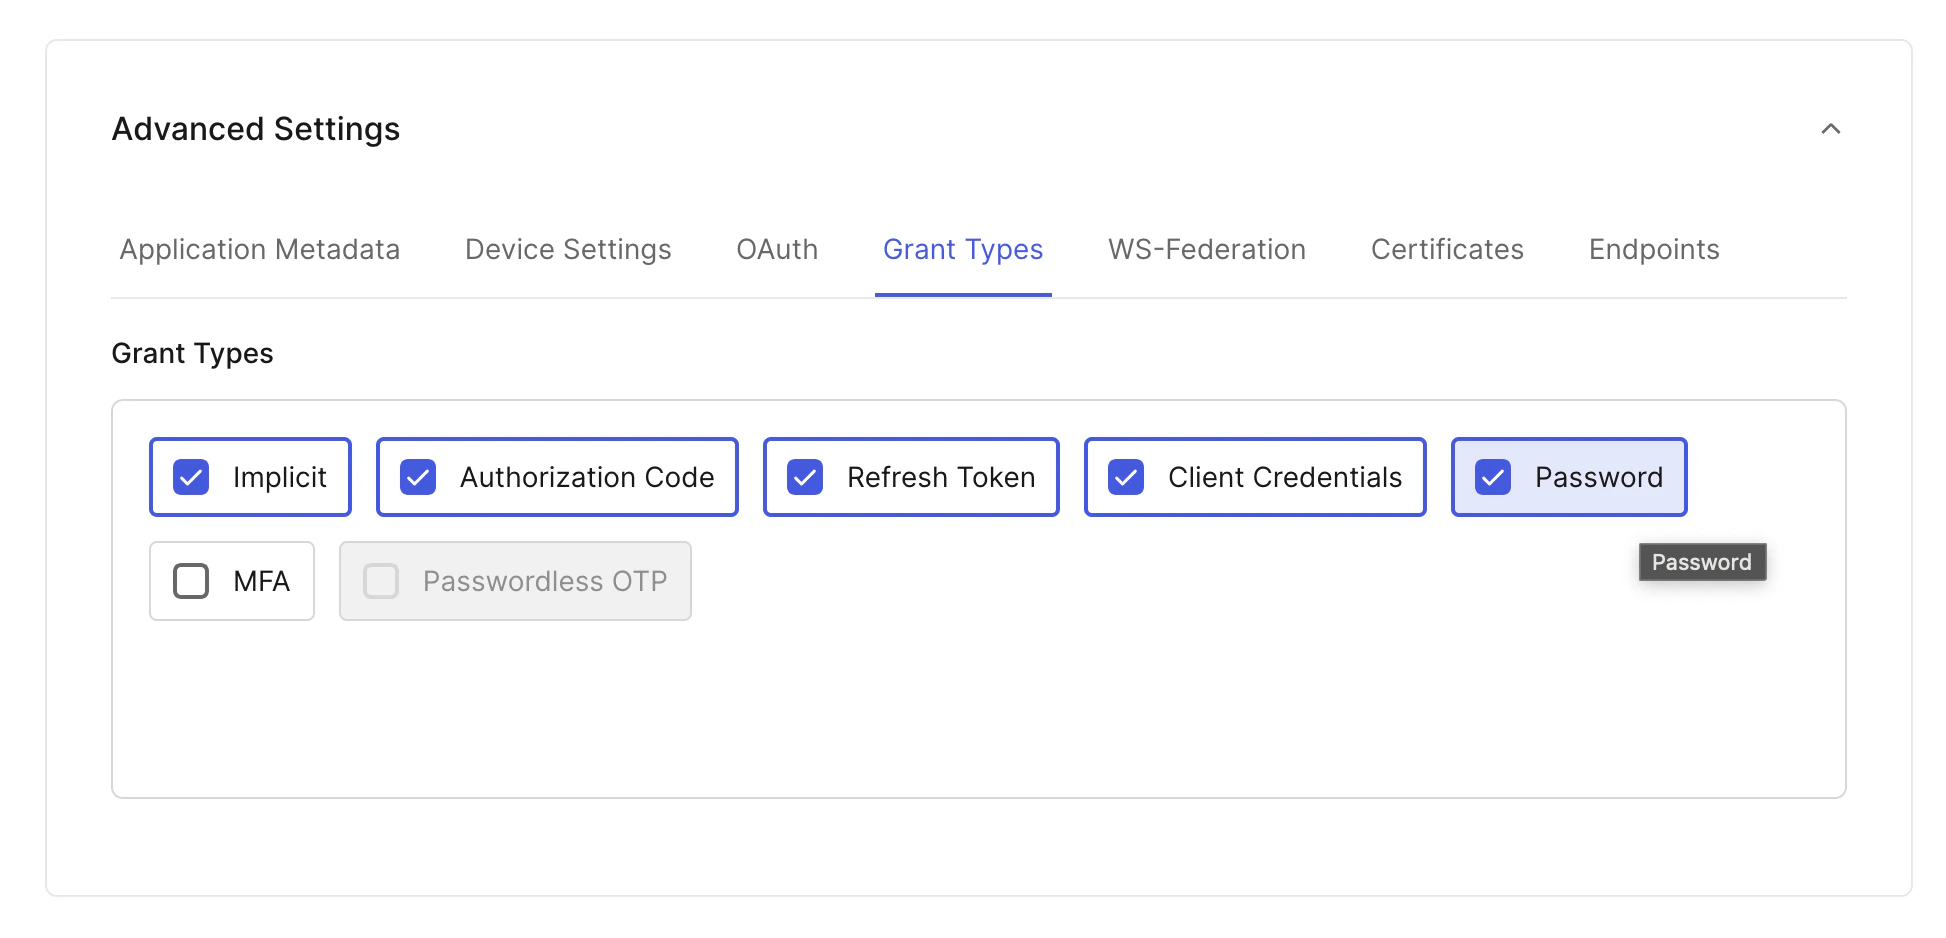
Validate the Authsignal token and call Auth0 Resource Owner Password Grant API to issue an access token
Pass client side token to the implemented back-end API. In your implementation you are doing the following:
- Authsignal Validate Challenge
- Auth0 Resource Owner Password Grant API.
In this guide we’ve used the
scope values of openid profile email, and had a placeholder for the audience value, but you’ll have to configure the appropriate values for your application.