Device-initiated authentication
Traditional passwordless sign-in methods such as email OTP are username-initiated. You enter your username (e.g. email address) and the site looks up the associated account and then initiates a challenge to verify it belongs to you.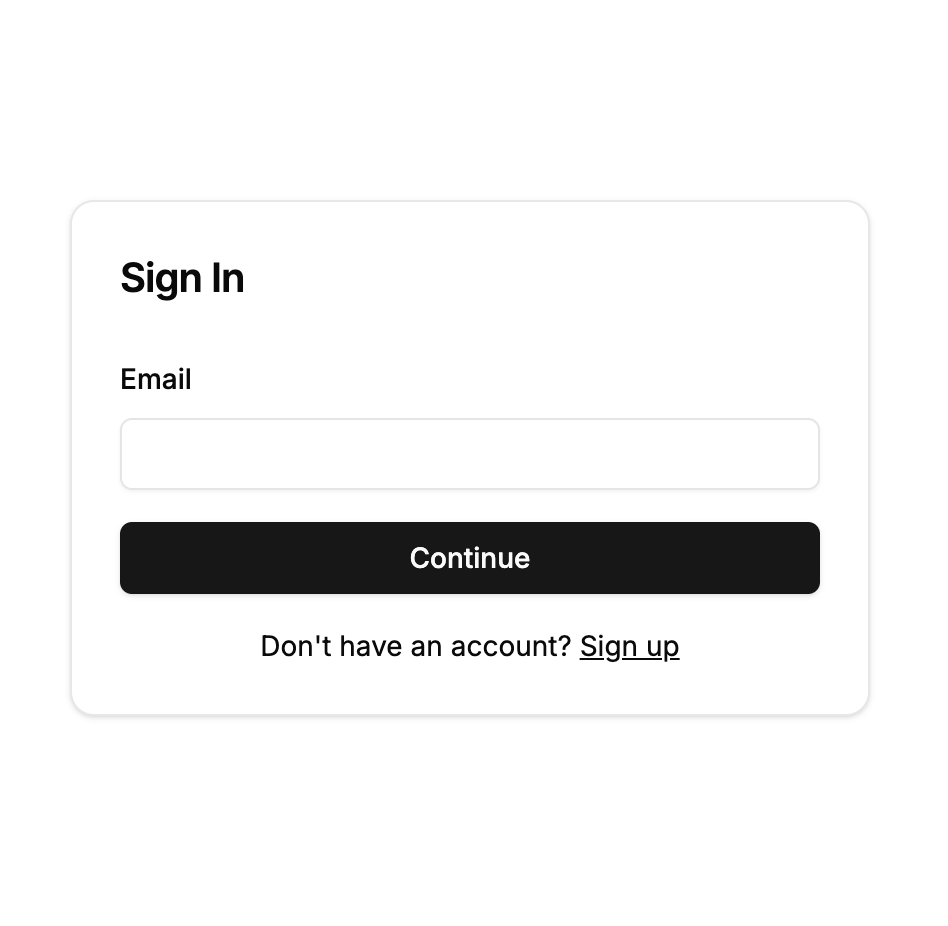
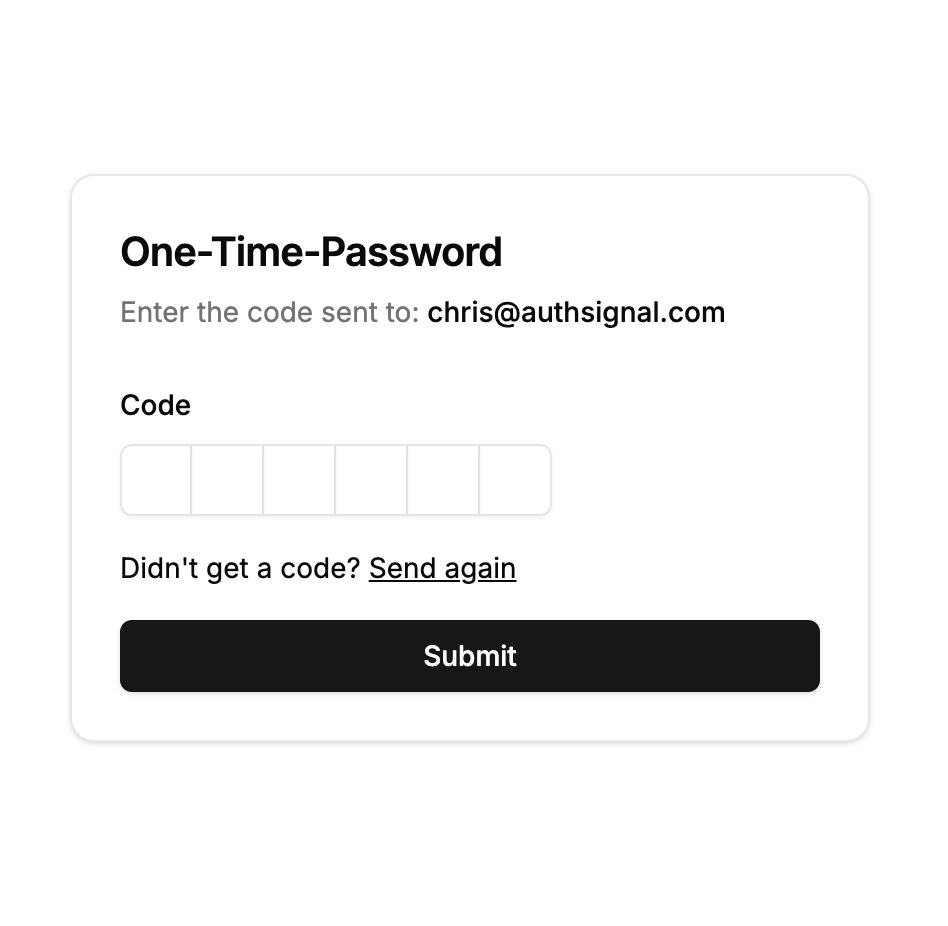
Username-initiated sign-in via email OTP
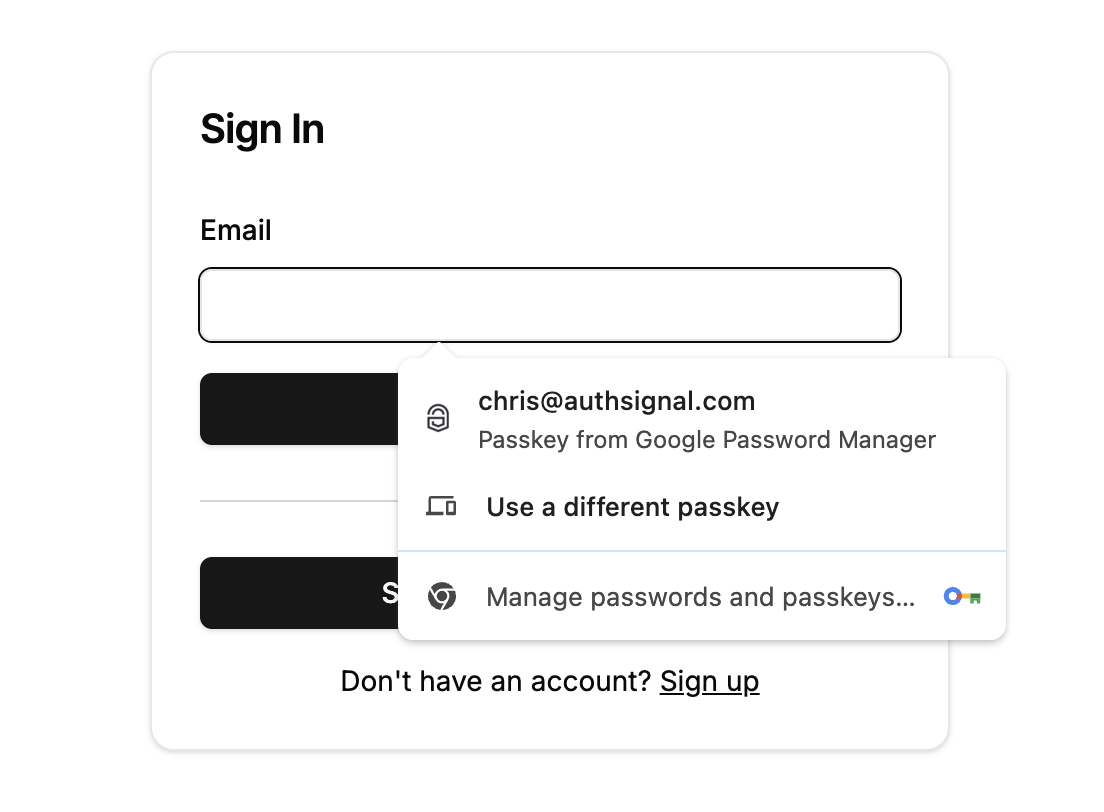
Device-initiated sign-in via passkey autofill
Availability across devices
Passkeys may not be available on a given device for multiple reasons.- If the user has created a passkey on one device then switched to a new device where that passkey can’t be synced.
- If the user has created a passkey and then deleted it from their password manager.
Passkeys for sign-in
Autofill
Enabling passkey autofill is an unobtrusive way to support passkeys on your sign-in page while also maintaining a familiar experience for users who haven’t setup passkeys yet.
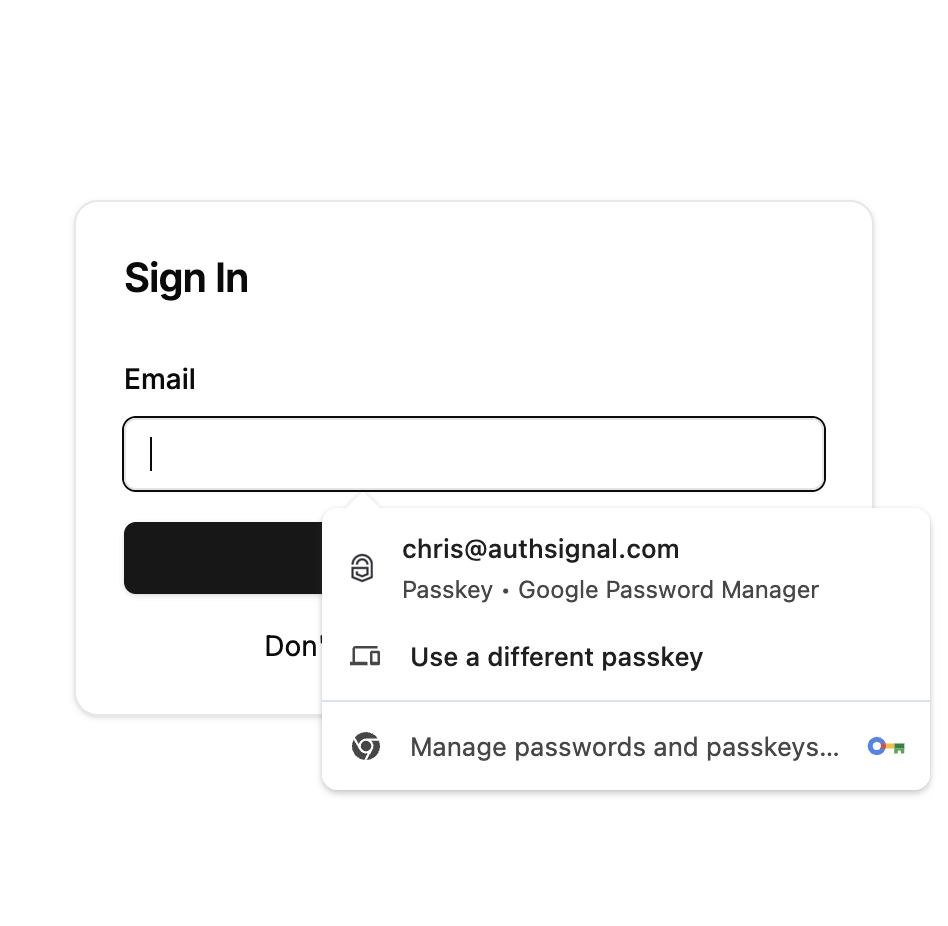
Adding autofill to your sign-in page
Sign-in button
Another approach is to include a separate passkey sign-in button which is clearly presented as an alternative sign-in option.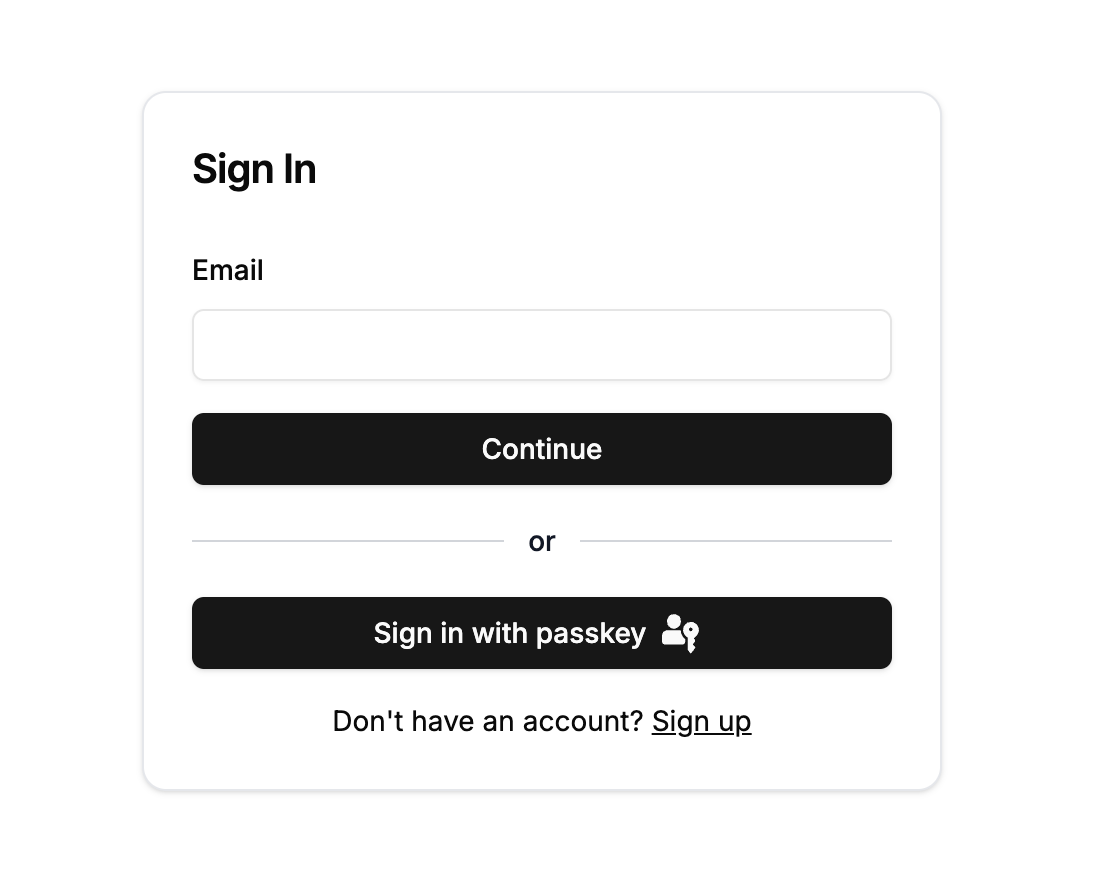
Presenting a passkey sign-in button as an alternative authentication option
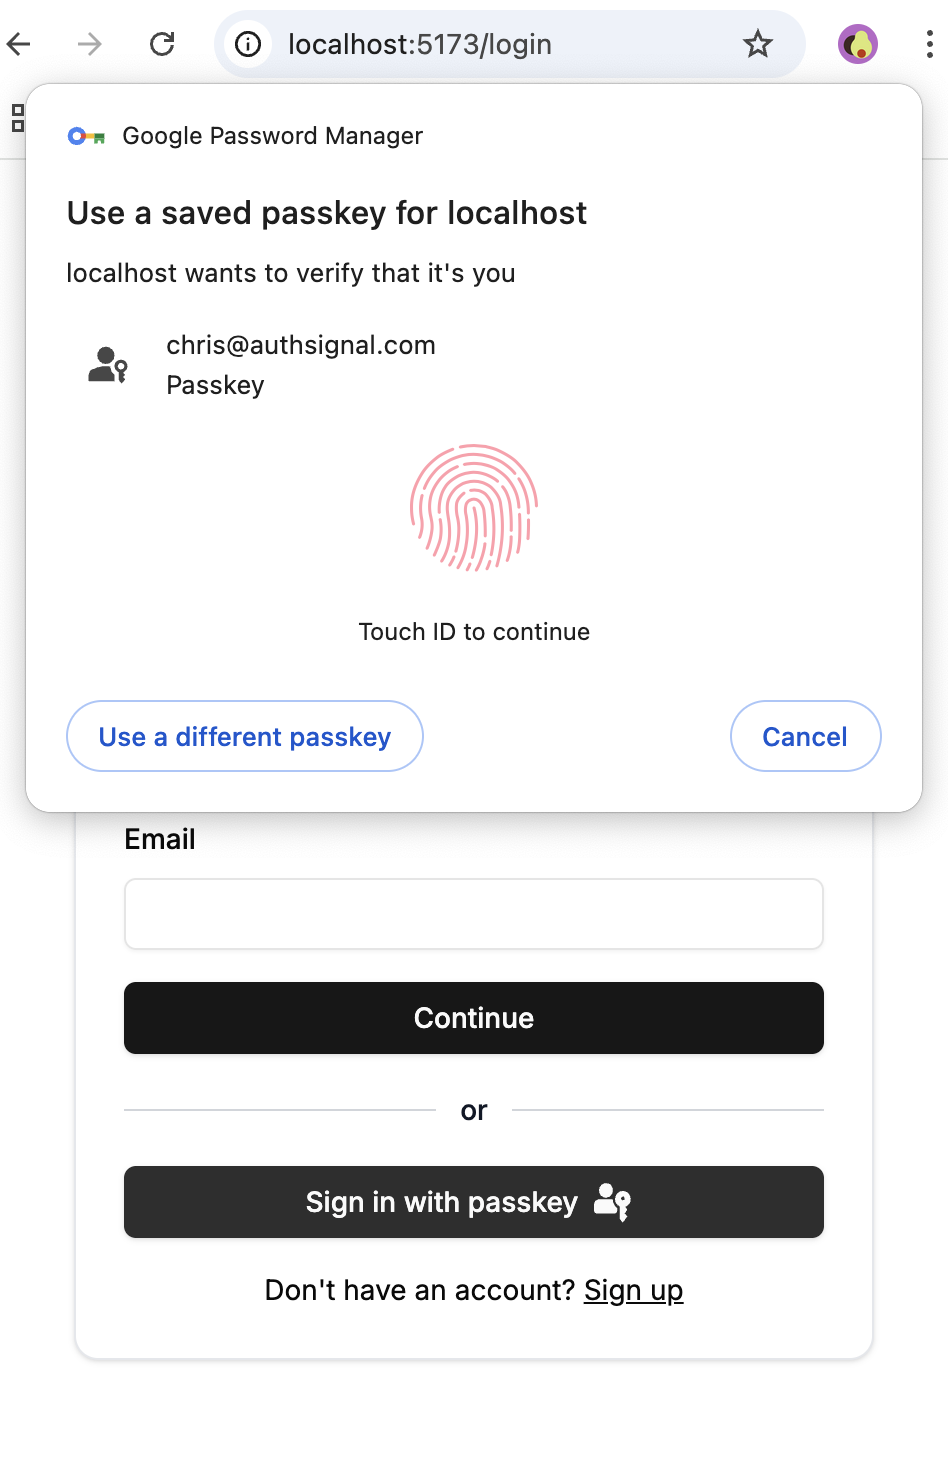
Clicking the 'Sign in with passkey' button when the device has a passkey available
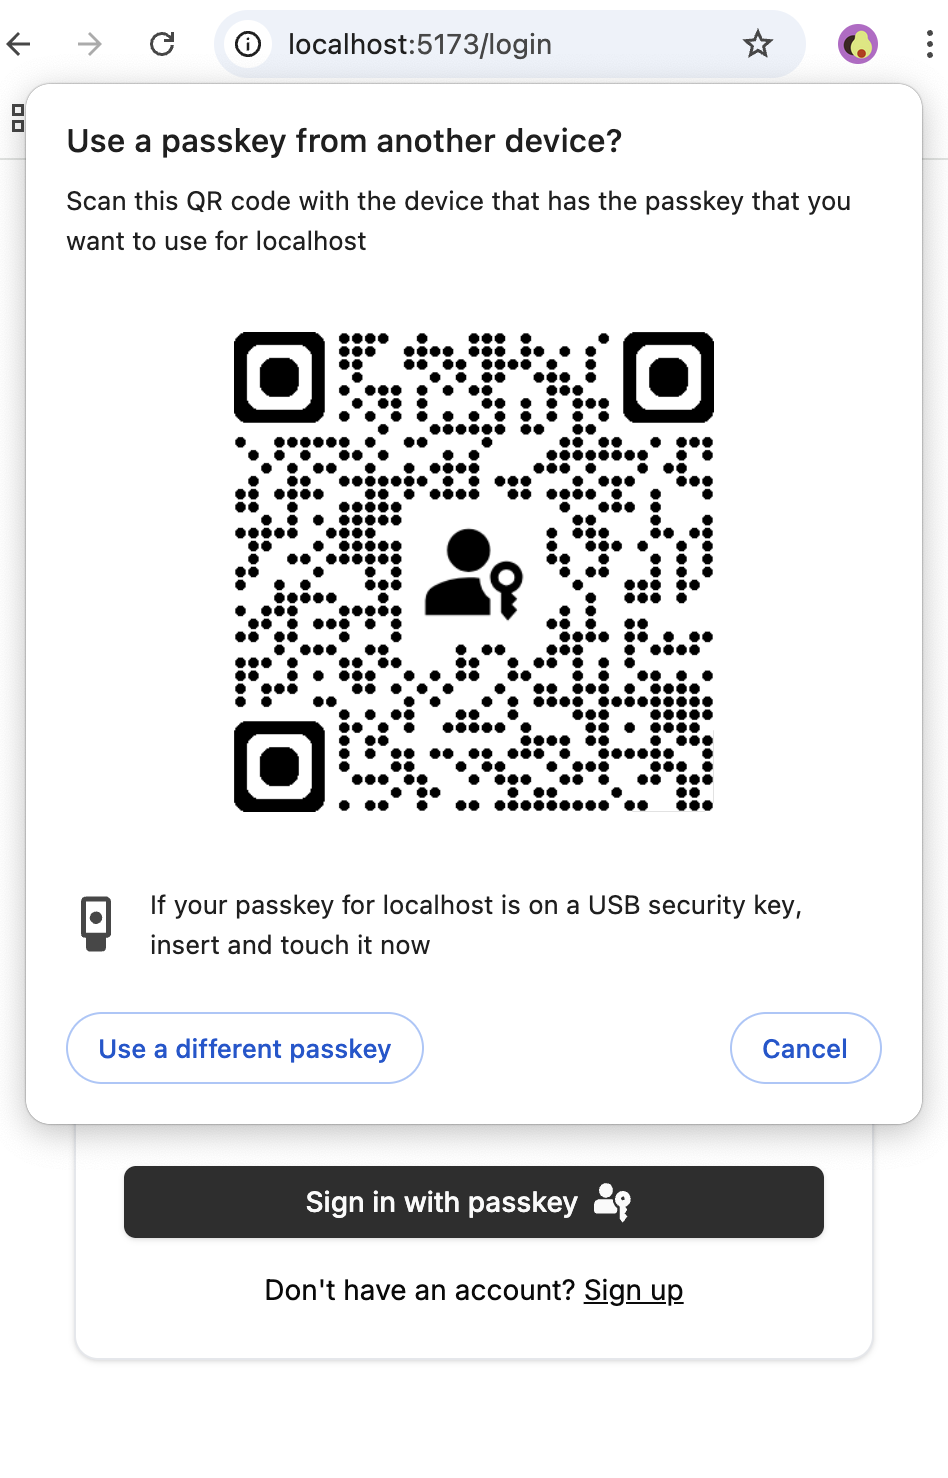
Clicking the 'Sign in with passkey' button when the device can't find any available passkey
Passkeys for MFA
When using passkeys as a secondary factor, it’s important to only show passkeys for one account. If a device is shared between family members, or if a person has multiple accounts for the same site, then a device may have passkeys available for different accounts.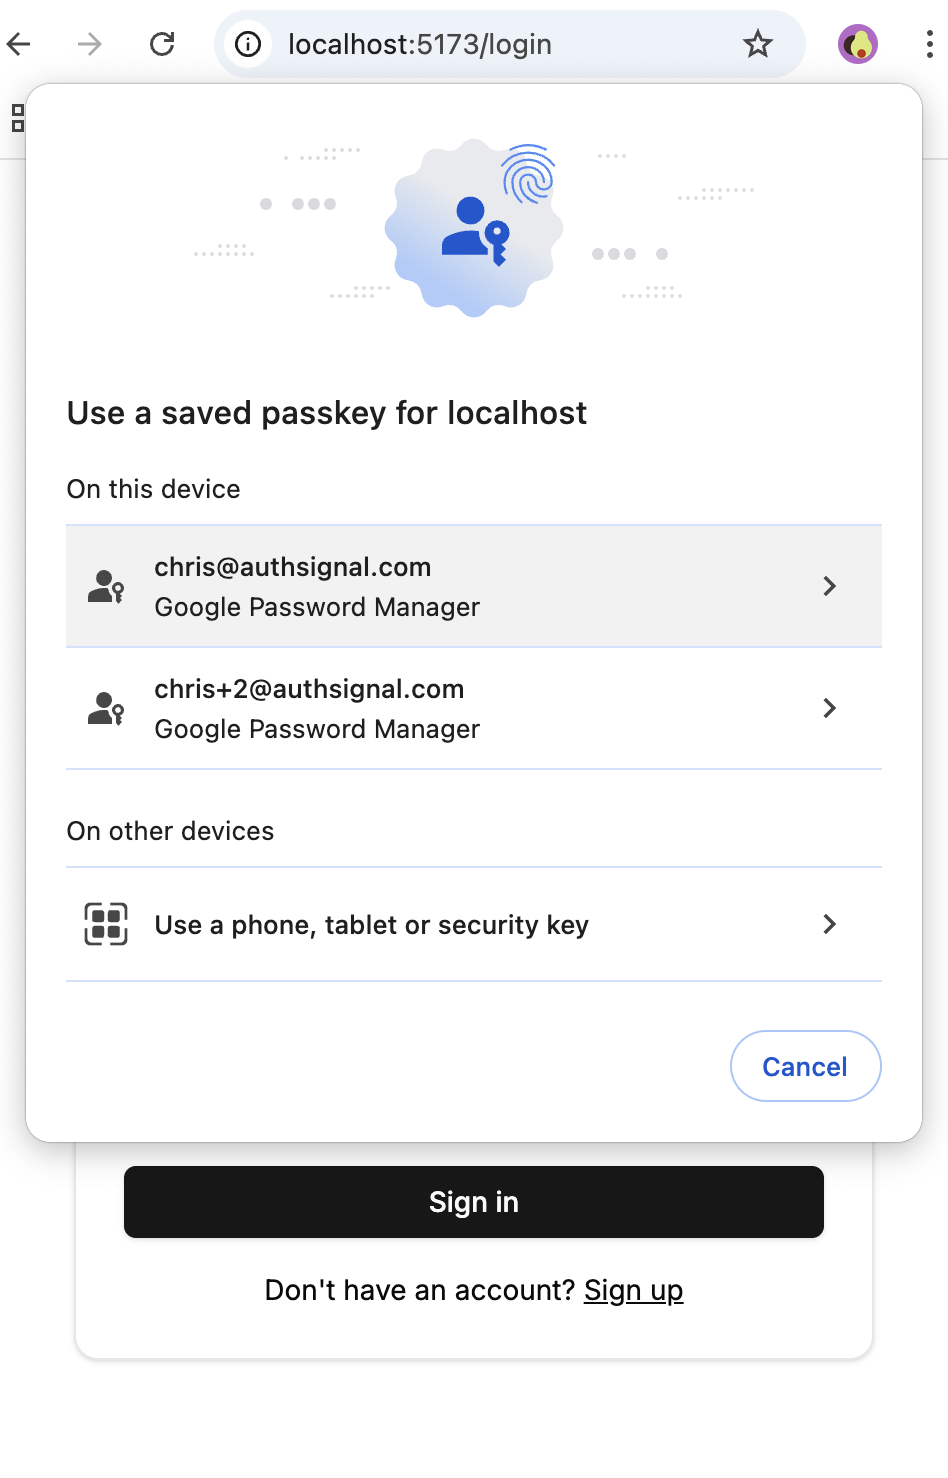
Multiple passkeys available for different accounts on the same device
allowCredentials it’s important to clearly present a backup authentication option and avoid leading users into dead ends when their device doesn’t have any passkeys available.
Because it is always launched for a specific user, the Authsignal pre-built
UI always restricts passkeys via the
allowCredentials parameter. It also provides a clear way to fall back to alternate
authentication methods.Creating passkeys
Increasing adoption
Transitioning your users from traditional sign in methods, like passwords, to passkeys can be a big change. To help with this transition, you can provide a prompt to encourage users to create a passkey when they sign in.A user is prompted to add a passkey after signing in.
Improving coverage across devices
Whilst many passkeys are available across devices, like ones stored in iCloud Keychain, some passkeys are device-bound. For example, a passkey created on a desktop browser may not be available on a mobile device. If a user authenticates on a device without a passkey, you can prompt them to create one in a similar way to the example above.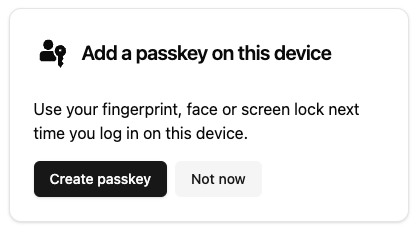
An example of a prompt to add a passkey to a device.
Displaying passkeys
As users may have multiple passkeys, it’s useful to display them in a distinct way. A passkey user authenticator contains thewebauthnCredential.aaguidMapping object. The name field will contain the name of the credential manager, e.g. iCloud Keychain, where the
passkey is stored. The svgDark/svgLight fields contain the SVG icons for the credential manager.
In the area of your application where user’s manage their authentication options, you can utilize these fields to display the user’s passkeys:
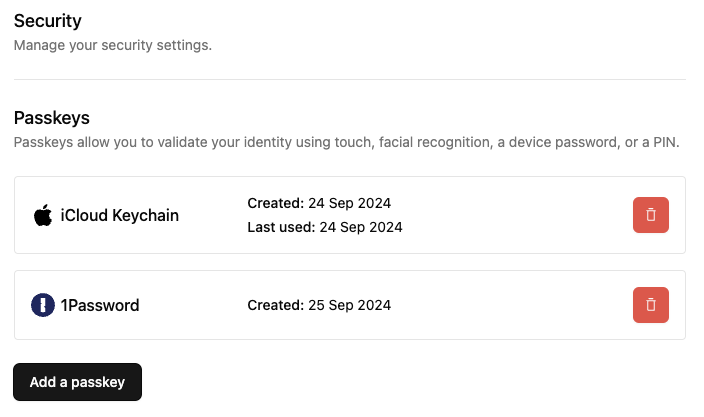
Displaying a list of the user's passkeys.
Whilst the
webauthnCredential.aaguidMapping object is available for most passkeys, it’s not
guaranteed to be present. As an alternative, you can use the webauthnCredential.parsedUserAgent
object to display details about the device the passkey was created on.
