Package installation
Prerequisites
- Salesforce Organization (Enterprise Edition and up)
- System Administrator access
- Lightning Experience enabled
- Sites feature enabled
Step 1: Install the package
1
Install managed package
The Authsignal team will provide you with a URL to use to install the managed package to your Salesforce instance.
Navigate to this URL to begin.
2
Choose installation option
Select Install for Admins Only, additional permissions settings will be set later.
3
Approve Remote Site Settings
When prompted about remote sites, click Yes, grant access to these third-party websites.This allows Authsignal Call Connect to communicate with Authsignal APIs.
4
Wait for installation and verify
Typically installation takes 2-5 minutes.Once complete navigate to Setup -> Apps -> Packaging -> Installed Packages to verify the presence of Call Connect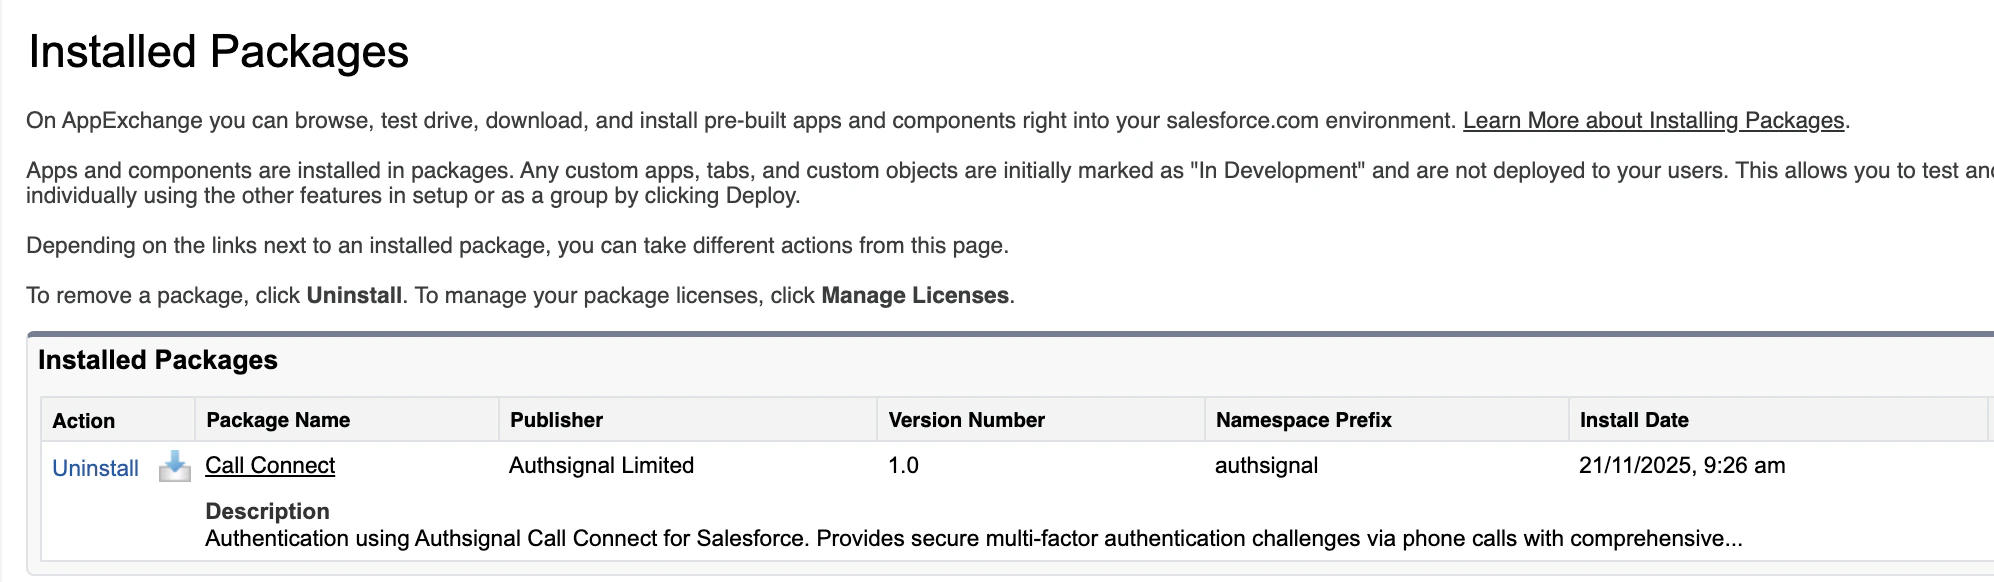
Step 2: Assign permission sets
1
Assign to administrators
- Navigate to Setup → Users → Permission Sets
- Click Call Connect Administrator
- Click Manage Assignments
- Select your admin user(s) to assign them the Call Connect Administrator role
- Click Save
2
Assign to standard users
- Navigate to Setup → Users → Permission Sets
- Click Call Connect Standard User
- Click Manage Assignments
- Select all users who need to create authentication challenges and add them to assign the Standard User role
- Click Save
Salesforce Sites configuration
Authsignal Call Connect uses a Site in order to receive a webhook from Authsignal. This informs Salesforce of the outcome of the Authsignal Call Connect authentication session.Step 3: Enable and configure Site
1
Navigate to site configuration
Navigate to Setup → Sites and Domains -> Sites
2
Configure Salesforce Sites
If sites is not enabled for your Salesforce instance: click Enable Sites, accept the terms and conditions, and then you will be prompted to register for a domain.If Sites is already enabled but no domain exists, you will be asked to register for a domain name (e.g.,
yourcompany-callconnect)3
Create a new site
- Click New Site
-
Enter the following details to configure your site:
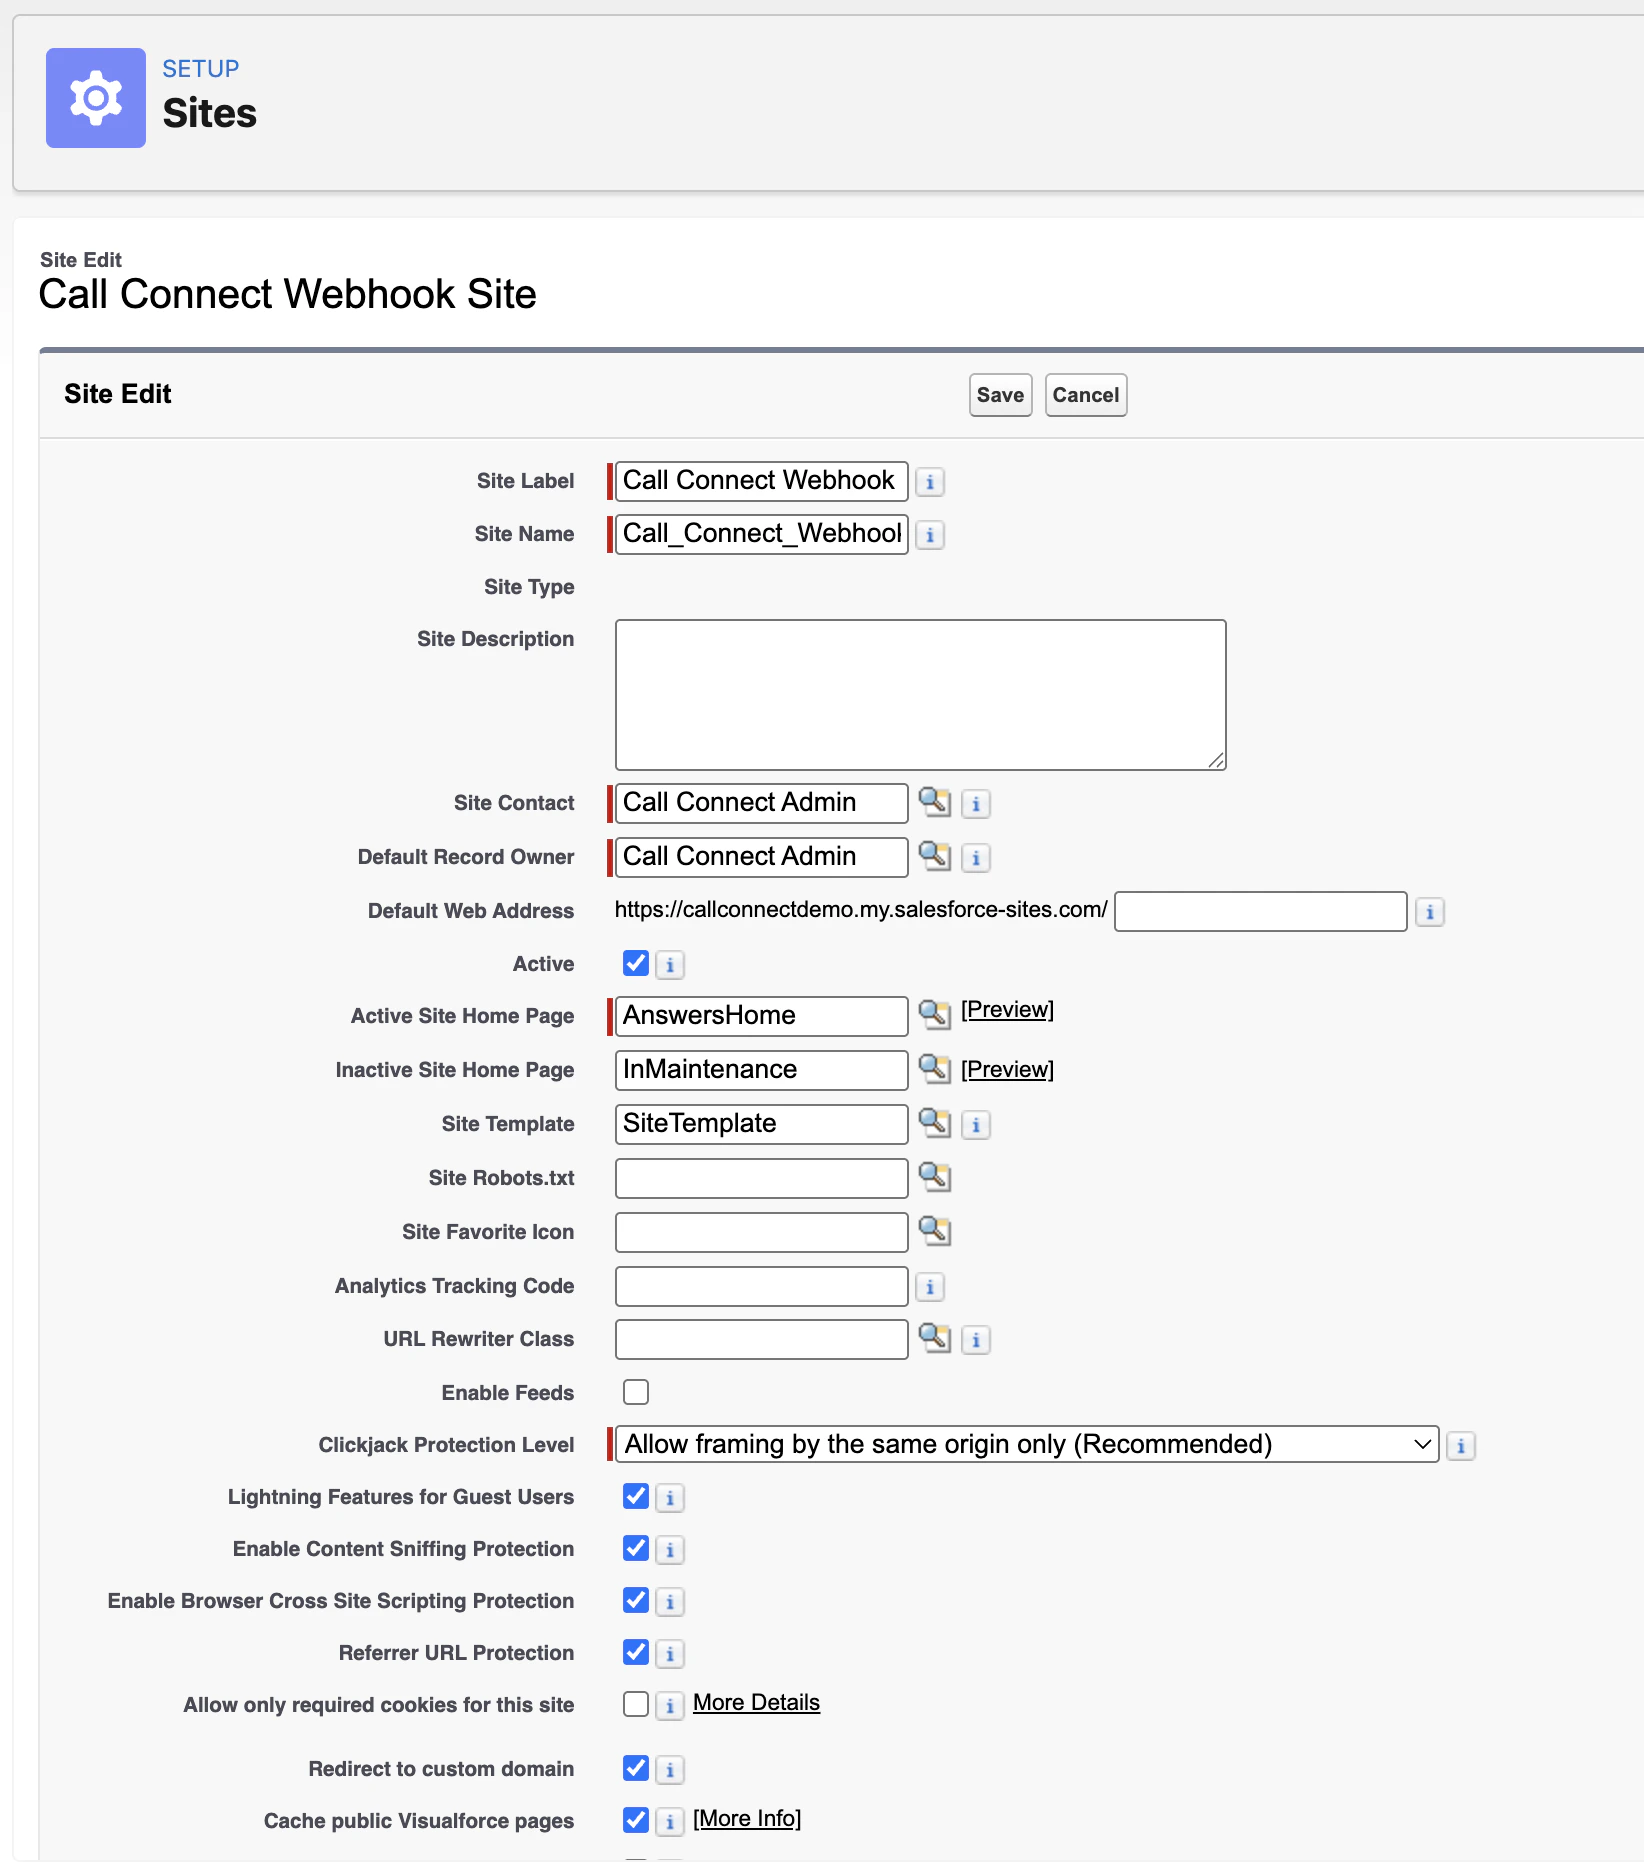
- Click Save
- Note the site domain name configuration, for later configuration in the Authsignal portal.
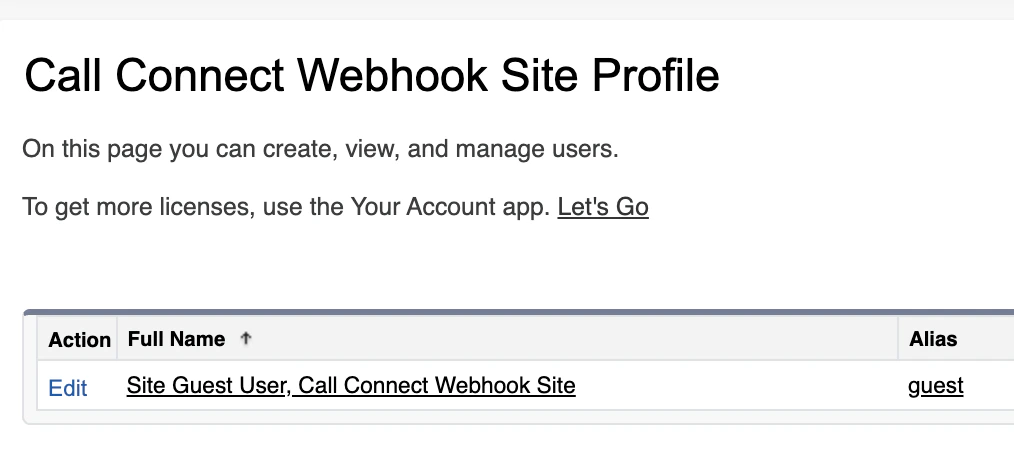
Step 4: Assign webhook permissions to guest user
1
Navigate to guest user
In the Site details, click Public Access Settings.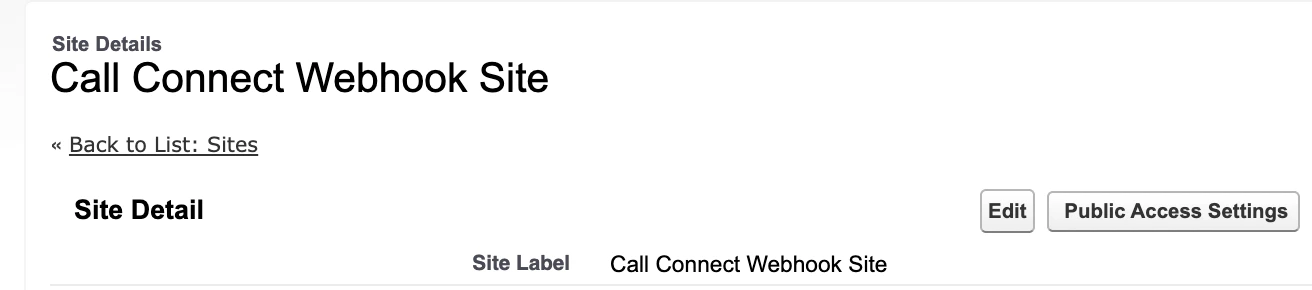
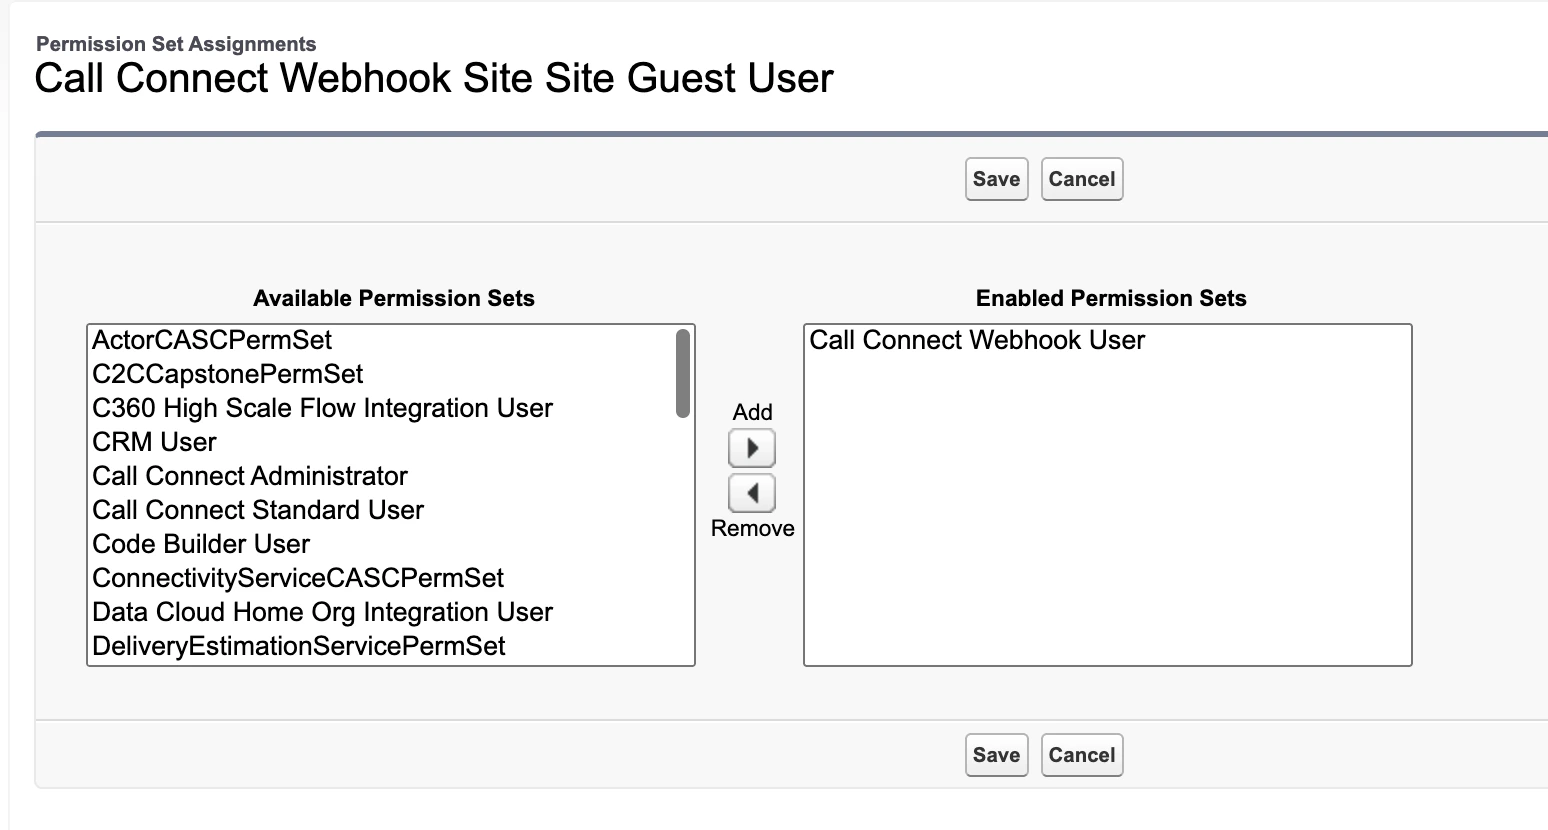
2
Assign permission set to guest user
Click Edit Assignments under Permission Set Assignments
3
Verify webhook health
Verify the webhook is accessible by calling the health check endpoint.This varies based on organisation type:
Substitute
your-site-domain for the domain you noted earlier.For a healthy webhook, you should see a health check response like this:Lightning page configuration
Step 5: Configure case record page
1
Navigate to the case record template
Navigate to Setup -> Objects and Fields -> Object Manager, and select Case from the list.
On the navigation bar on the left select Lightning Record Pages, and select Call Connect Case Record Page Template.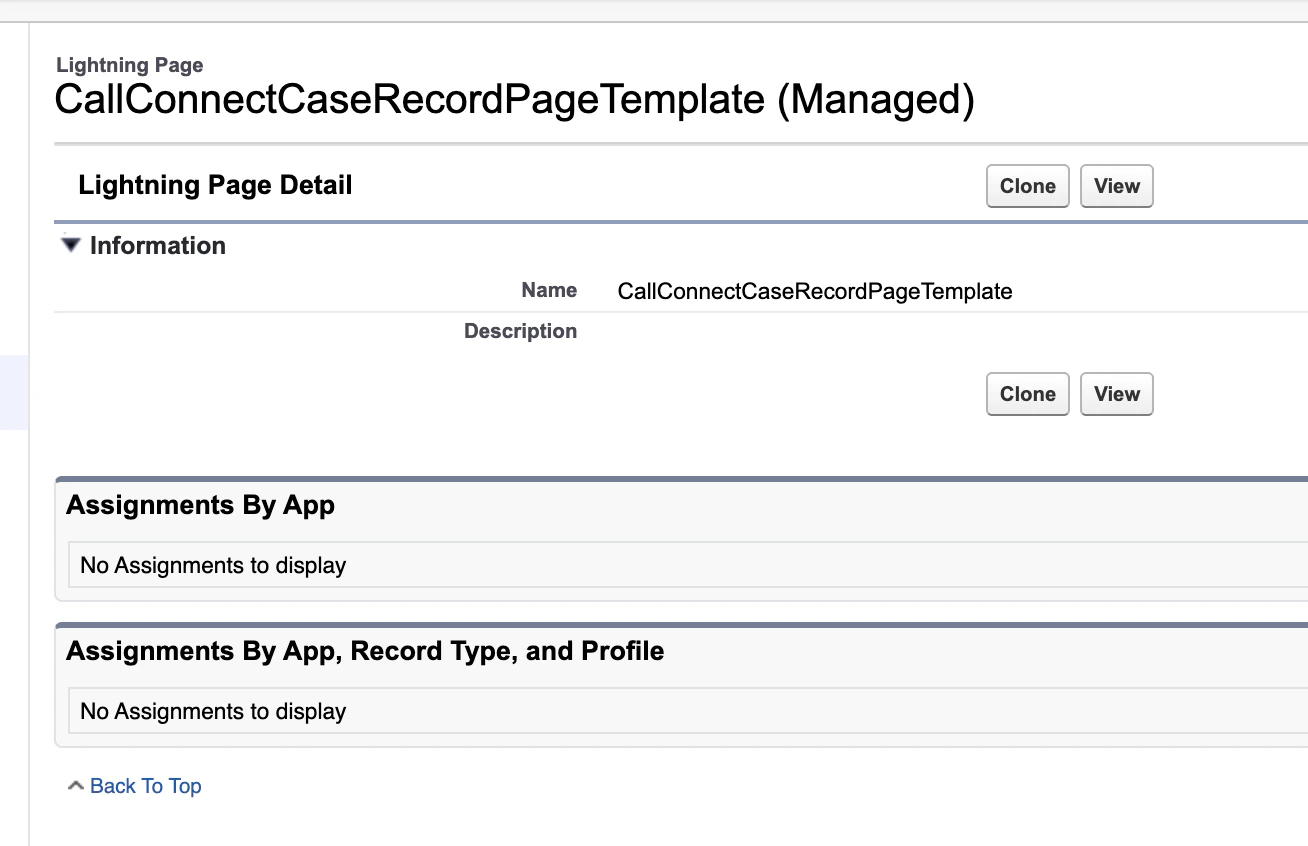
2
Clone and modify template
Click Clone.
Be sure to rename the Label of the template.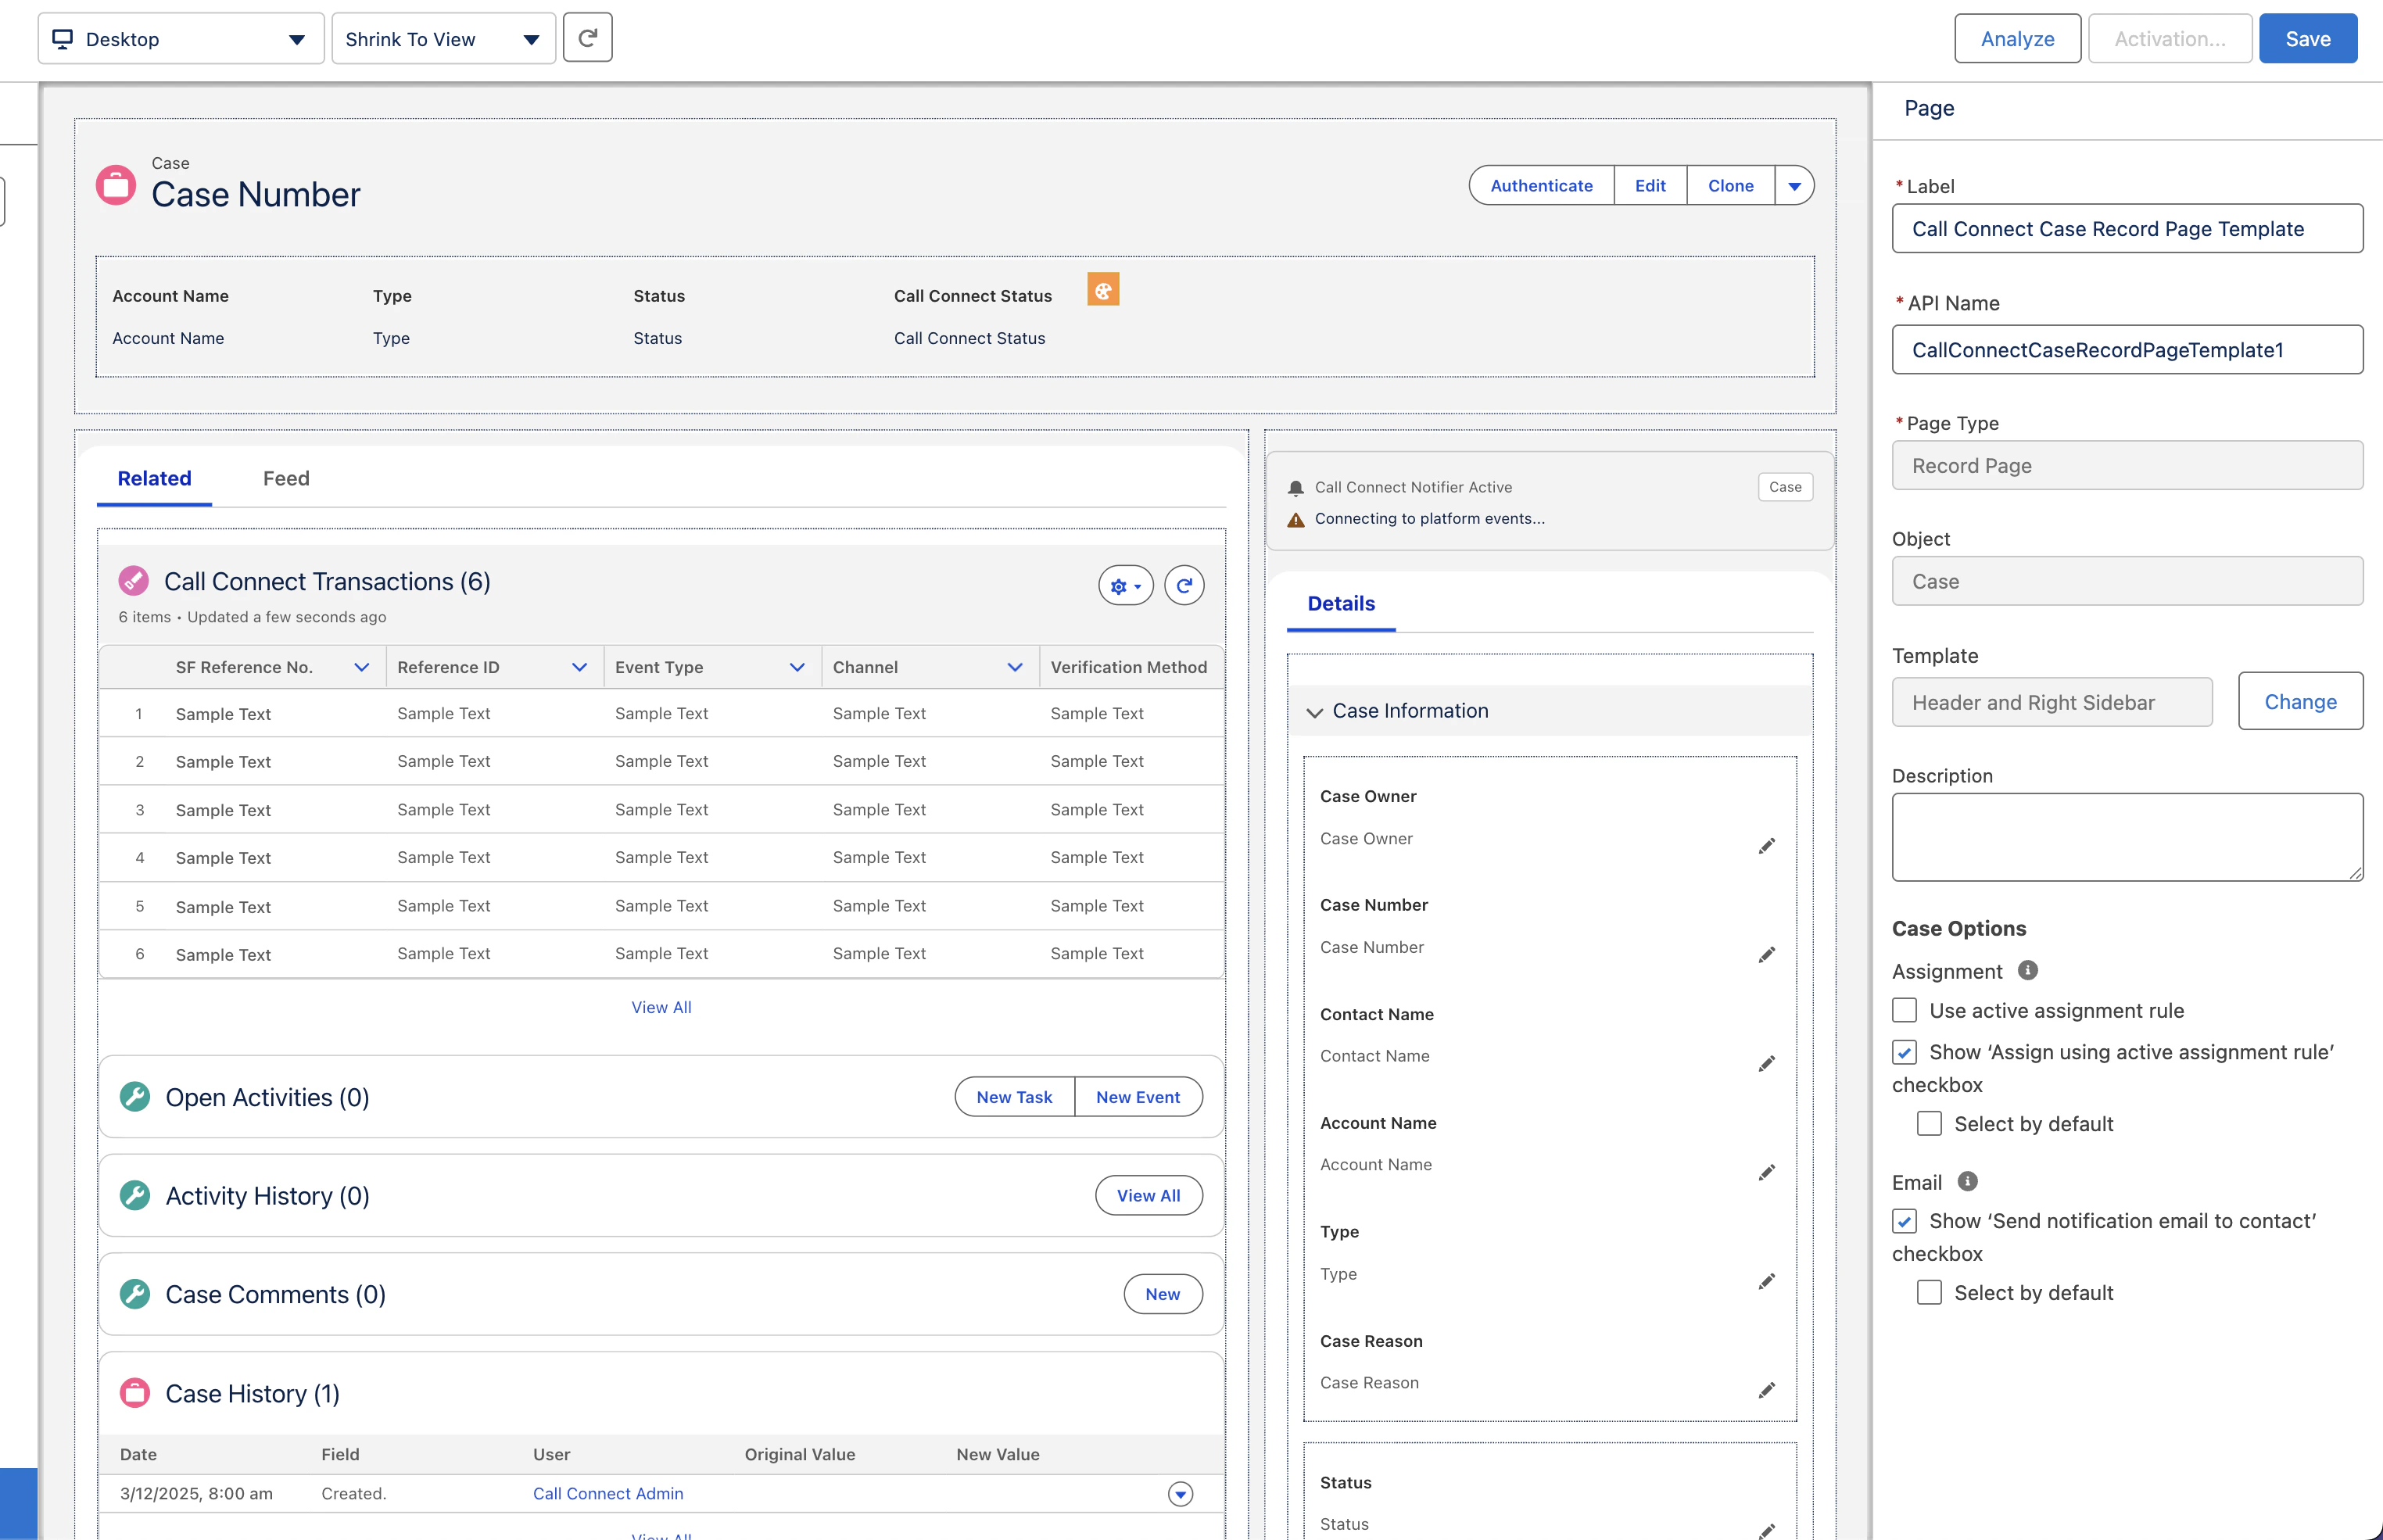
3
Activate
Once saved, click Activation on the top right of the page.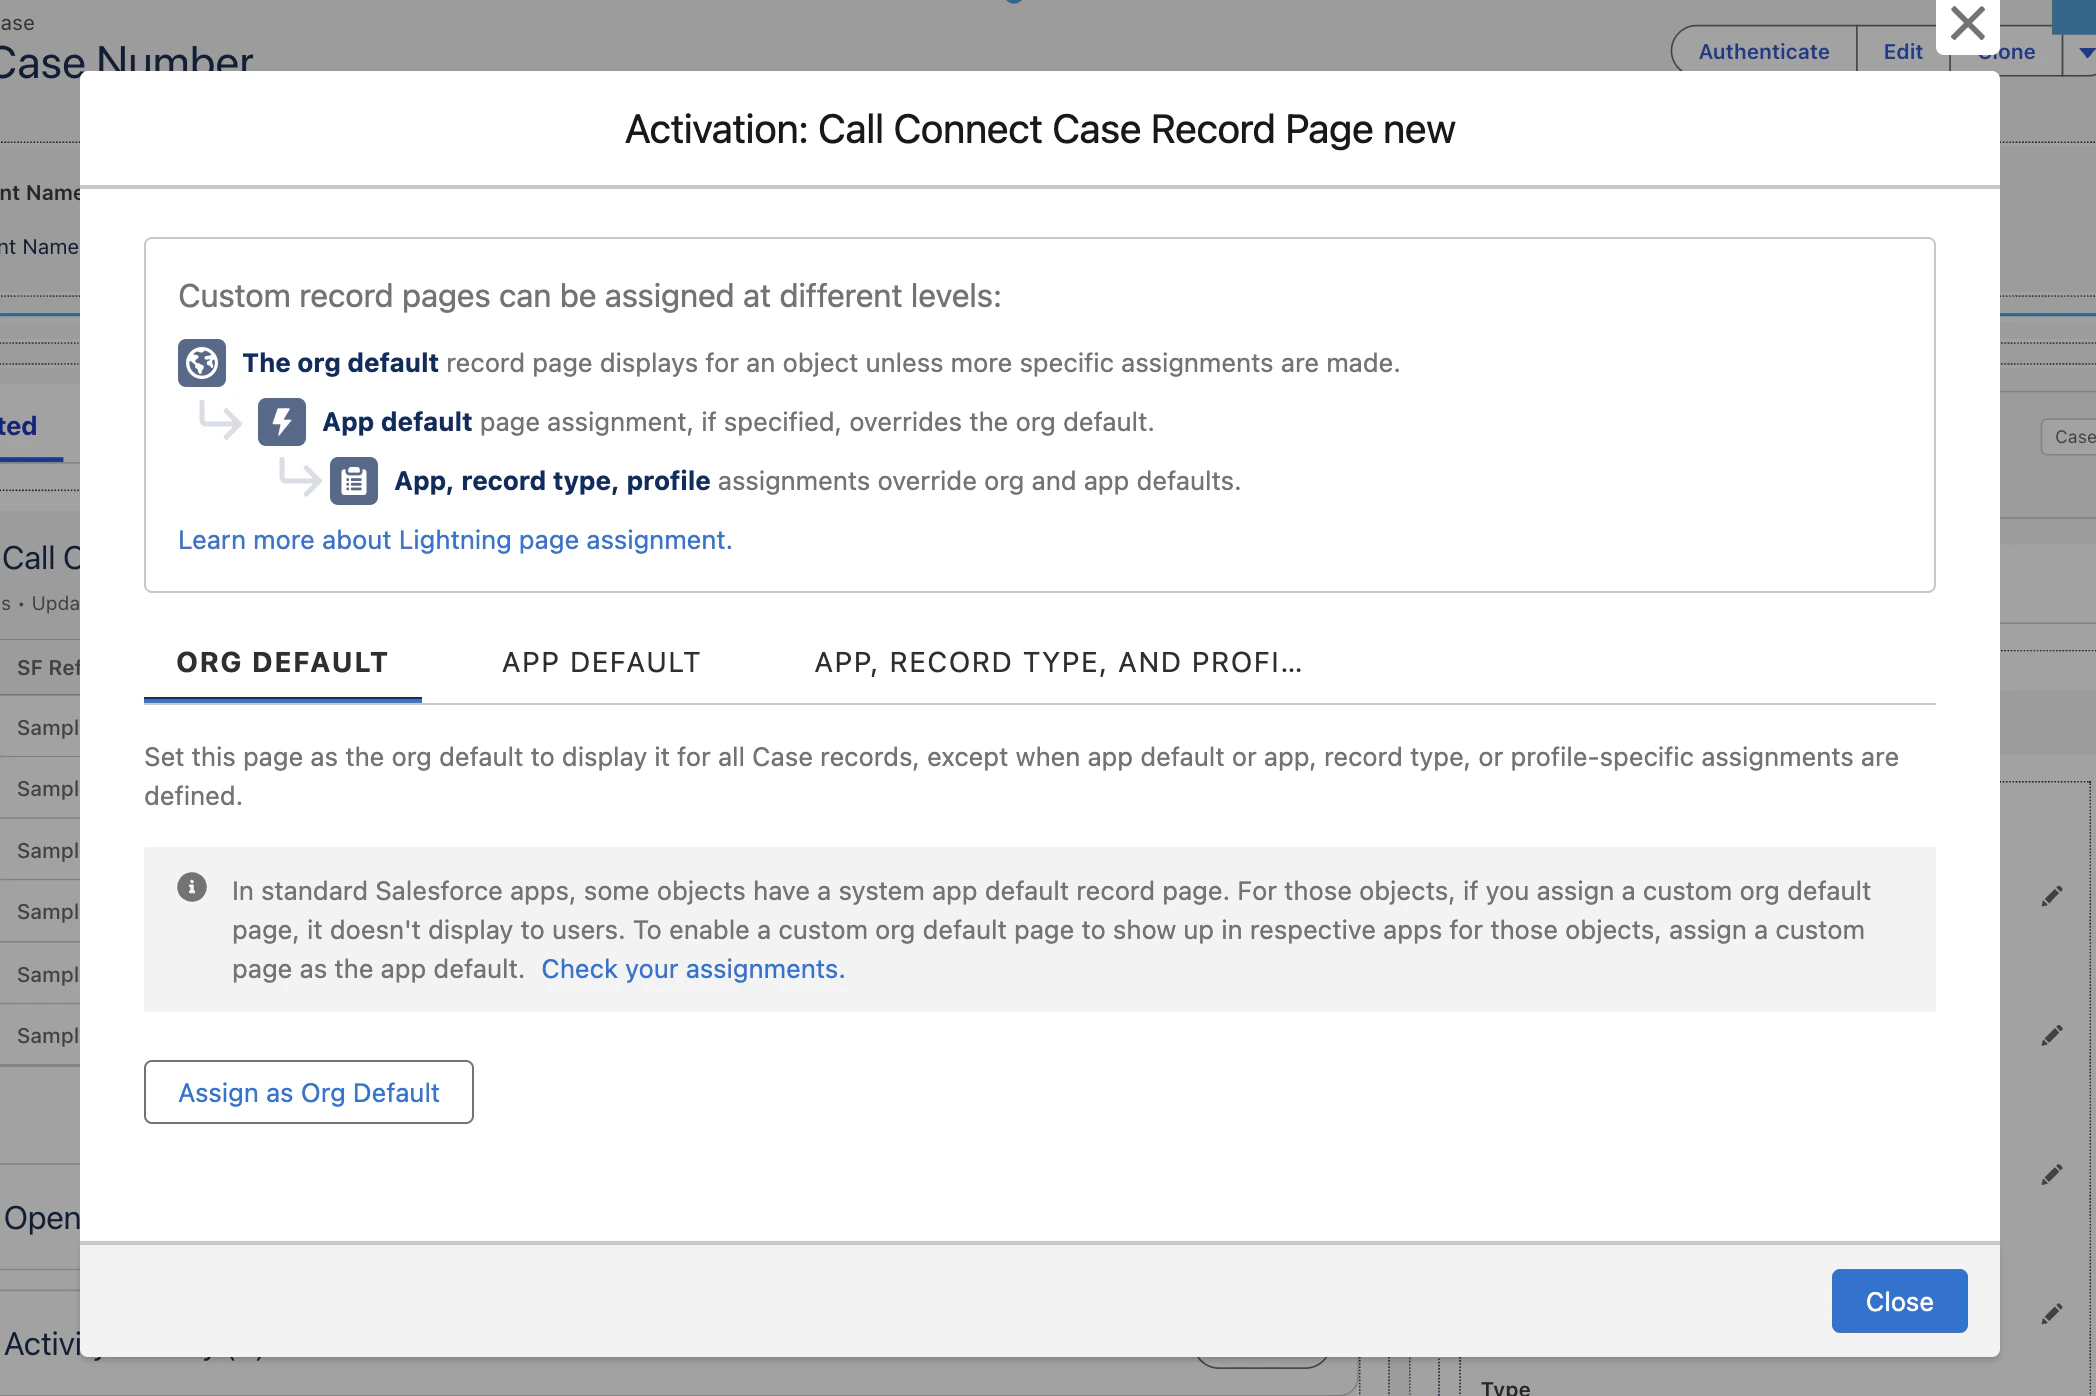
Final configuration
Step 6: Configure Call Connect custom metadata
1
Navigate to Call Connect custom metadata type
Navigate to Setup -> Custom Code -> Custom Metadata Types.Next to Call Connect Settings click Manage Records.Click Case Settings Template (please clone).
2
Clone and configure Call Connect metadata
Click Clone.Configure as below: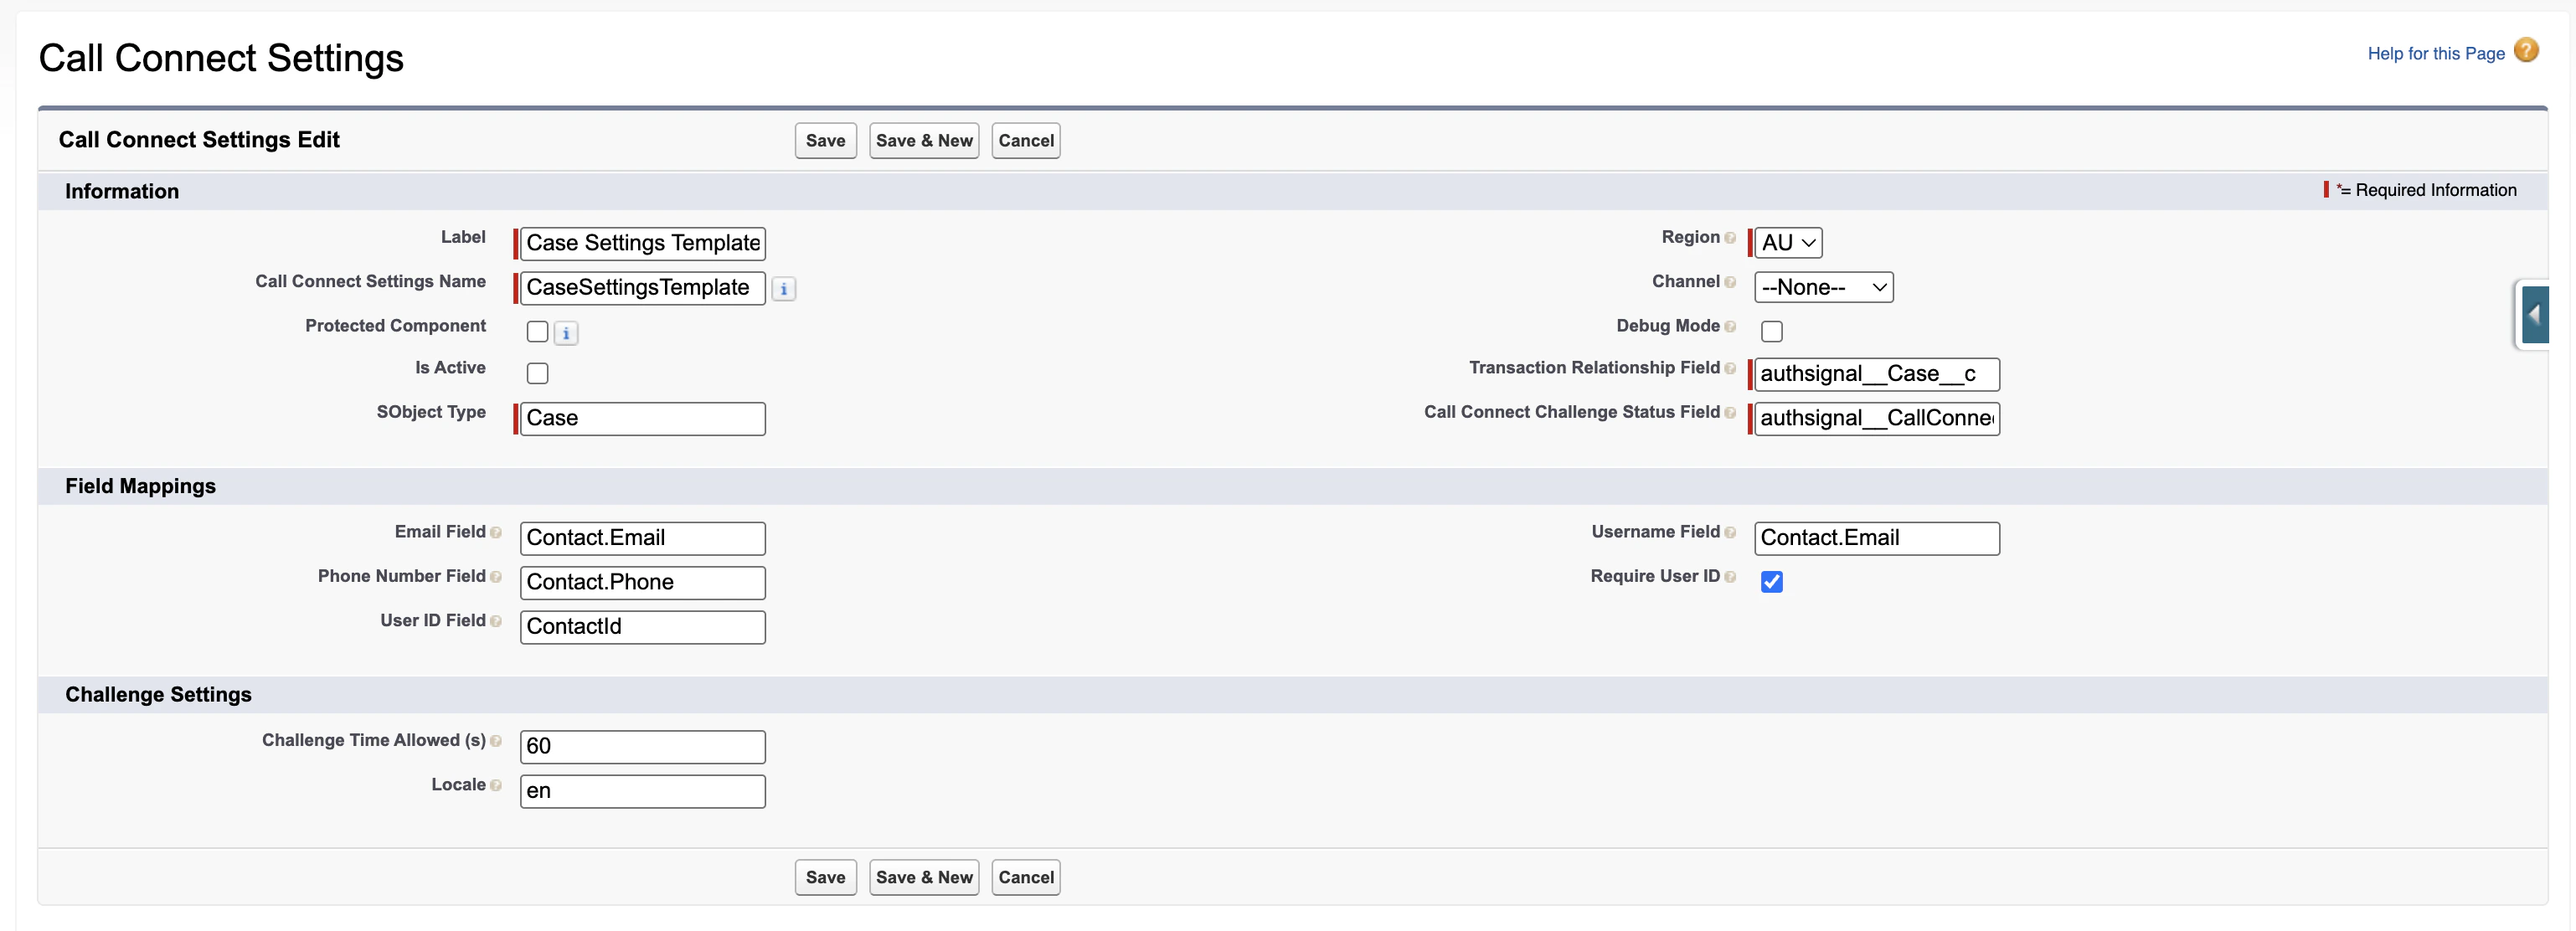
3
Activate
The original managed package metadata is already deactivated, so your new cloned record with “Is Active” =
true becomes the active configurationStep 7: Authsignal Call Connect portal configuration
1
Navigate to Call Connect setup
In the Authsignal Portal, navigate to Settings -> Call Connect. Select Salesforce.
2
Enter details
Enter the following information, which can be found from the Authsignal Salesforce Site configuration page: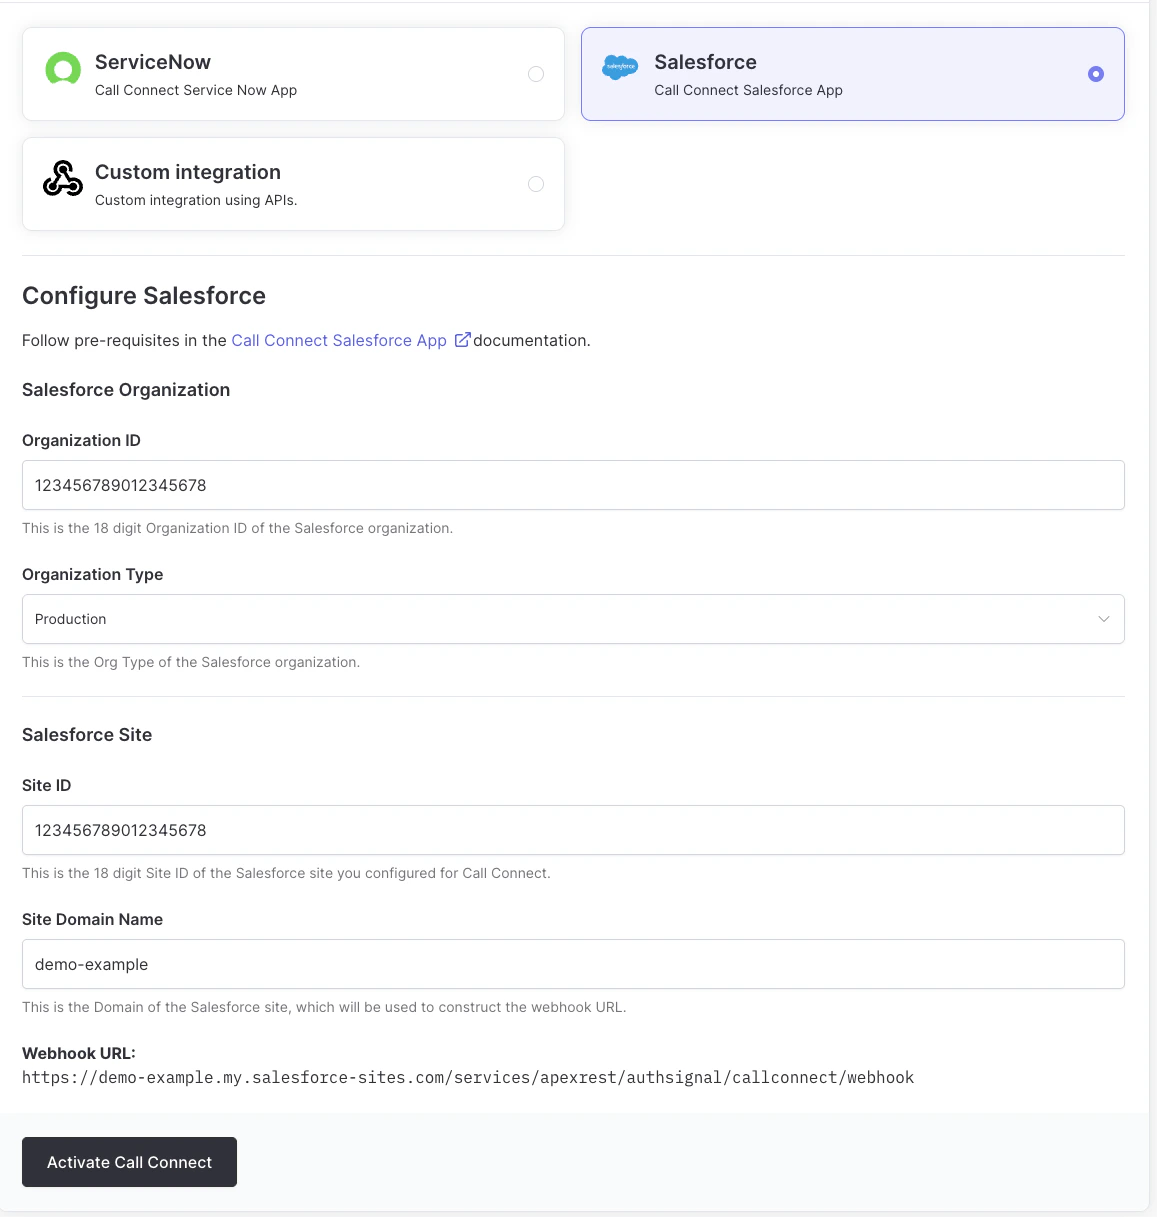
- Salesforce Organization ID
- Organization Type
- Site ID
- Site Domain Name
3
API key
You are presented with the Call Connect Settings Page. Scroll to the Call Connect API Keys section at the bottom of the page.Select to copy the API secret key. Keep this handy for the next step.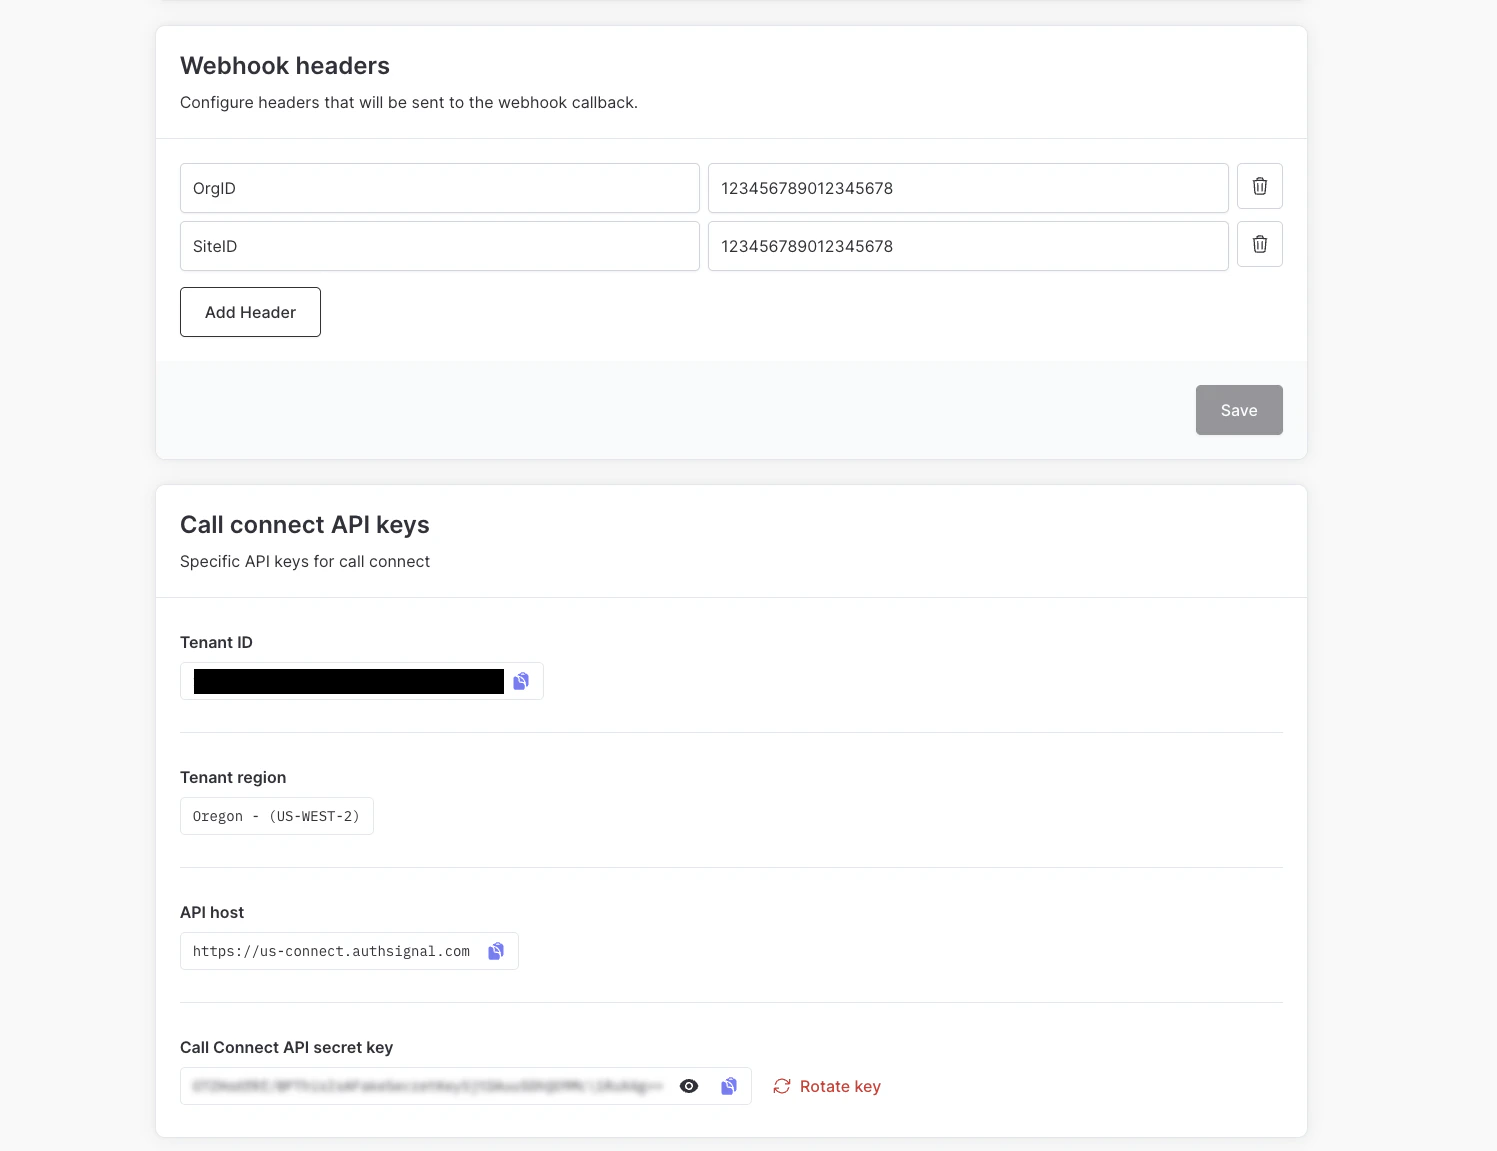
Step 8: Configure API key in Salesforce
1
Navigate to external credentials in Salesforce
In Salesforce navigate to Setup -> Security -> Named Credentials. Click on the External
Credentials tab, and select the CallConnectExtCredentials named credential.
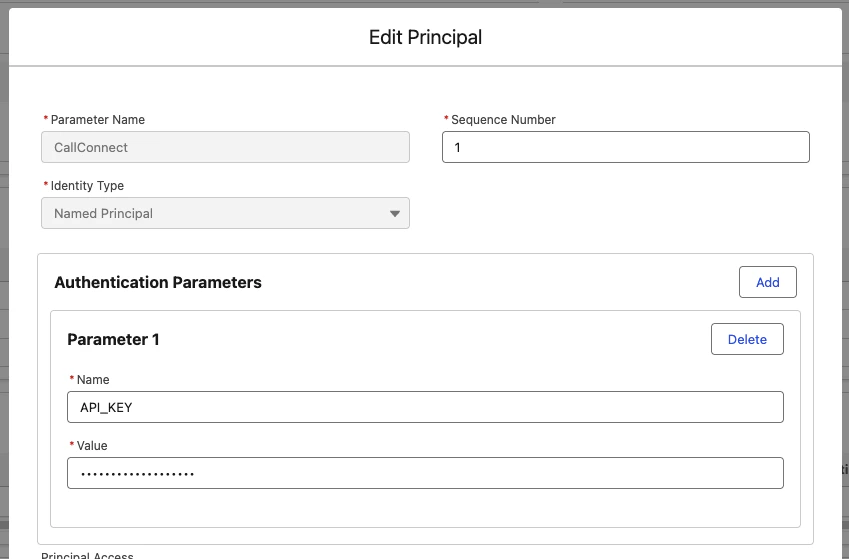
2
Edit principal
Under Principal, select the dropdown on the right and select Edit.Enter the following as a Parameter: