Overview
In this guide, we will demonstrate how to leverage a Keycloak provider to seamlessly integrate MFA into a traditional username and password login flow using Authsignal’s pre-built UI, enhancing security with minimal disruption to the user experience.MFA challenge via Authsignal pre-built UI.
Keycloak provider code example
Prerequisites
This guide assumes you have a basic understanding of Keycloak and Authsignal. If you are new to Keycloak, we recommend you follow the Keycloak Quickstart guide to get up and running.Authsignal configuration
Enable authenticators
Get API keys
Keycloak configuration
Creating a new provider
Download the provider JAR files
Download the Authsignal Java SDK JAR file
Configuring the Authsignal Authentication flow
Access your Keycloak Admin panel
Navigate to your project's Realm, and then to the 'Authentication' section
Select the 'browser' flow
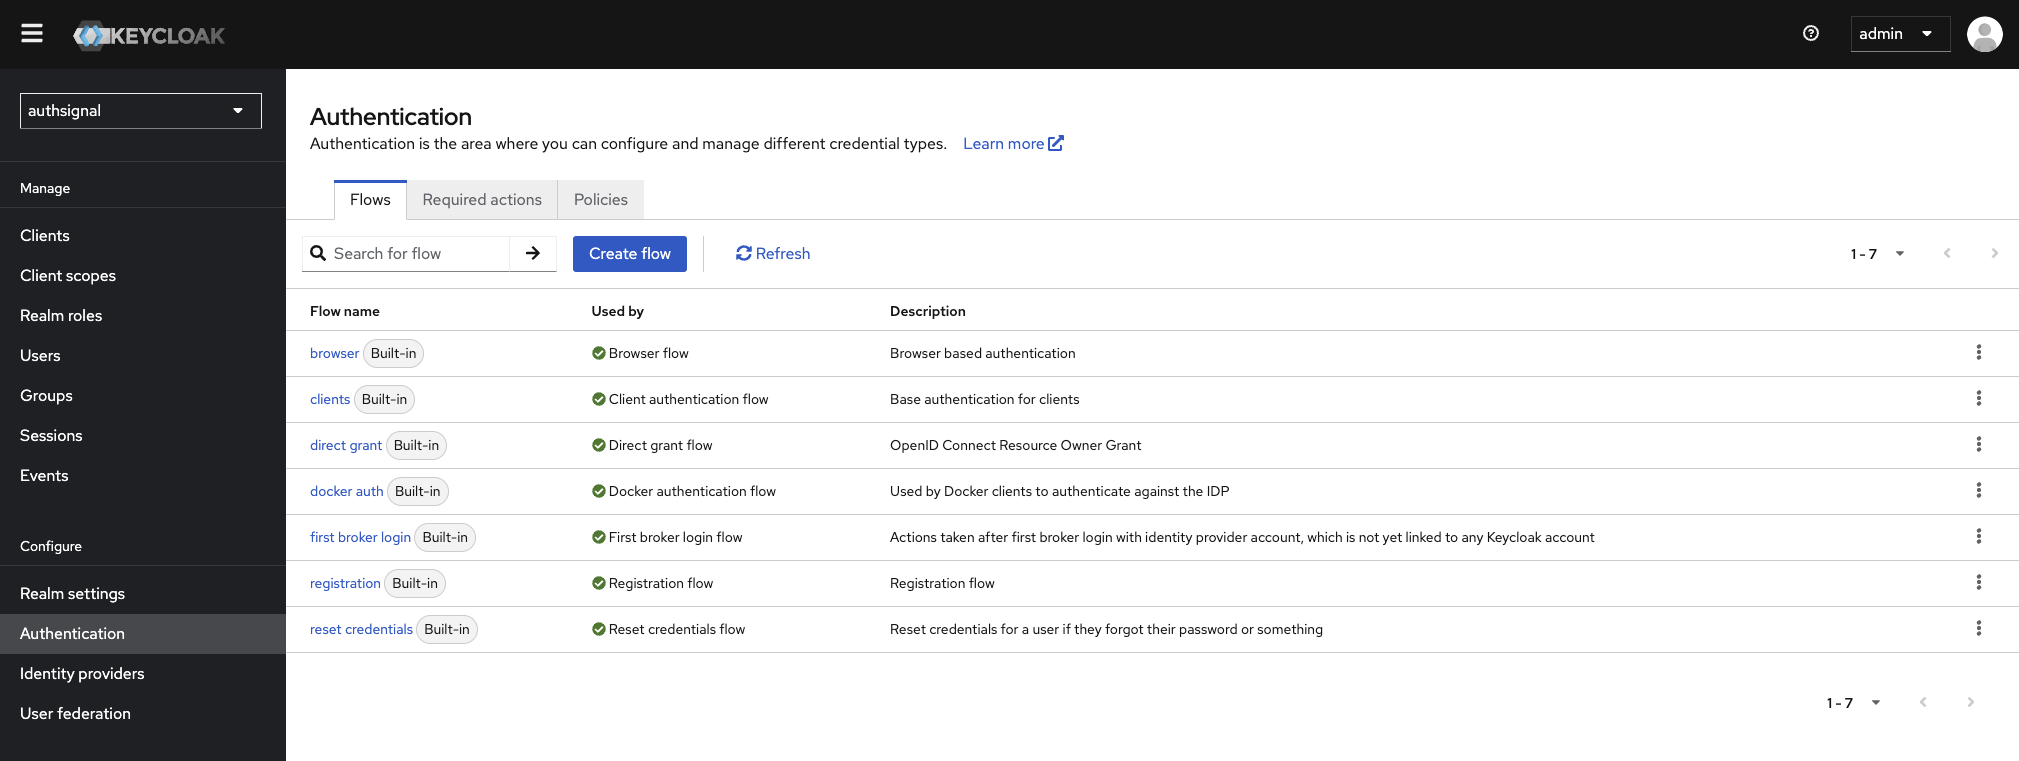
Accessing the browser flow
Create a copy of this flow using the 'Action' dropdown in the top-right
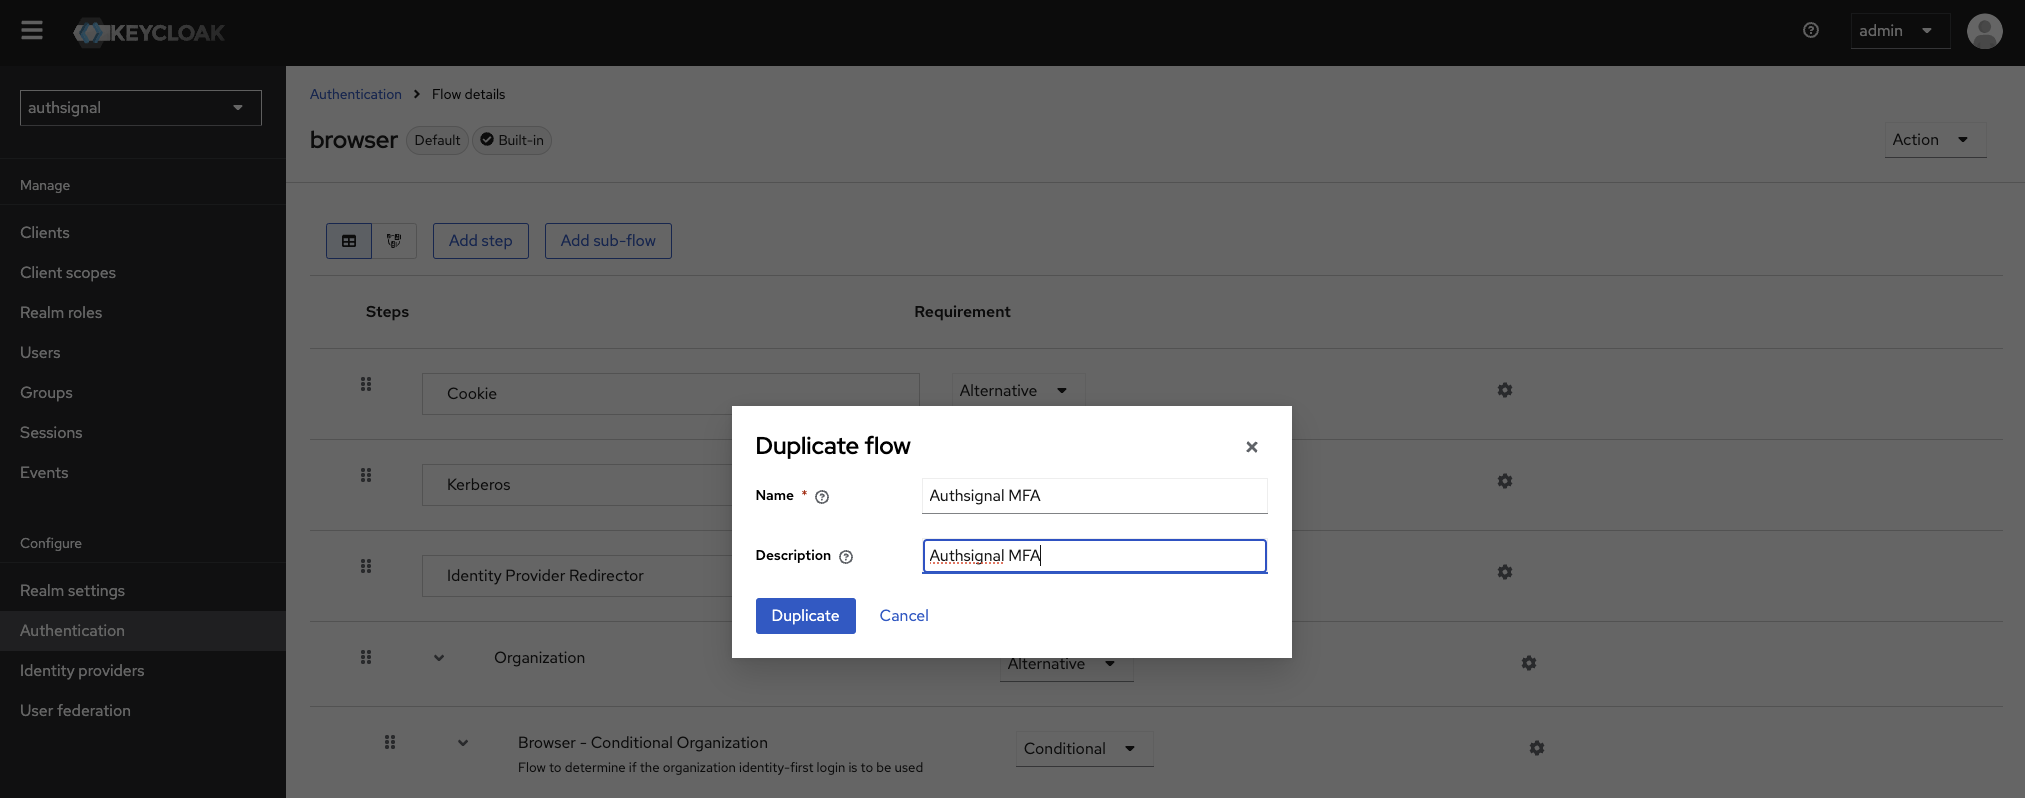
Creating a copy of the browser flow
In your new copied flow, remove the existing 'Conditional OTP' authentication step.
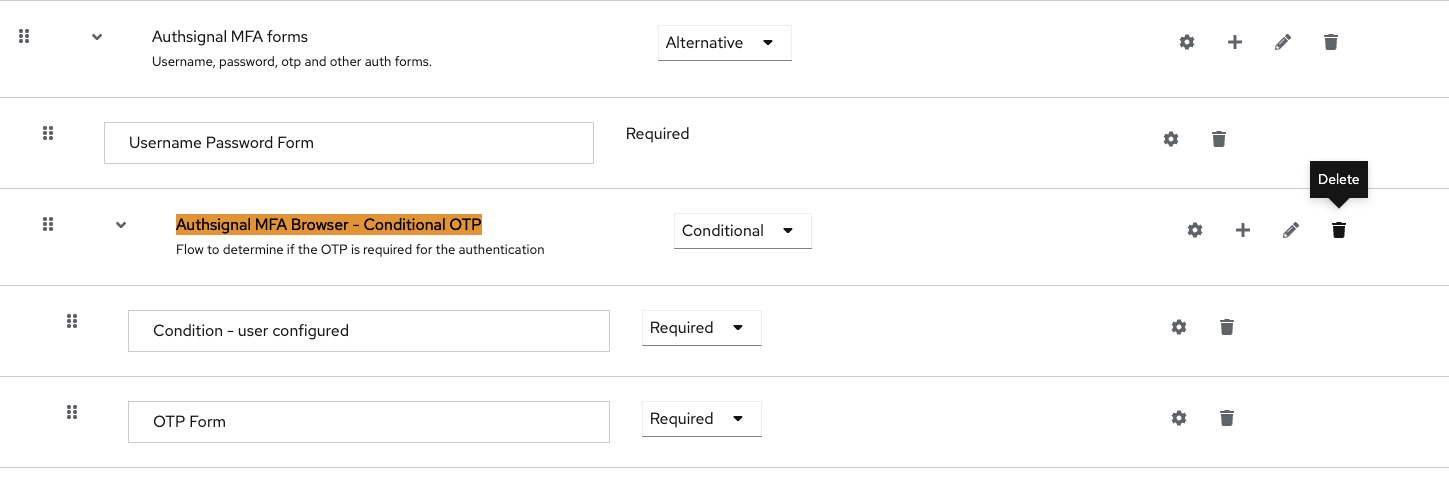
Removing the existing Conditional OTP step
Add the Authsignal provider to the flow.

Adding the Authsignal provider step
Select the Authsignal Authenticator.
/providers/ folder in the previous steps, you will see the Authsignal Authenticator listed in the menu - select it to add it to your flow.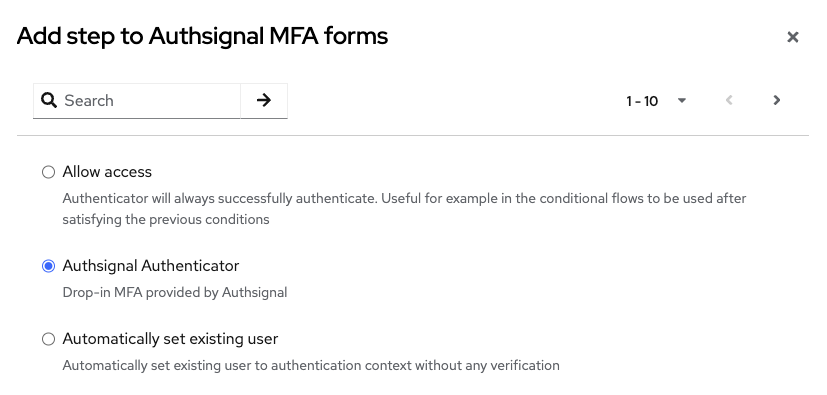
Adding the Authsignal provider step
After adding the Authsignal Authenticator step
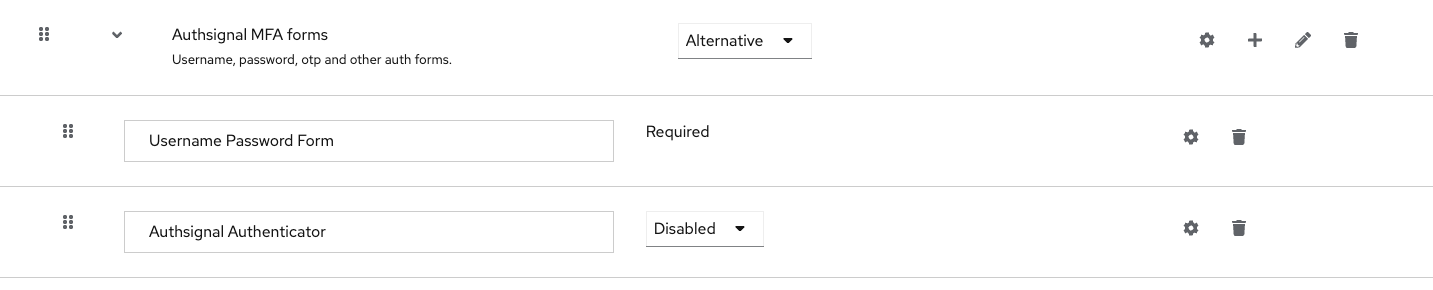
Ensure the Authsignal Authenticator step is required.

Ensuring the Authsignal Authenticator step is required
Click the settings cog on the Authsignal Authenticator step.
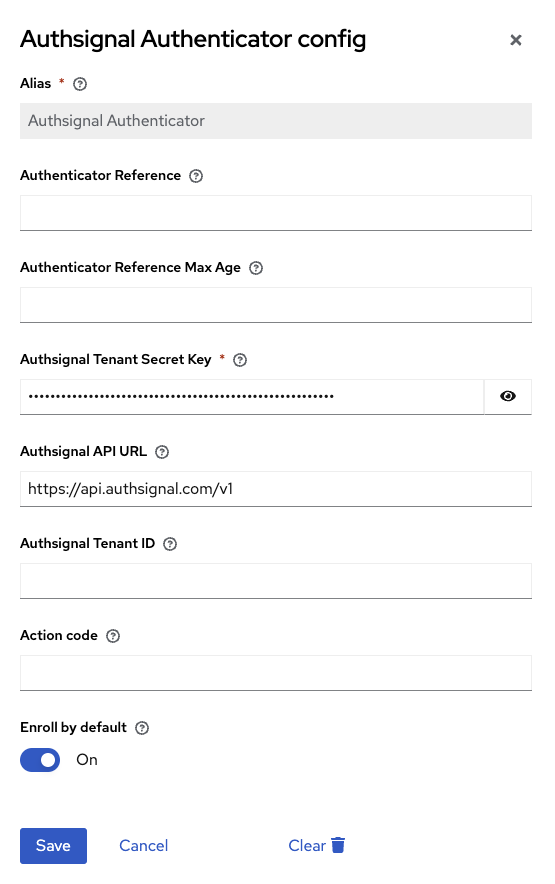
Configuring the Authsignal Authenticator
Enable the new Authsignal flow
browser flow to enable the new Authsignal flow.