Duende IdentityServer
Learn how to integrate Authsignal for MFA and passkeys when using Duende IdentityServer.
Overview
Duende IdentityServer is an ASP.NET Core framework for building your own login server in compliance with OpenID Connect and OAuth 2.0 standards.
This guide shows how to integrate IdentityServer with Authsignal in 2 steps:
- Adding MFA to a traditional username & password login flow
- Allowing passkey login as an secure and user-friendly alternative to username & password
Authsignal can be used to facilitate both MFA on login (step 1) and passwordless login (step 2). This guide demonstrates how to progressively transition users from the former to the latter.
1. MFA with authenticator app
2. Login with passkey
Code example
You can find the full code example referenced in this guide on Github here.
The solution in this example consists of 2 projects.
- /src/IdentityServer
— the login server running on
https://localhost:5001
- /src/WebClient
— the application server running on
https://localhost:5002
Configuration
Enabling authenticators
For the purposes of this example, we have enabled Authenticator App (for step 1) and Passkey (for step 2) on our tenant in the Authsignal Portal.
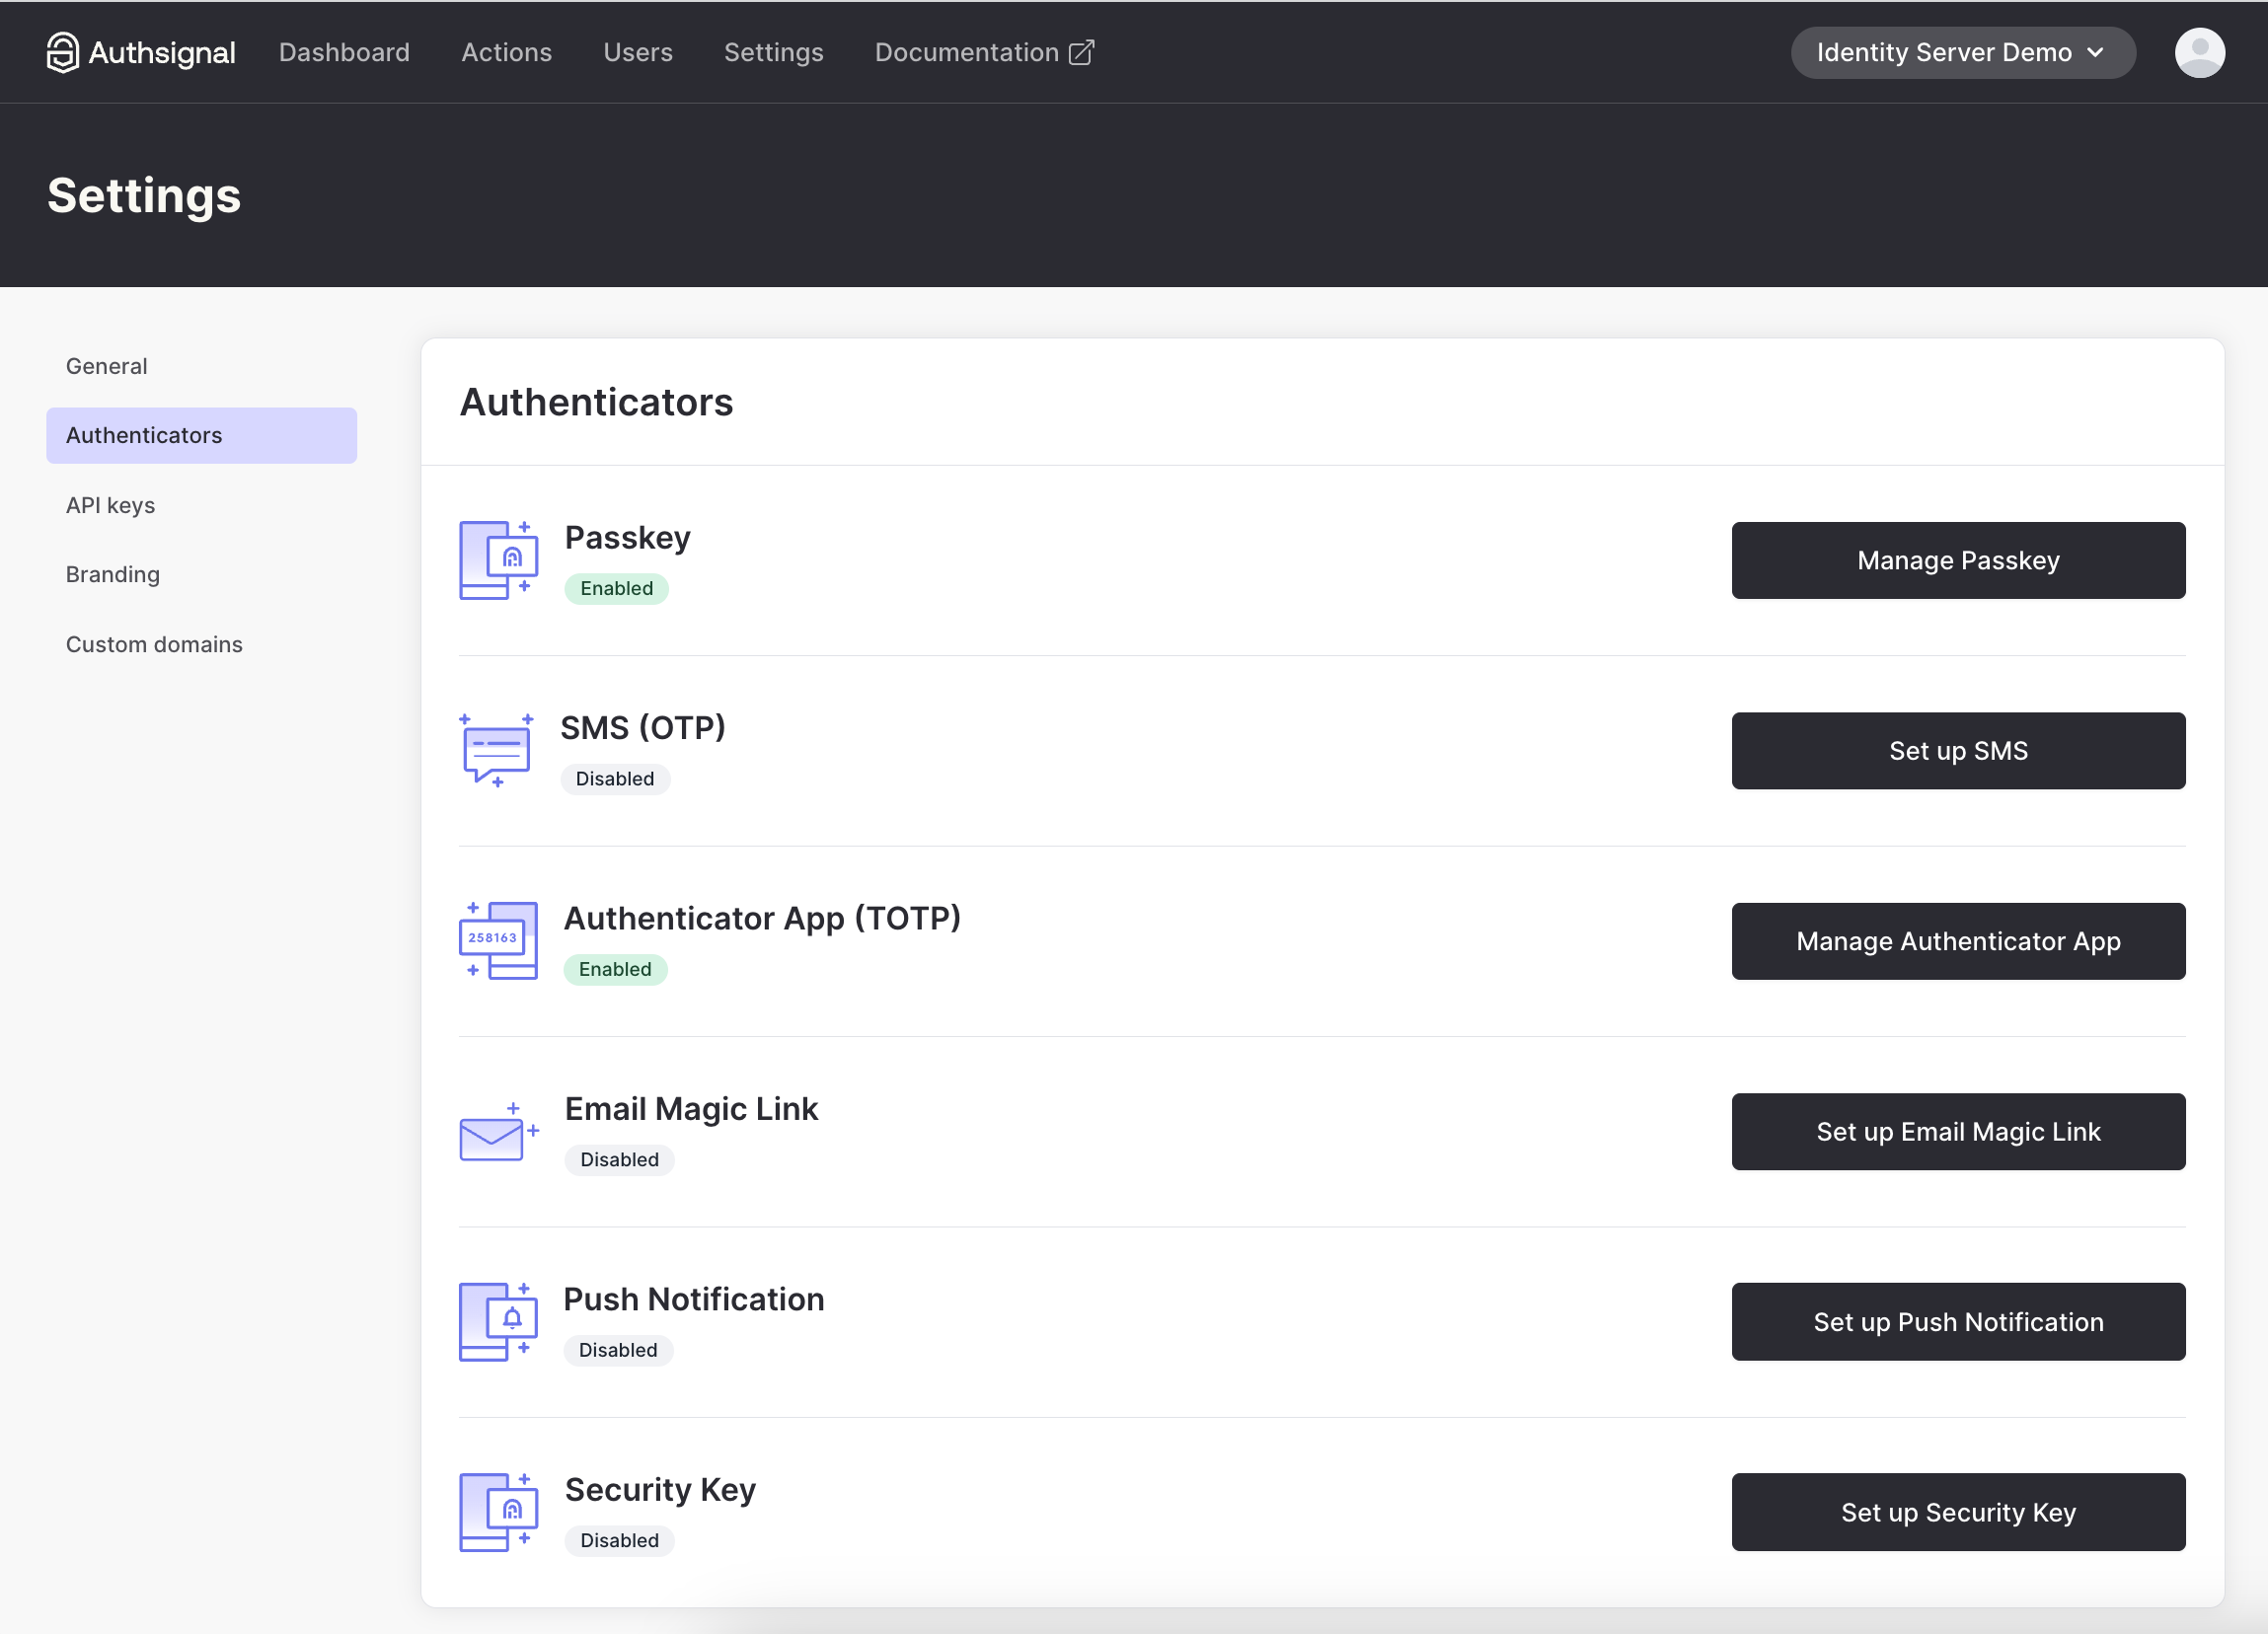
Configuring authenticators
API keys & region URL
We also need to get the API keys and region URL for our tenant.
Retrieving API keys
The secret and the region URL should be set in appsettings.json and the tenant ID and url are needed in the client-side JS snippet used for passkeys.
Adding MFA on login
The quickest way to add MFA to IdentityServer is to use Authsignal’s pre-built UI. We will redirect the user here after validating their username and password.
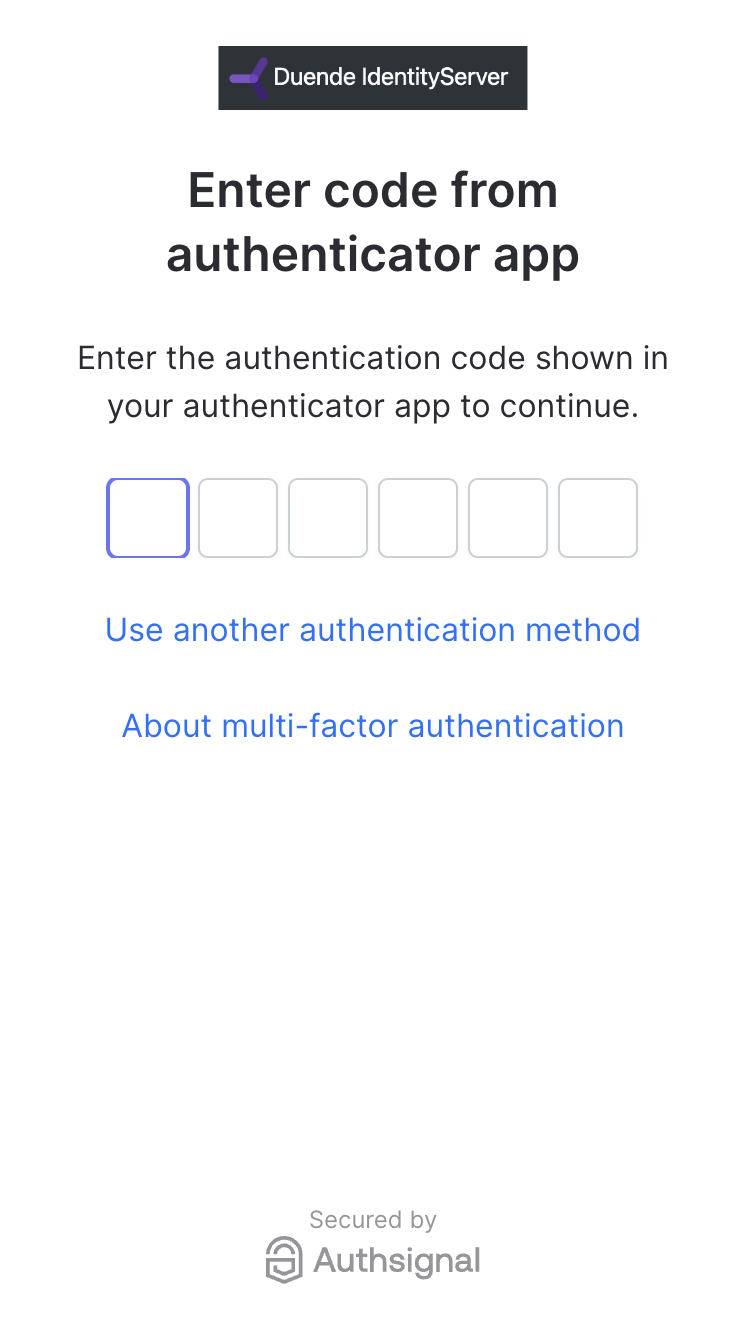
MFA challenge via Authsignal pre-built UI
The Authsignal pre-built UI can be highly customized to align with your login server’s existing branding.
Initiating the MFA challenge
To initiate an MFA challenge using the pre-built UI, we can track an action and use the URL that is returned.
/src/IdentityServer/Pages/Account/Login/Index.cshtml.cs
For convenience we are prompting the user to enroll for MFA on login if they are not yet enrolled - but you can enroll users at a different point in your user journey as required.
The RedirectUrl
we pass to the track request here will be a callback endpoint that we will add to IdentityServer to validate the result of the MFA challenge.
Validating the MFA challenge
Once the user has been redirected back to IdentityServer, we need to validate the result. We do this by implementing a callback page which uses the token that the Authsignal pre-built UI appends as a URL query param when redirecting the user back to IdentityServer. This token is used to lookup the result of the challenge server-side.
/src/IdentityServer/Pages/Account/Login/Callback.cshtml.cs
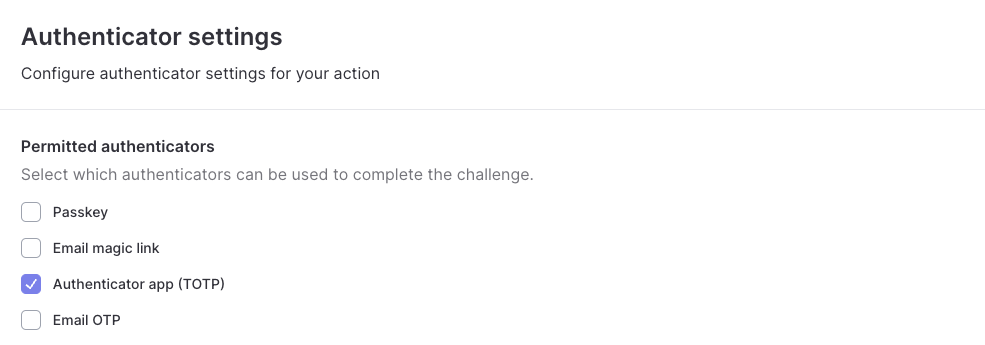
Restricting MFA to authenticator apps
By default all authenticators which have been configured will be available to use on the pre-built UI, including passkeys.
We only want to allow users to use authenticator apps for MFA. To achieve this we can go to the Settings tab
of our identity-server-login
action and update the permitted authenticators.
Implementing passkey login
Configuring passkeys
In the Authsignal Portal we have configured localhost
as the Relying Party for the purposes of local development.
We also whitelist both the login server and the application server as expected origins.
Configuring the relying party ID and expected origins
This means the user can enroll a passkey directly from our web app running on https://localhost:5002
, then reauthenticate with the same passkey when logging in to IdentityServer running on https://localhost:5001
.
Enrolling a passkey
Once the user has logged in with MFA, we can use the Authsignal Web SDK to allow the user to add a passkey.
This can be done by adding a button to the application server (i.e. the WebClient).
Adding a passkey
To implement this we add a new page /src/WebClient/Pages/Passkeys.cshtml.
The enrollmentToken
here is fetched server-side in /src/WebClient/Pages/Passkeys.cshtml.cs when the page loads.
Finally, we need to add the client-side JS implementation for the addPasskey function which uses the Authsignal Web SDK.
Logging in with a passkey
Now that the user has enrolled a passkey, the next time they login via IdentityServer we would like to give them the option to use their passkey instead of their username & password.
This can be achieved simply by adding a small client-side JavaScript snippet which initializes the existing username field to allow passkeys.
First we need to ensure that the input field has the value username webauthn
in the autocomplete attribute.
Then we add some JavaScript to run when the page loads.
This will initialize the input field for passkey autofill, which means if a user has enrolled a passkey then they should be able to select it when focusing the text field.
Logging in with a passkey
The validation process here is the same as for logging in with MFA in step 1 - the only difference here is that we now receive a token directly from the Authsignal Web SDK. In both cases, we pass this token to our callback page, which uses the token to validate the result of the challenge server-side and log the user in.
MFA with email
What if you’re using email and password as your primary authentication step and you want to use an email-based Authsignal method (OTP or magic link) as the secondary MFA step? In this scenario you’re already capturing the user’s email in the first step, so you want to avoid prompting the user to input their email again in the second step.
This can be achieved by passing the user’s email with the track request.
Alternatively, you can use our Server SDK to programmatically enroll the user with an email-based authenticator.
In either case, you’ll likely also want to disable the “Self-service management” setting for your email authenticator in the Authsignal Portal. This means the user will not be able to input or edit their email in the Authsignal UI themselves.
Conclusion
That’s it! You’ve successfully added both MFA and passkey login by integrating IdentityServer with Authsignal.
For more information, check out our passkeys documentation or to test out passkey compatibility on your browser you can play with our demo site.
Was this page helpful?