To integrate Authsignal with Cognito, you’ll use the second approach. Authsignal offers two ways of integrating with Cognito’s custom authentication challenge Lambda triggers:
Custom UI - Build your own UI using our Client SDKs for web and mobile when you need complete control over the user experience.
Passkey authentication in a native mobile app using Authsignal Client SDKs
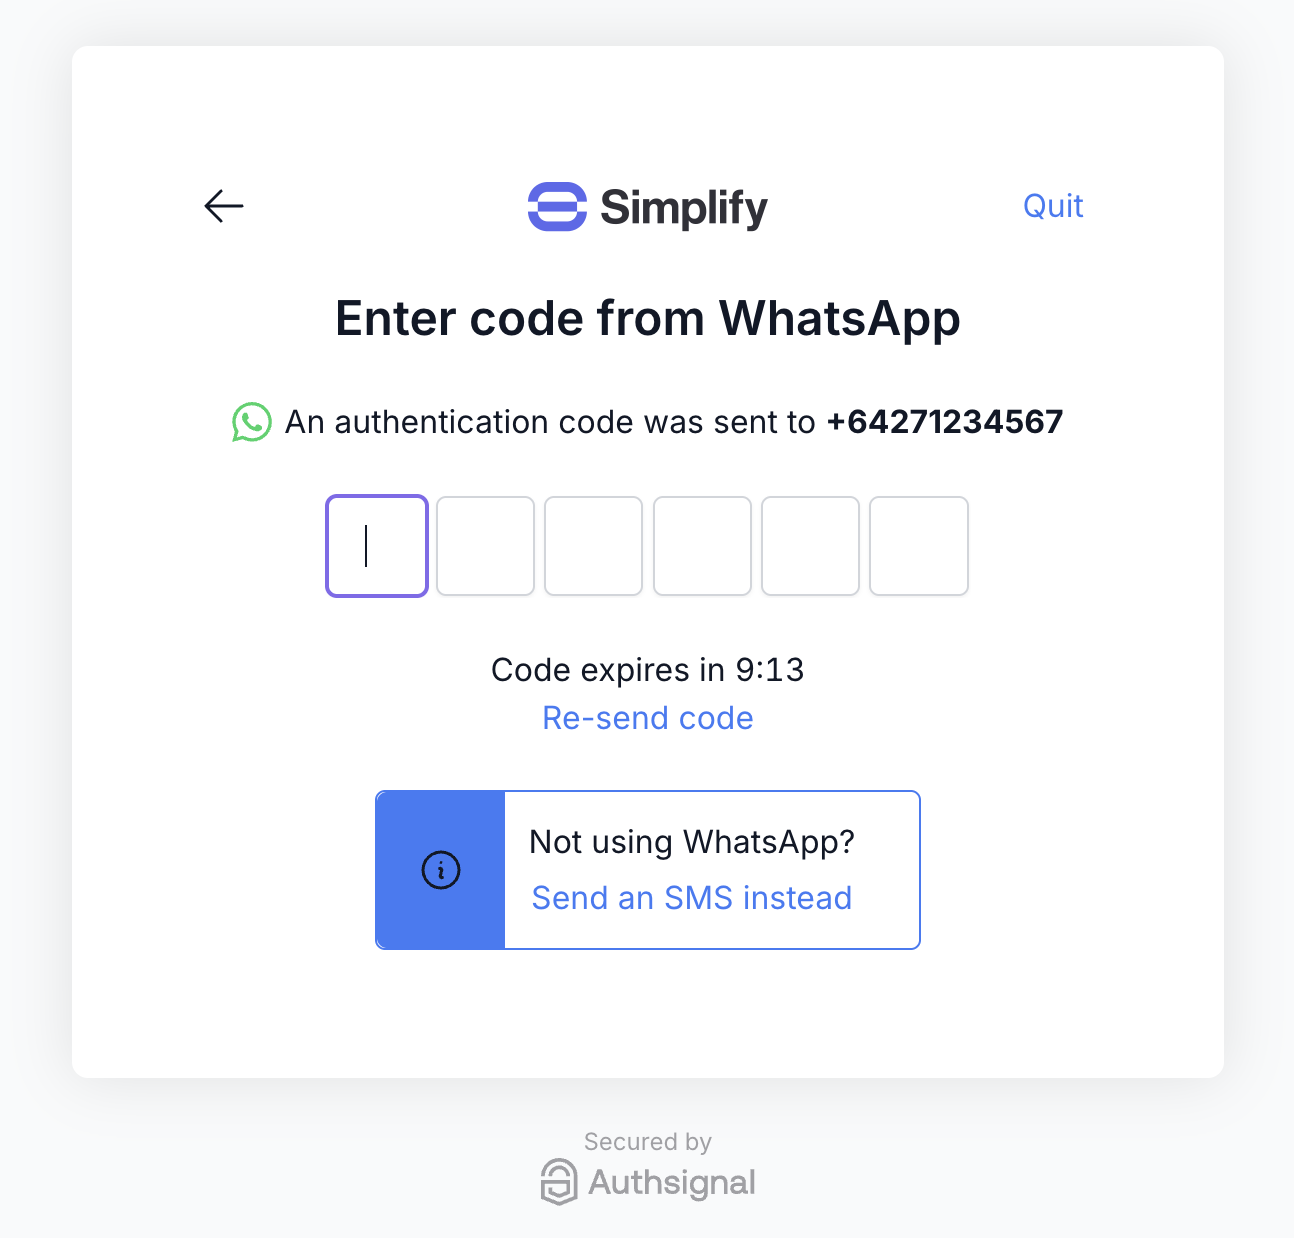
Pre-built UI - Drop in our ready-to-use hosted UI that supports passkeys, SMS and WhatsApp OTP, and more. You can customize the design to match your brand.
WhatsApp OTP authentication in a web app using Authsignal's pre-built UI
In this lambda we will take the validation token obtained from the Authsignal Client SDK and pass it to the Authsignal Server SDK to verify the challenge.
In this lambda we will take the validation token obtained when redirecting back from the Authsignal pre-built UI and pass it to the Authsignal Server SDK to verify the challenge.
You can call SignUp either as part of a separate account registration flow, or “just-in-time” before every sign-in attempt (ignoring if the user already exists).
import { CognitoIdentityProviderClient, SignUpCommand,} from "@aws-sdk/client-cognito-identity-provider";const client = new CognitoIdentityProviderClient({ region: "YOUR_AWS_REGION",});// If a password is required, generate a dummy value// It will never be used for passwordless authenticationconst password = Math.random().toString(36).slice(-16) + "X";const command = new SignUpCommand({ ClientId: "YOUR_USER_POOL_CLIENT_ID", Username: username, Password: password, UserAttributes: [ // Include email attribute if obtained in step 1 { Name: "email", Value: email, }, // Include phone_number attribute if obtained in step 1 { Name: "phone_number", Value: phoneNumber, }, ],});await client.send(command);
Alternately you can handle the sign-up logic in your backend using Cognito’s AdminCreateUserCommand as in this example.
The next step in authenticating with Cognito from your web or mobile app is to call InitiateAuth.
This will invoke the Create auth challenge lambda which we have implemented above to return an Authsignal challenge token.
Here we obtain a challenge token to pass to an Authsignal Client SDK.
import { CognitoIdentityProviderClient, InitiateAuthCommand,} from "@aws-sdk/client-cognito-identity-provider";const client = new CognitoIdentityProviderClient({ region: "YOUR_AWS_REGION",});const command = new InitiateAuthCommand({ ClientId: "YOUR_USER_POOL_CLIENT_ID", AuthFlow: AuthFlowType.CUSTOM_AUTH, AuthParameters: { USERNAME: username, },});const output = await client.send(command);// We will pass this challenge token to an Authsignal Client SDKconst token = output.ChallengeParameters?.token;
Here we obtain a short-lived URL for the Authsignal pre-built UI.
import { CognitoIdentityProviderClient, InitiateAuthCommand,} from "@aws-sdk/client-cognito-identity-provider";const client = new CognitoIdentityProviderClient({ region: "YOUR_AWS_REGION",});const command = new InitiateAuthCommand({ ClientId: "YOUR_USER_POOL_CLIENT_ID", AuthFlow: AuthFlowType.CUSTOM_AUTH, AuthParameters: { USERNAME: username, },});const output = await client.send(command);// We will launch the Authsignal pre-built UI using this urlconst url = output.ChallengeParameters?.url;// Keep a reference to the session// We will pass this back when calling RespondToAuthChallengeconst session = output.Session;
Here we show email OTP but our SDKs support a variety of methods including SMS or WhatsApp OTP, email magic link, authenticator app, and more.
// 1. Set the challenge token obtained from the InitiateAuth callauthsignal.setToken(token);// 2. Send the user an OTP code via emailawait authsignal.email.challenge();// 3. Verify the code inputted by the user matches the original codeconst response = await authsignal.email.verify({ code: "123456" });// 4. Obtain a validation token for the next stepconst validationToken = response.data?.token;
Use the Authsignal pre-built UI to present the user with a challenge.
// Redirect user to the pre-built UI// They will be redirected back to your app's redirect URL// A validation token will be appended as a URL query paramauthsignal.launch(url);
The final step of your app integration is to call RespondToAuthChallenge.
This will invoke the Verify auth challenge response lambda which we have implemented above to complete authentication using our Authsignal validation token.
Pass the validation token obtained from the Authsignal Client SDK to Cognito as the challenge answer.