> ## Documentation Index
> Fetch the complete documentation index at: https://docs.authsignal.com/llms.txt
> Use this file to discover all available pages before exploring further.
# API testing using Postman
> Learn how to test Authsignal APIs using Postman.
This guide shows how to use Postman to test Authsignal APIs. In this tutorial we will track an action with the [Server API](/api-reference/server-api/overview), and then use the [Client API](/api-reference/client-api/overview) to send an [Email OTP](/authentication-methods/email/otp).
## Prerequisites
* An Authsignal tenant
* An authenticator configured (in this example we use [Email OTP](/authentication-methods/email/otp))
## Configuration
Navigate to your Postman workspace and click **Import**
Enter the relevant OpenAPI specification URL in the import dialog.
Links to OpenAPI specifications can be found in the relevant API reference overviews.
For now, we will enter the URL for the Server API `https://docs.authsignal.com/server-api.json` and the Client API `https://docs.authsignal.com/client-api.json`.
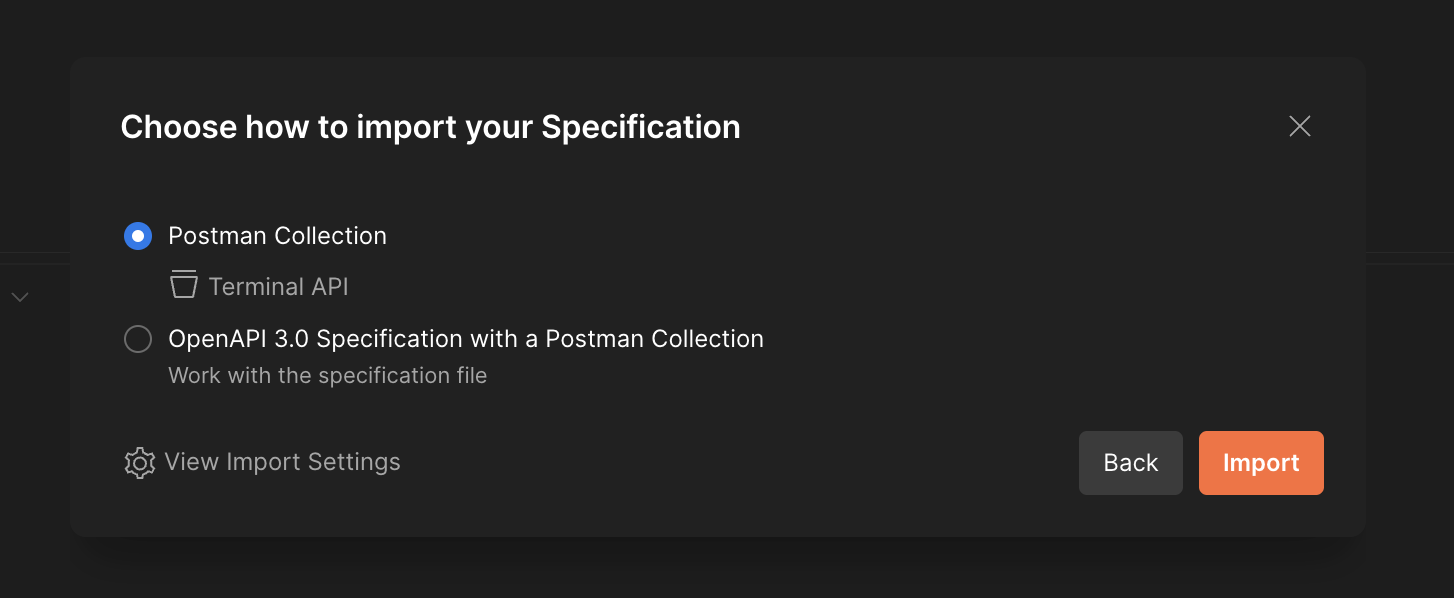
Choose **Postman Collection** to add to your existing Workspace.
Click **Import**
## Server API
Double-click on the **Server API** collection.
In the **Authorization** tab, enter your Server API secret from the Authsignal settings page .
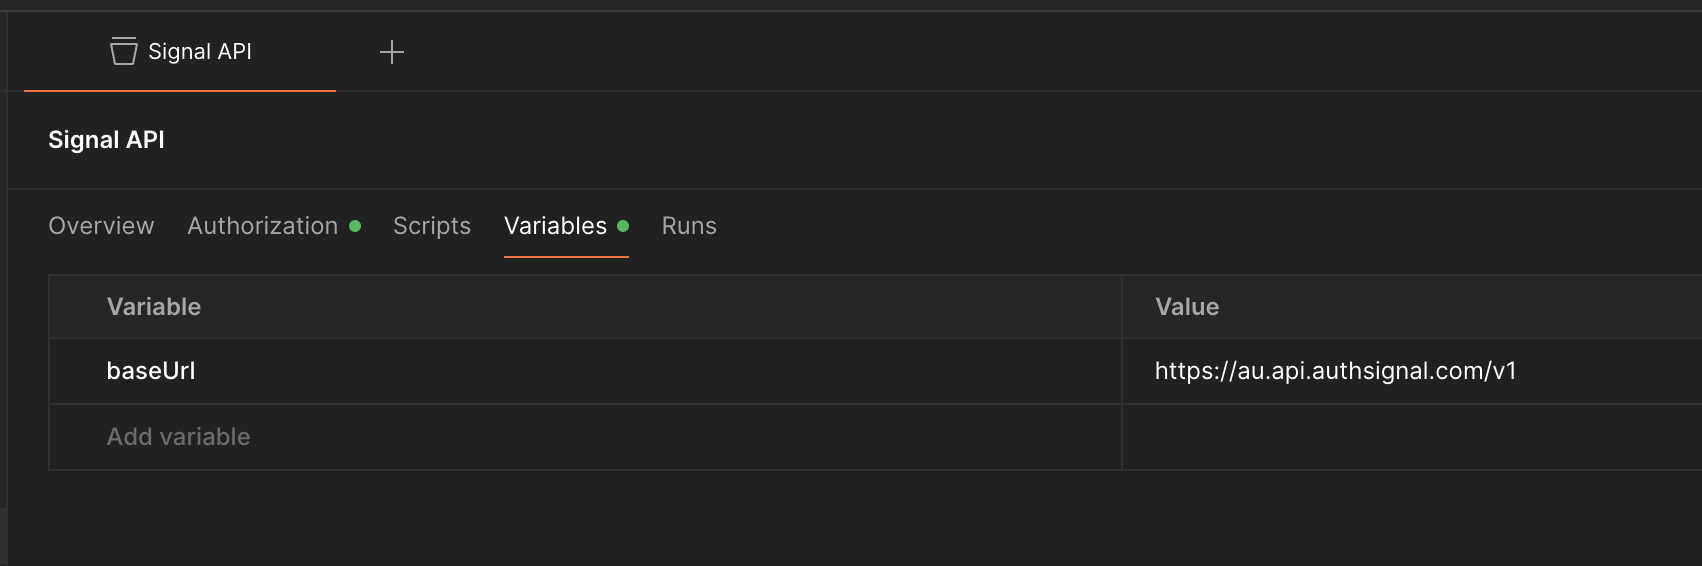
In the **Variables** tab, ensure the `baseUrl` matches the correct regional URL for your tenant's configuration.
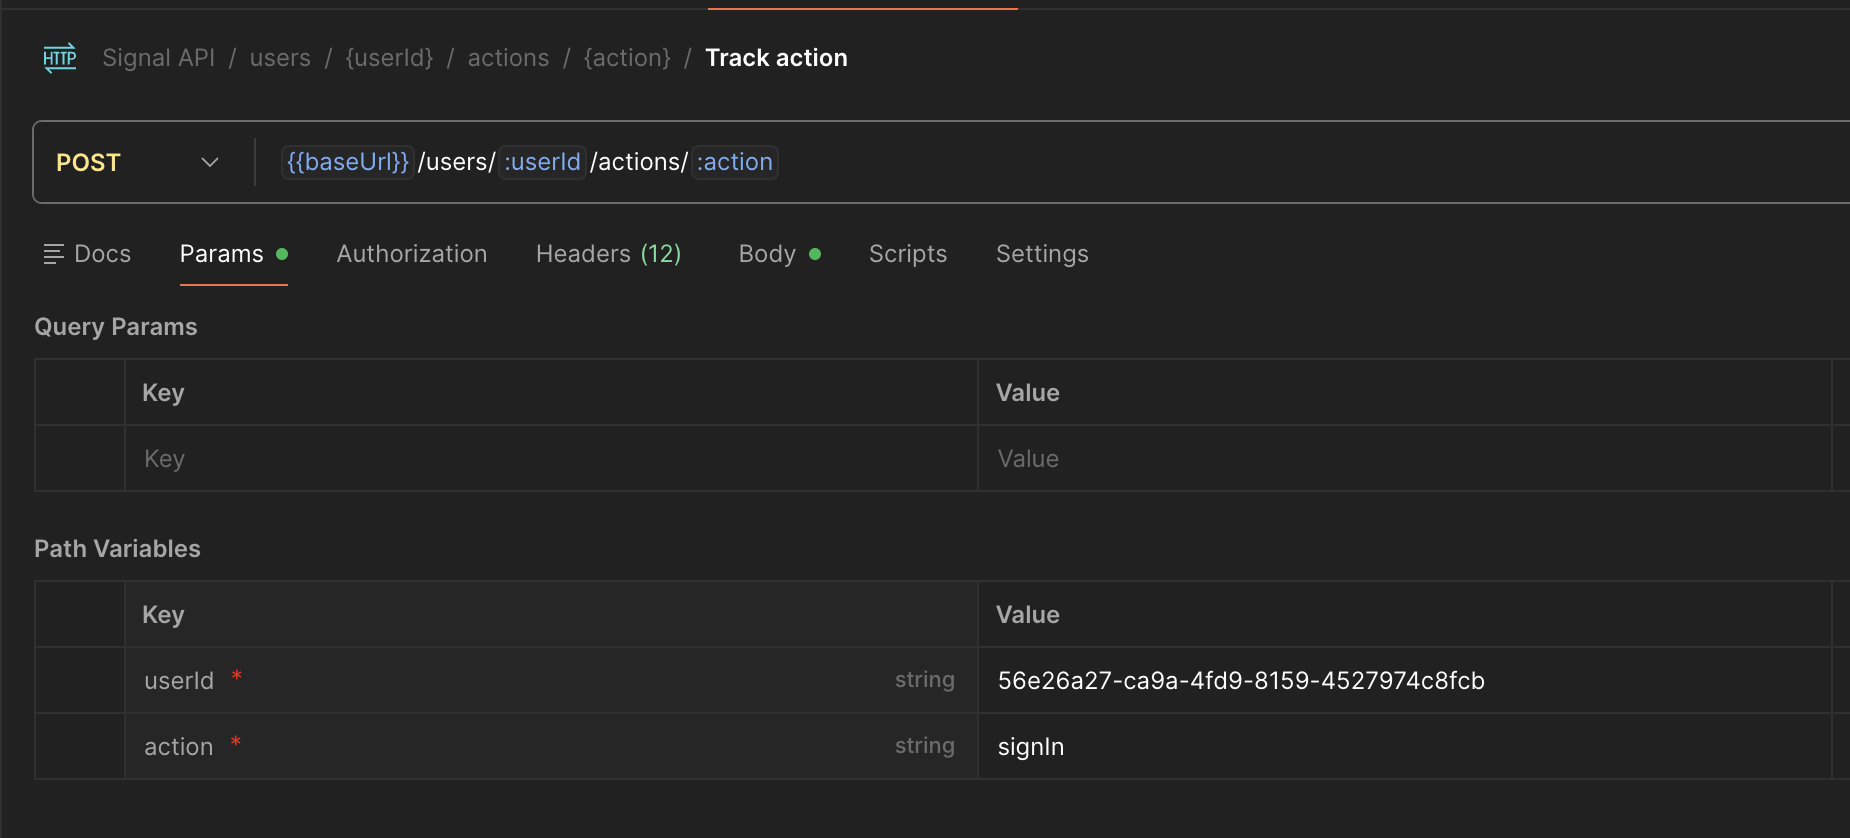
In the **Server API** workspace, select `users` -> `actions` -> `{action}` -> `Track Action`.
Be sure to update the variables to match a relevant user ID and action code.
For the purposes of this tutorial, use a random GUID as the `userId`, and `signIn` as your action code. The relevant values here may differ depending on your Authsignal Tenant's configuration.
Select **Send**.
In the response body, make note of the `token` value in the response. We will use this in a moment to test the Client API.
## Client API
Now that we have a token generated by our track action call, next we will set up the Client API to simulate a front end application.
Double click on **Client API** in the workspace menu.
On the **Authorization** tab, enter the token obtained from the previous step as the `bearerToken` value.
On the **Variables** tab, ensure the `baseUrl` matches the correct regional URL for your tenant's configuration.
In this example, we will enroll the user with an Email OTP authenticator.
In the **Client API** workspace select `user-authenticators` -> `email-otp` -> `Start Email OTP enrollment`.
Head to the `body` of the request, and enter your email address.
Click **Send** to start the enrollment.
You should now have received an email with the OTP code.
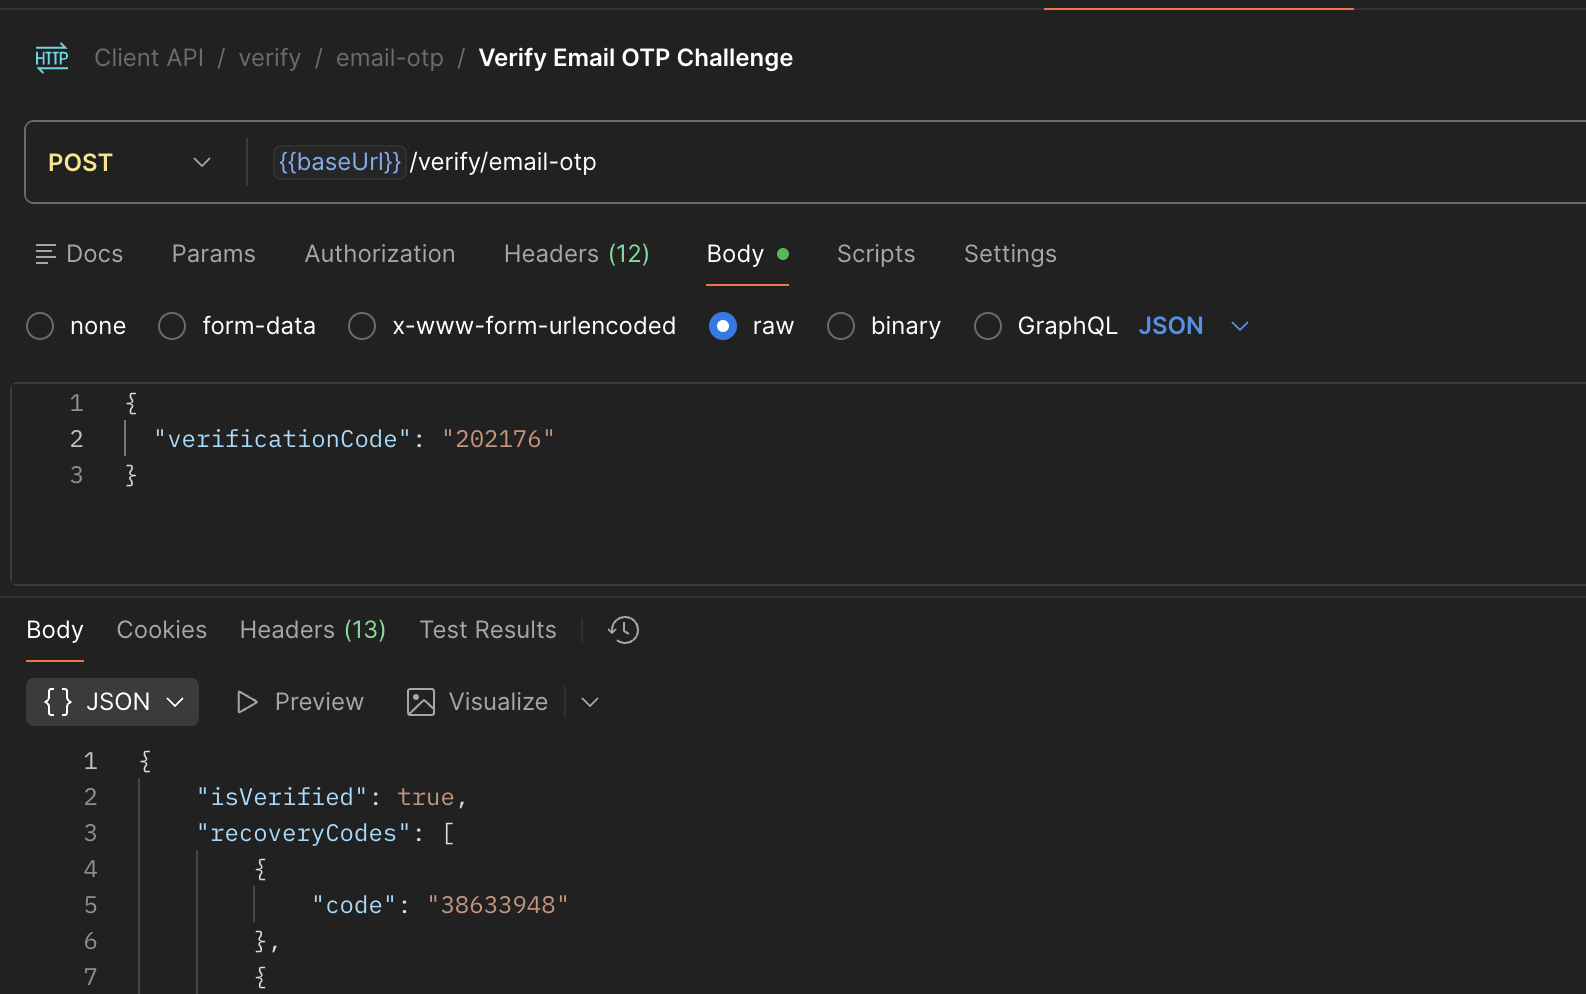
In the Client API workspace select `verify` -> `email-otp` -> `Verify Email OTP Challenge`.
Head to the `body` of the request, and enter the OTP code from the email.
Click **Send** to verify the enrollment.
The response should include recovery codes, and an `accessToken` that can be used to call the [Session API](/api-reference/server-api/create-session).
## Summing up
In this tutorial we used the Server API to track an action, and then used the token provided to call the Client API.
This provides a good introduction to how to interact with the Authsignal APIs using Postman.