> ## Documentation Index
> Fetch the complete documentation index at: https://docs.authsignal.com/llms.txt
> Use this file to discover all available pages before exploring further.
# SSO (Single Sign-On)
> Learn how to configure SAML 2.0 single sign-on for your Authsignal admin portal.
Authsignal supports SAML 2.0 single sign-on (SSO) for the Admin Portal, allowing you to federate authentication to your organization's identity provider.
SSO does not provision new users. Team members must first be invited to your organization, and are matched to your identity provider by email address. Users who have been invited but haven't yet accepted can sign in directly via SSO, and their invitation is accepted automatically.
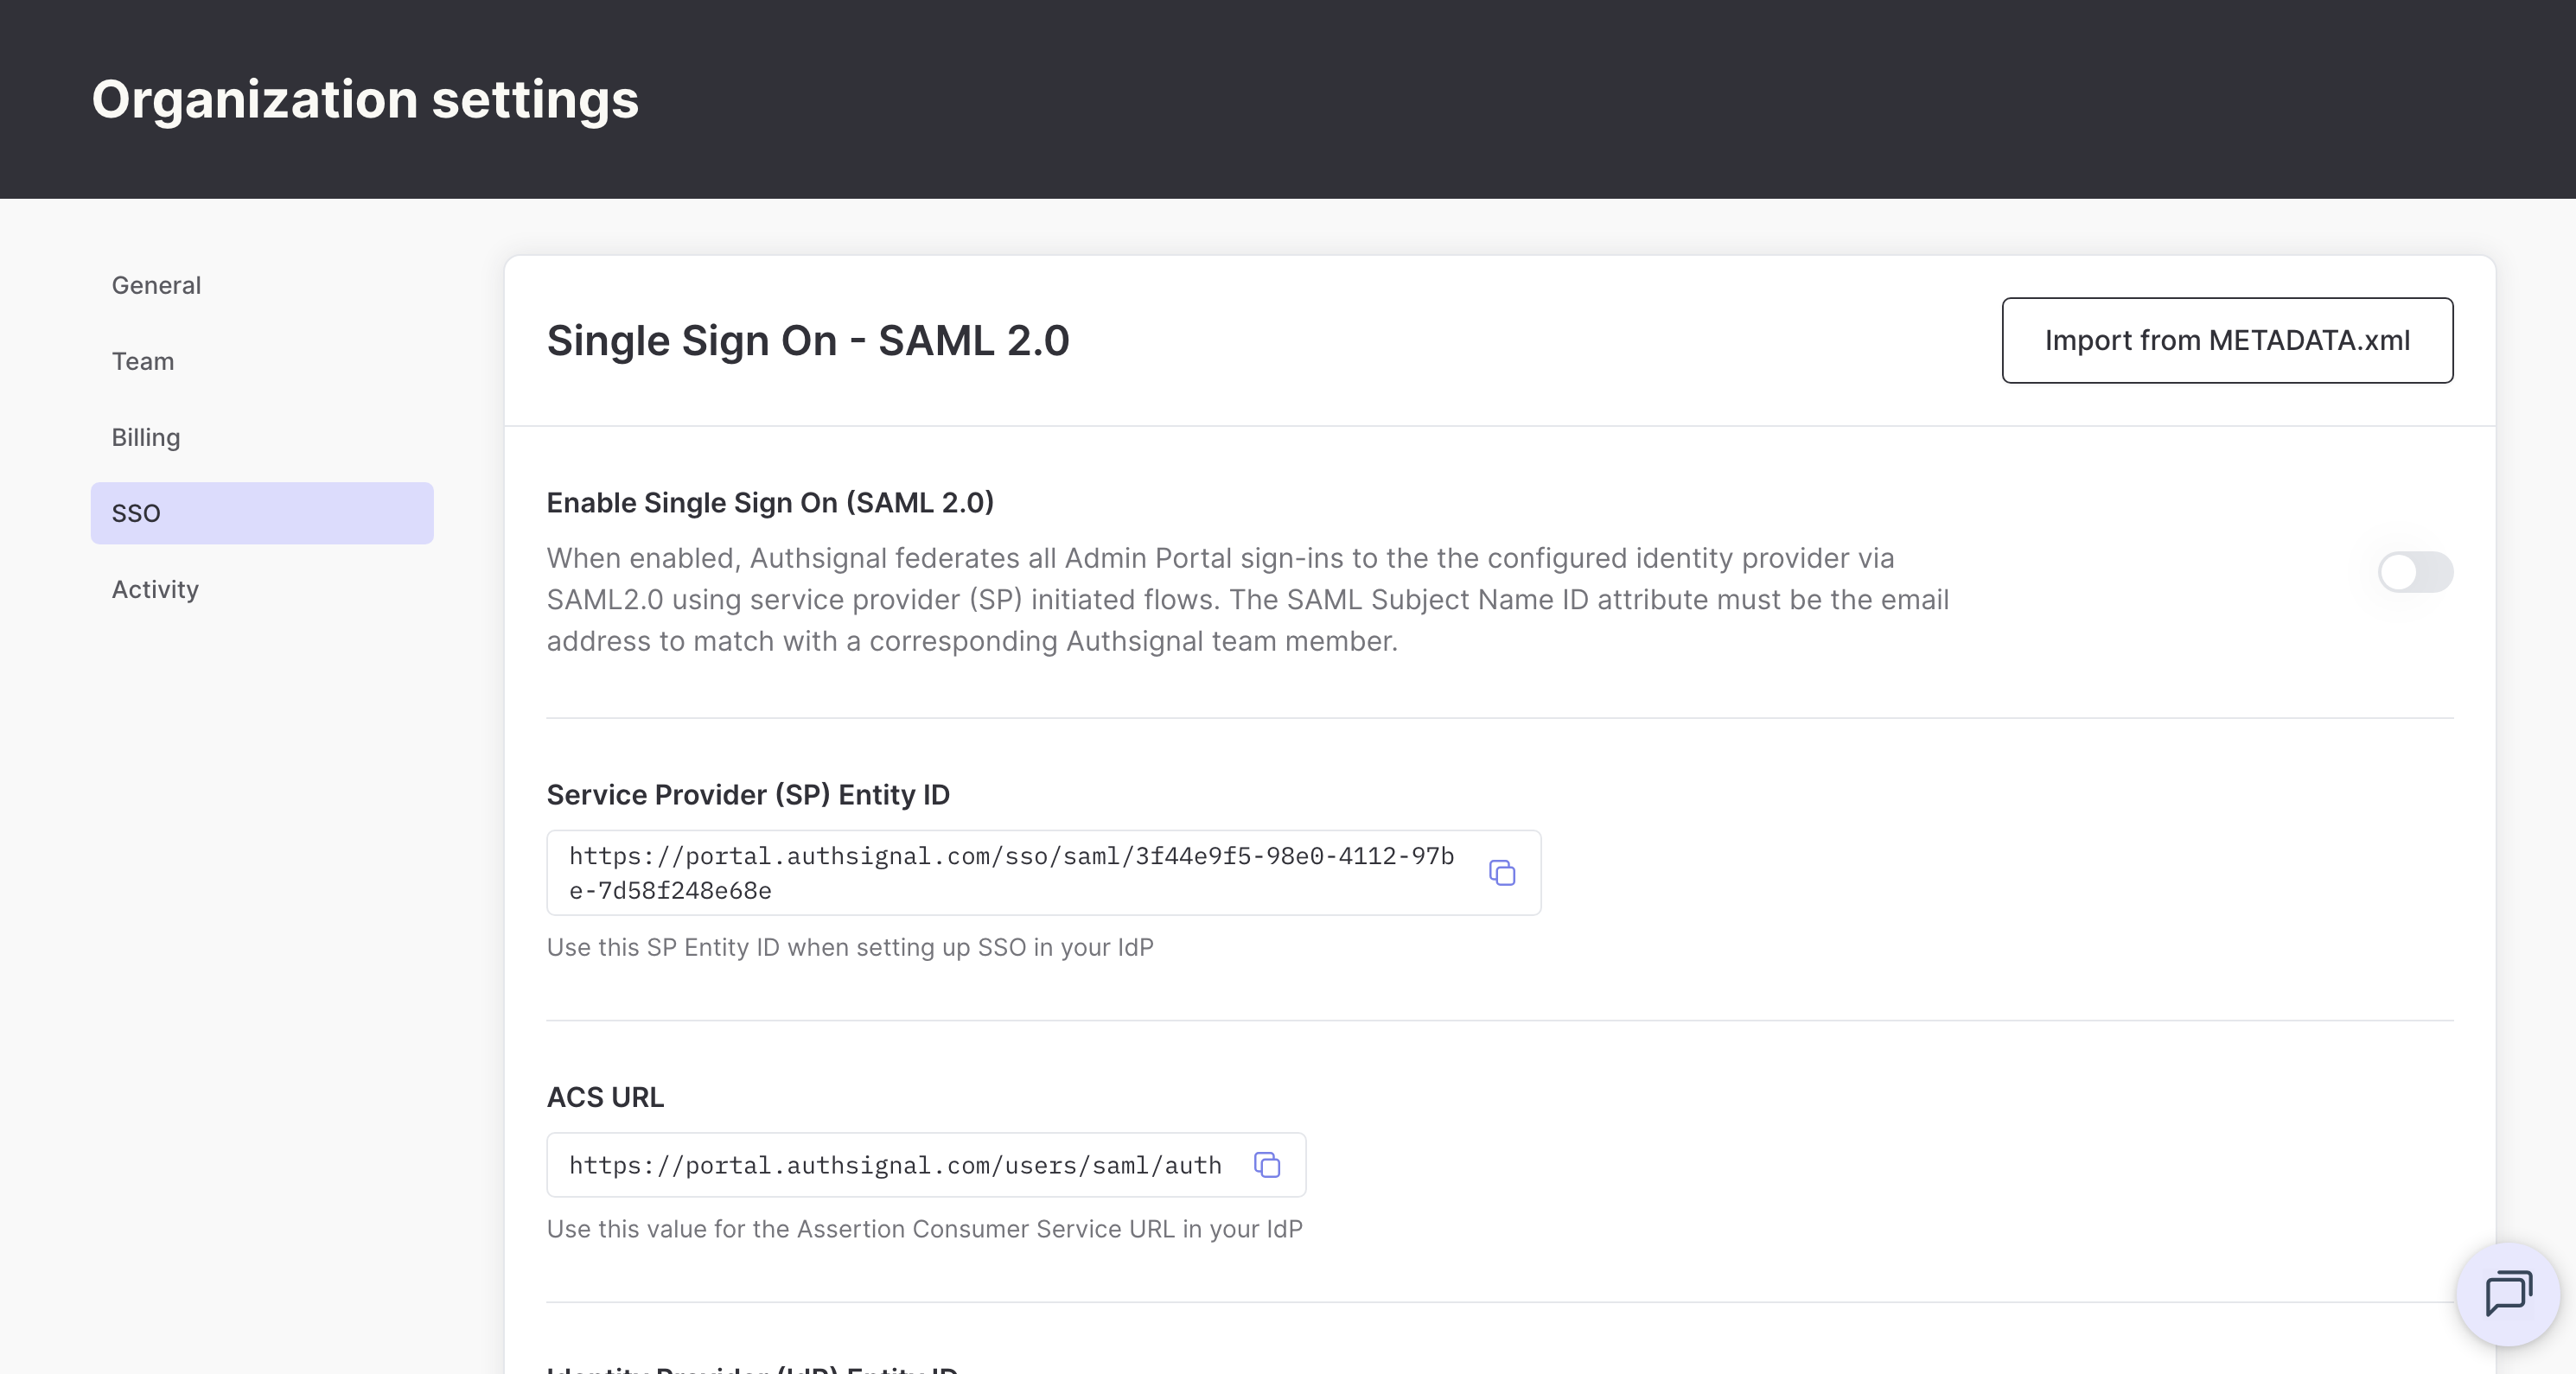
## Configuration
From the top right menu, navigate to **Organization settings > SSO** to access your SAML 2.0 configuration.
 ### Import from metadata
If your identity provider provides a metadata XML file, you can automatically populate your SSO configuration.
### Import from metadata
If your identity provider provides a metadata XML file, you can automatically populate your SSO configuration.
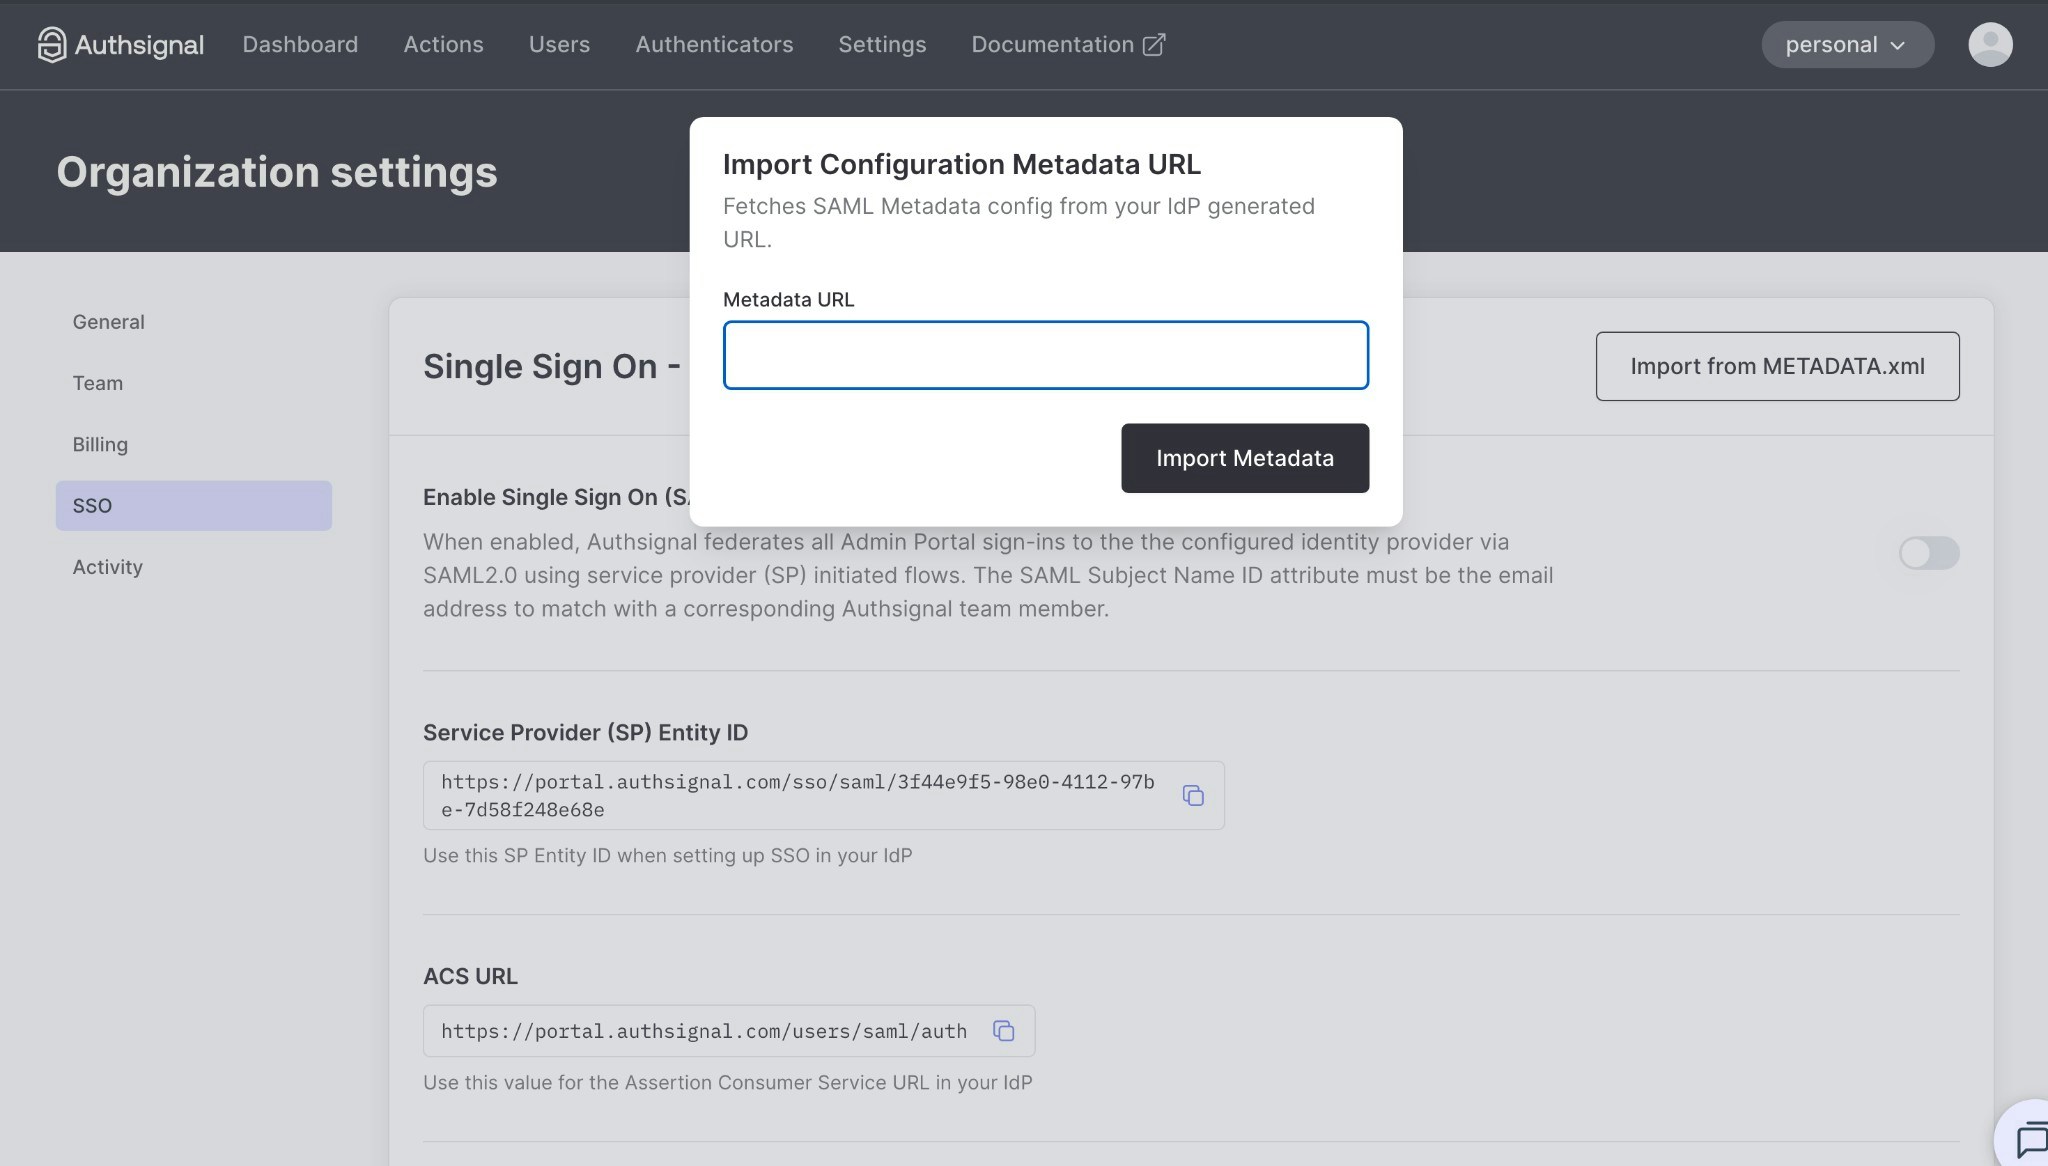 1. Click **Import from METADATA.xml**
2. Enter your identity provider's metadata URL
3. Click **Import Metadata**
### Manual configuration
Alternatively, you can manually configure SSO by following these steps:
You'll need the following values to configure SSO in your identity provider:
1. Click **Import from METADATA.xml**
2. Enter your identity provider's metadata URL
3. Click **Import Metadata**
### Manual configuration
Alternatively, you can manually configure SSO by following these steps:
You'll need the following values to configure SSO in your identity provider:
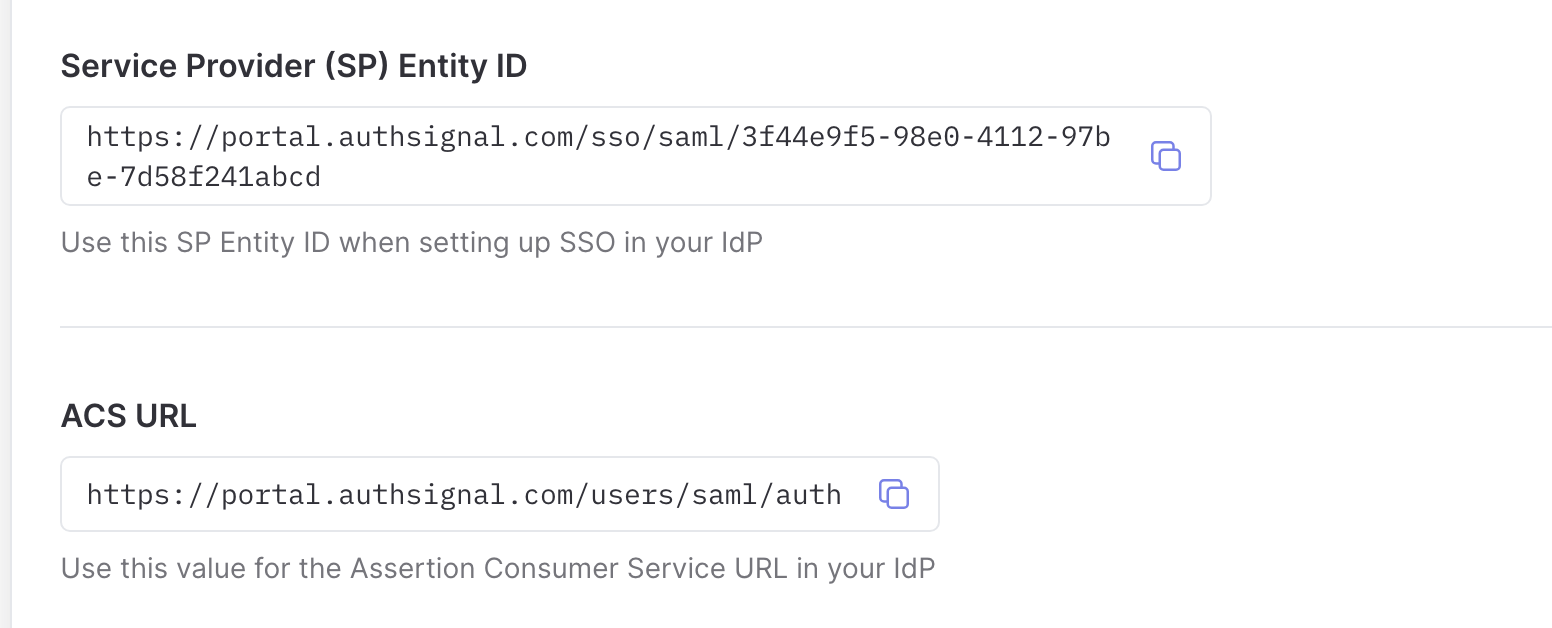 **Service provider (SP) entity ID**
This is the unique identifier for Authsignal as a service provider. This value is unique to your tenant and can be found in the SSO settings page. Use this value when setting up SSO in your IdP.
**ACS URL**
The Assertion Consumer Service URL is where your identity provider will send SAML responses. This value can be found in the SSO settings page. Use this value for the Assertion Consumer Service URL in your IdP.
Configure SAML 2.0 in your identity provider using the service provider details above.
Key configuration requirements:
* **Entity ID / Audience**: Use the SP Entity ID
* **ACS URL / Reply URL**: Use the ACS URL
* **Name ID format**: Email address
* **Name ID value**: User's email address
The specific configuration steps will vary depending on your identity provider. See your IdP's documentation for detailed instructions on adding a SAML application.
Once you've configured your identity provider, provide the following information in the Authsignal admin portal:
**Identity provider (IdP) entity ID**
Your identity provider's generated entity ID. This is typically a URL that uniquely identifies your IdP.
**Identity provider (IdP) SSO target URL**
Your identity provider's SSO target URL that will receive SAML requests. This is sometimes called the "Single Sign-On URL" or "SAML 2.0 Endpoint".
**Identity provider (IdP) public x509 certificate**
Your identity provider's public x509 certificate used to verify SAML responses.
### User attributes (optional)
In addition to the Name ID, Authsignal can populate team members' full names from SAML attributes. Configure your identity provider to send:
| Attribute | Value |
| ----------- | --------------------- |
| `firstName` | The user's first name |
| `lastName` | The user's last name |
Or, if your identity provider has a single full-name attribute, send `displayName` instead. If both are sent, `displayName` takes precedence.
Attribute names are matched exactly and are case-sensitive. The standard claim formats are also accepted, including the LDAP attribute OIDs (`urn:oid:2.5.4.42`, `urn:oid:2.5.4.4`, `urn:oid:2.16.840.1.113730.3.1.241`) and the default Microsoft Entra ID claims (`.../claims/givenname`, `.../claims/surname`), so Entra ID applications typically need no additional configuration.
Names are updated from your identity provider on each sign-in. Name attributes are optional. If none are sent, sign-in works normally and existing names are unchanged.
In your SAML app's settings, add two attribute statements: `firstName` mapped to `user.firstName`, and `lastName` mapped to `user.lastName`.
No additional configuration is needed. Entra ID sends the user's given name and surname claims by default.
Full names not appearing? Check that the attribute names in your identity provider's SAML response exactly match the names above, including capitalization.
### Enable single sign-on
Once you've configured your SSO settings (either via metadata import or manual configuration), enable the **Enable Single Sign On (SAML 2.0)** toggle to activate SSO.
**Service provider (SP) entity ID**
This is the unique identifier for Authsignal as a service provider. This value is unique to your tenant and can be found in the SSO settings page. Use this value when setting up SSO in your IdP.
**ACS URL**
The Assertion Consumer Service URL is where your identity provider will send SAML responses. This value can be found in the SSO settings page. Use this value for the Assertion Consumer Service URL in your IdP.
Configure SAML 2.0 in your identity provider using the service provider details above.
Key configuration requirements:
* **Entity ID / Audience**: Use the SP Entity ID
* **ACS URL / Reply URL**: Use the ACS URL
* **Name ID format**: Email address
* **Name ID value**: User's email address
The specific configuration steps will vary depending on your identity provider. See your IdP's documentation for detailed instructions on adding a SAML application.
Once you've configured your identity provider, provide the following information in the Authsignal admin portal:
**Identity provider (IdP) entity ID**
Your identity provider's generated entity ID. This is typically a URL that uniquely identifies your IdP.
**Identity provider (IdP) SSO target URL**
Your identity provider's SSO target URL that will receive SAML requests. This is sometimes called the "Single Sign-On URL" or "SAML 2.0 Endpoint".
**Identity provider (IdP) public x509 certificate**
Your identity provider's public x509 certificate used to verify SAML responses.
### User attributes (optional)
In addition to the Name ID, Authsignal can populate team members' full names from SAML attributes. Configure your identity provider to send:
| Attribute | Value |
| ----------- | --------------------- |
| `firstName` | The user's first name |
| `lastName` | The user's last name |
Or, if your identity provider has a single full-name attribute, send `displayName` instead. If both are sent, `displayName` takes precedence.
Attribute names are matched exactly and are case-sensitive. The standard claim formats are also accepted, including the LDAP attribute OIDs (`urn:oid:2.5.4.42`, `urn:oid:2.5.4.4`, `urn:oid:2.16.840.1.113730.3.1.241`) and the default Microsoft Entra ID claims (`.../claims/givenname`, `.../claims/surname`), so Entra ID applications typically need no additional configuration.
Names are updated from your identity provider on each sign-in. Name attributes are optional. If none are sent, sign-in works normally and existing names are unchanged.
In your SAML app's settings, add two attribute statements: `firstName` mapped to `user.firstName`, and `lastName` mapped to `user.lastName`.
No additional configuration is needed. Entra ID sends the user's given name and surname claims by default.
Full names not appearing? Check that the attribute names in your identity provider's SAML response exactly match the names above, including capitalization.
### Enable single sign-on
Once you've configured your SSO settings (either via metadata import or manual configuration), enable the **Enable Single Sign On (SAML 2.0)** toggle to activate SSO.
 When enabled, all admin portal sign-ins will be redirected to your identity provider and team members will no longer be able to sign in using their Authsignal password. When disabled, team members can sign in using their Authsignal credentials.