> ## Documentation Index
> Fetch the complete documentation index at: https://docs.authsignal.com/llms.txt
> Use this file to discover all available pages before exploring further.
# Adding passkey autofill to your Keycloak login flow
> Learn how to add passkey autofill to your Keycloak login flow with Authsignal.
## Overview
Passkey autofill provides an incredibly seamless and secure way for users to sign-in using their passkey.
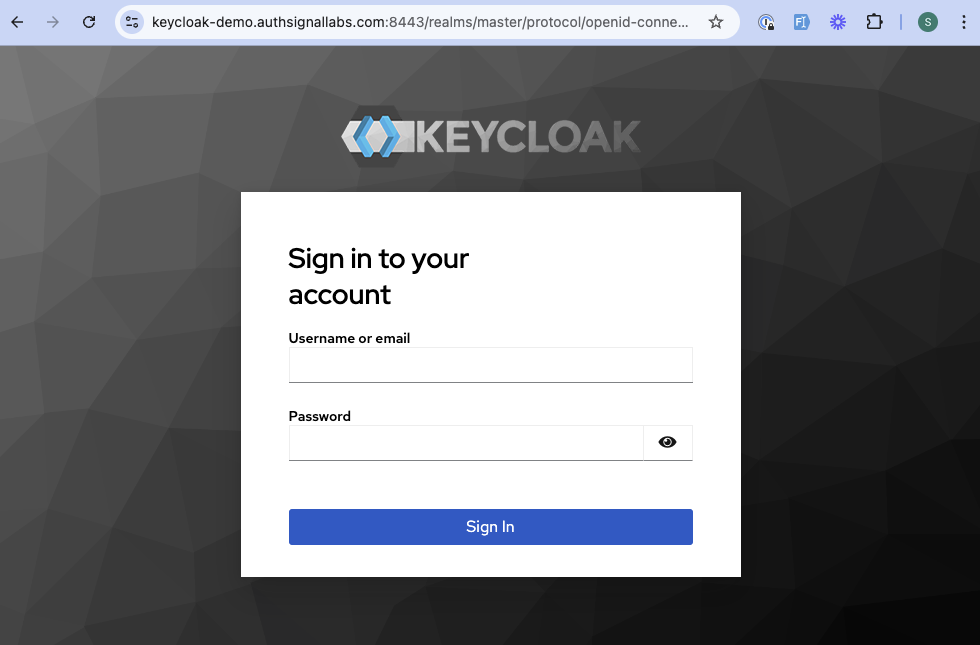
In this guide, we will show you how to add passkey autofill to your Keycloak sign-in flow using Authsignal.
When clicking on the username or password
input fields, users will be prompted to authenticate with their passkey that they added through Authsignal's pre-built UI.
The above example can be extended to meet your specific requirements.
## Prerequisites
* You have completed the previous guide on [adding passkey MFA to your Keycloak login flow](/integrations/keycloak/keycloak-passkey-signup-with-prebuilt-UI).
## Authsignal configuration
### Local development
To make things easy, we will make a few simple changes to your local development setup so that you can simulate a production environment, locally.
We will use `mkcert` to create a local SSL certificate and `local-ssl-proxy` to proxy requests to your local Keycloak server.
Replace `keycloak-demo.authsignallabs.com` with your domain. If using the pre-built UI, this will
differ from your Authsignal custom domain. i.e. `keycloak-demo.authsignallabs.com` which our demo
app uses vs `keycloak-demo-auth.authsignallabs.com` where the pre-built UI is running - in this
demonstration.
```bash theme={null}
brew install mkcert
mkcert -install
mkcert your_domain # e.g. mkcert keycloak-demo.authsignallabs.com
```
Take note of the path to the `.pem` files that are created as you'll need them in the next steps.
Map your custom domain to your local IP address by adding the following line to your `hosts` file:
```bash theme={null}
sudo vim /etc/hosts
```
Add this line:
```
127.0.0.1 your_domain # e.g. 127.0.0.1 keycloak-demo.authsignallabs.com
```
```bash theme={null}
npx local-ssl-proxy --key keycloak-demo.authsignallabs.com-key.pem --cert keycloak-demo.authsignallabs.com.pem --source 8444 --target 8443
```
Learn more about the [Keycloak server configuration options](https://www.keycloak.org/server/enabletls).
```bash theme={null}
bin/kc.sh start-dev \
--hostname=keycloak-demo.authsignallabs.com \
--https-certificate-file=keycloak-demo.authsignallabs.com.pem \
--https-certificate-key-file=keycloak-demo.authsignallabs.com-key.pem \
--http-host=127.0.0.1
```
```powershell theme={null}
# Install mkcert
winget install mkcert
mkcert -install
mkcert your_domain # e.g. mkcert keycloak-demo.authsignallabs.com
```
Take note of the path to the `.pem` files that are created as you'll need them in the next steps.
Open Notepad as Administrator and open the hosts file located at:
`C:\Windows\System32\drivers\etc\hosts`
Add this line:
```
127.0.0.1 your_custom_domain # e.g. 127.0.0.1 keycloak-demo.authsignallabs.com
```
```powershell theme={null}
npx local-ssl-proxy --key keycloak-demo.authsignallabs.com-key.pem --cert keycloak-demo.authsignallabs.com.pem --source 8444 --target 8443
```
Learn more about the [Keycloak server configuration options](https://www.keycloak.org/server/enabletls).
```powershell theme={null}
.\bin\kc.bat start-dev ^
--hostname=keycloak-demo.authsignallabs.com ^
--https-certificate-file=keycloak-demo.authsignallabs.com.pem ^
--https-certificate-key-file=keycloak-demo.authsignallabs.com-key.pem ^
--http-host=127.0.0.1
```
Open your browser and navigate to `https://your_domain:8443` (e.g. `https://keycloak-demo.authsignallabs.com:8443`) which will redirect you to the admin sign-in page on your proxied https Keycloak server.
### Changes to your Keycloak configuration
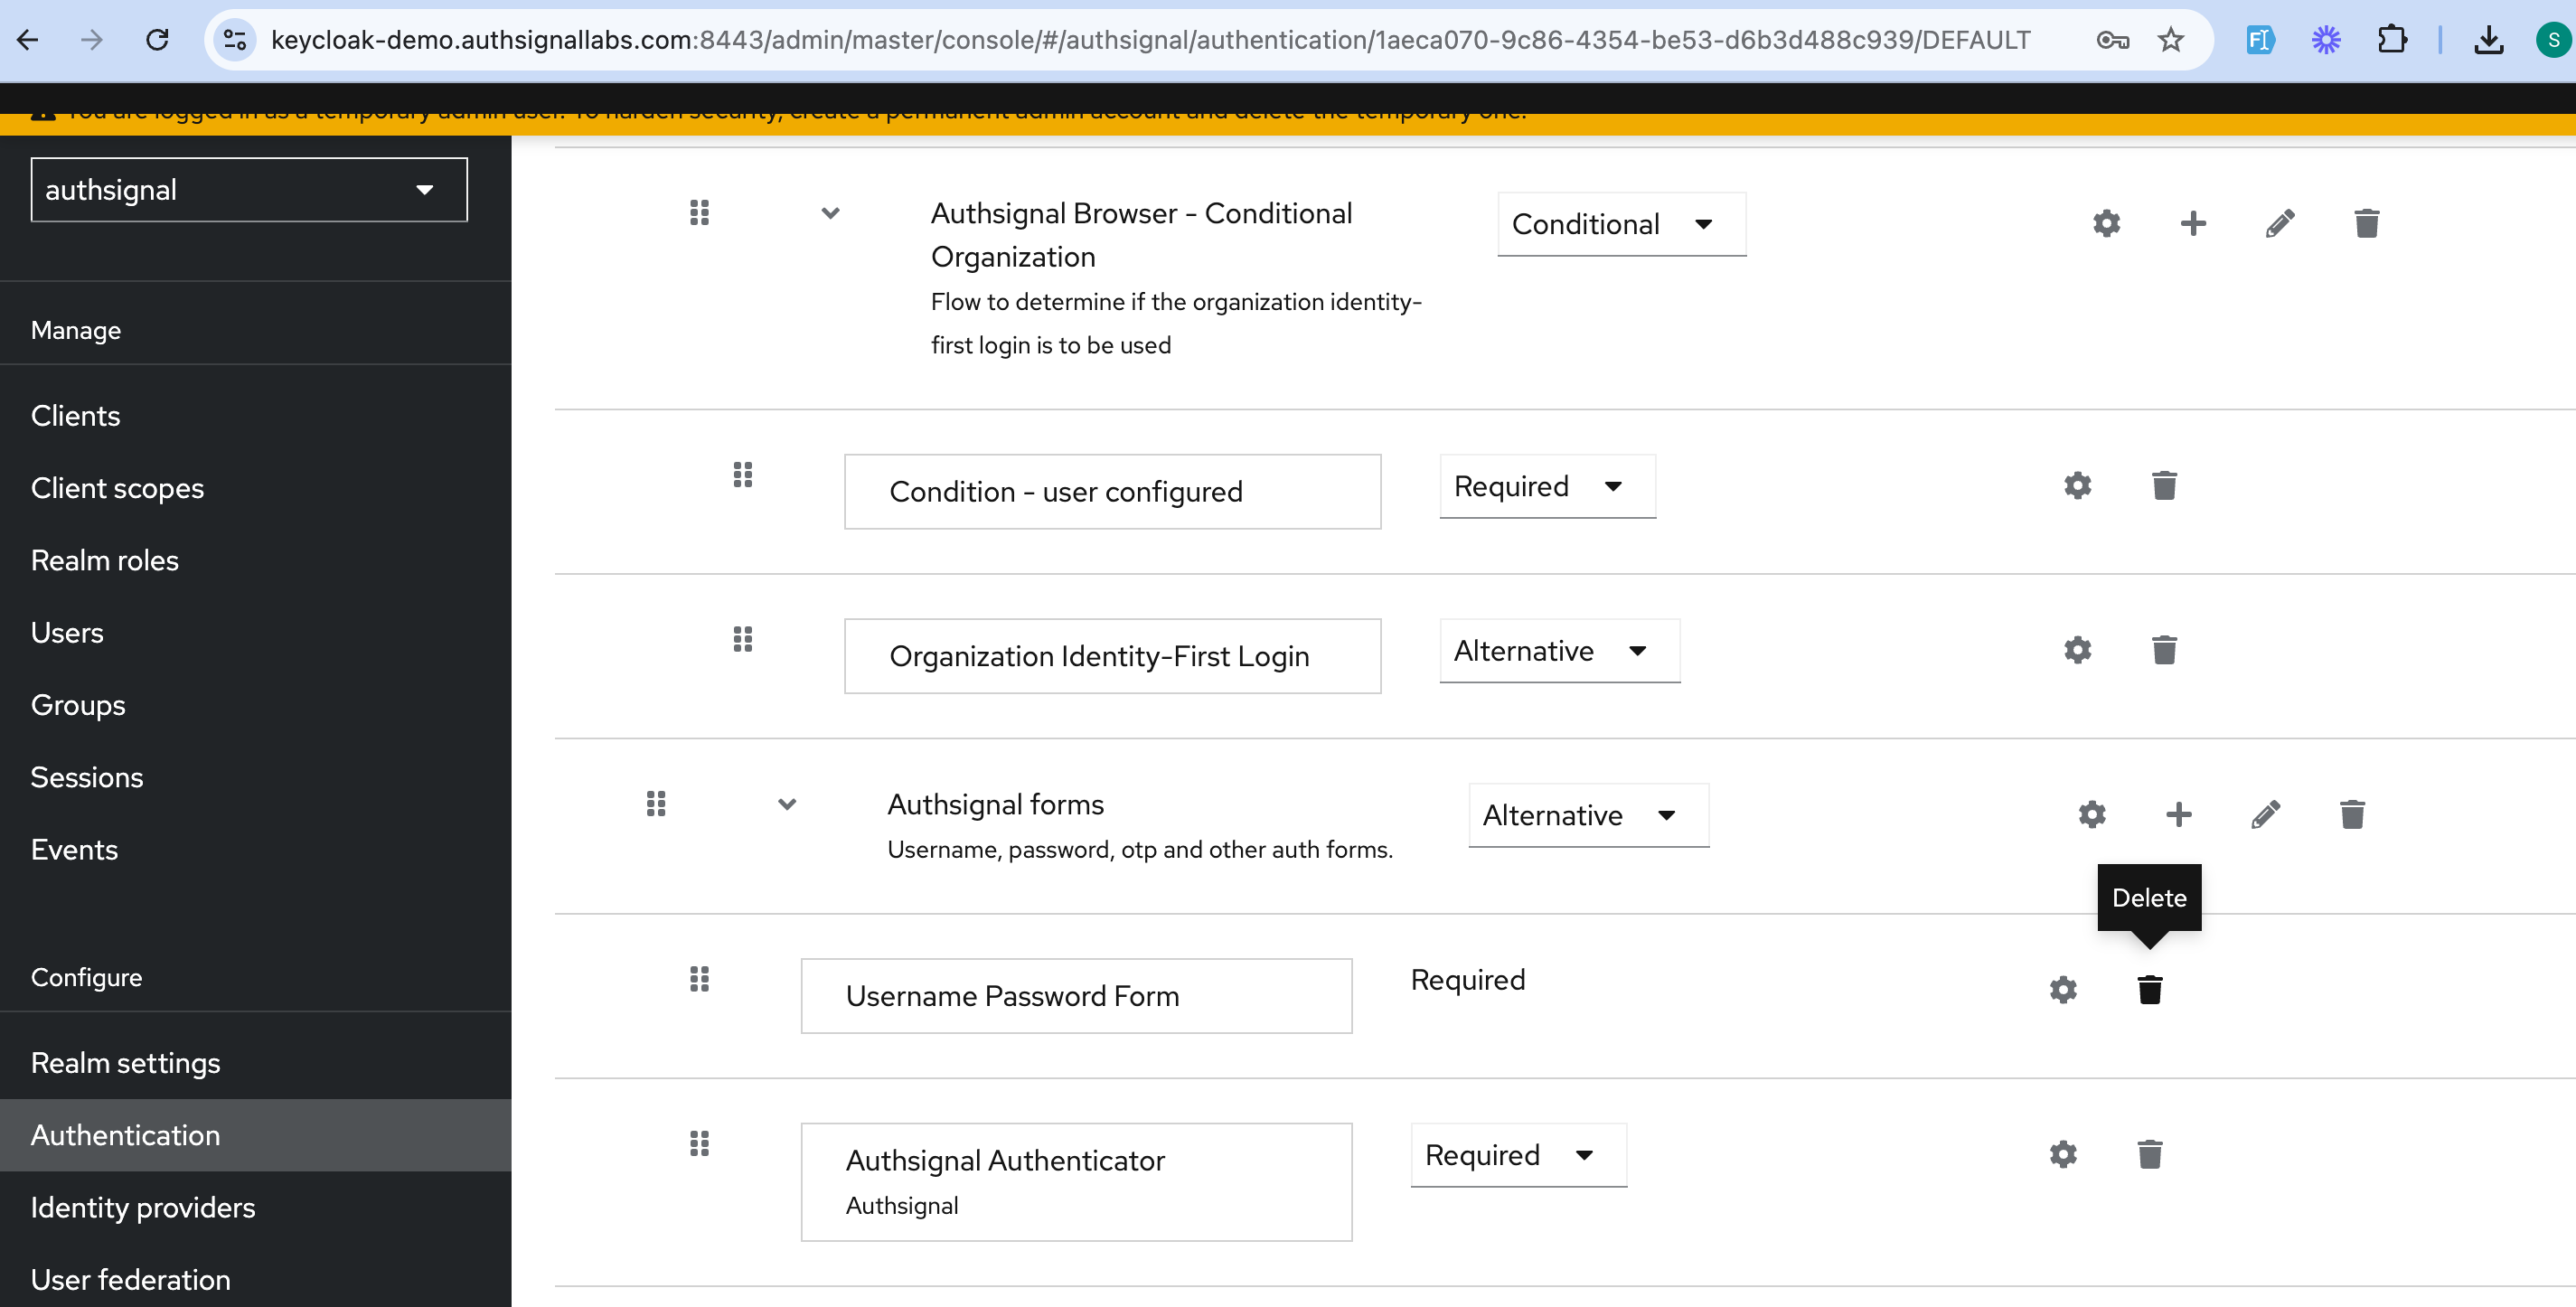
In your Keycloak admin UI, navigate to the **Authentication** section and click on your custom flow. Delete the default username and password flow.
Click on the Authsignal Authenticator settings and toggle on **Enable Passkey Autofill**.
### Sign-in UI configuration
We need to add some custom code to the Keycloak sign-in page so that it can use [Authsignal's Web SDK](/sdks/client/web/setup) to handle passkey autofill.
Start by creating a new theme for your Keycloak instance, at the following path: `themes/mytheme/login/login.ftl` on your keycloak server.
You can call the theme whatever you want, but for this example, we will call it `mytheme`.
Add the following code to the `login.ftl` file. This code will allow autofill to work when the user clicks the username or password input fields.
```html themes/mytheme/login/login.ftl theme={null}
Please enter your credentials to continue
```
`webauthn` has to be the last autocomplete attribute value in the list otherwise it will not work.
Create a Javascript file at `themes/mytheme/login/resources/js/script.js` and add the following code. This code is required to allow autofill to work when the user clicks the input.
```js themes/mytheme/login/resources/js/script.js theme={null}
function setWebauthnAttribute() {
var usernameInput = document.getElementById("username");
var passwordInput = document.getElementById("password");
const formElement = document.querySelector("form");
if (usernameInput && passwordInput) {
usernameInput.setAttribute("autocomplete", "username webauthn");
// NOTE: Replace the following values with your Authsignal tenant ID and server URL
var client = new window.authsignal.Authsignal({
tenantId: "YOUR_TENANT_ID",
baseUrl: "https://api.authsignal.com/v1",
});
client.passkey
.signIn({ autofill: true })
.then((response) => {
if (response) {
const hiddenTokenInput = document.createElement("input");
hiddenTokenInput.type = "hidden";
hiddenTokenInput.name = "token";
hiddenTokenInput.value = response.token;
formElement.appendChild(hiddenTokenInput);
formElement.submit();
}
})
.catch((error) => {
console.log("error", error);
});
}
}
function loadAuthsignalSdk() {
var script = document.createElement("script");
script.onload = setWebauthnAttribute;
script.src = "https://unpkg.com/@authsignal/browser@0.5.2/dist/index.min.js";
document.head.appendChild(script);
}
document.addEventListener("DOMContentLoaded", loadAuthsignalSdk);
```
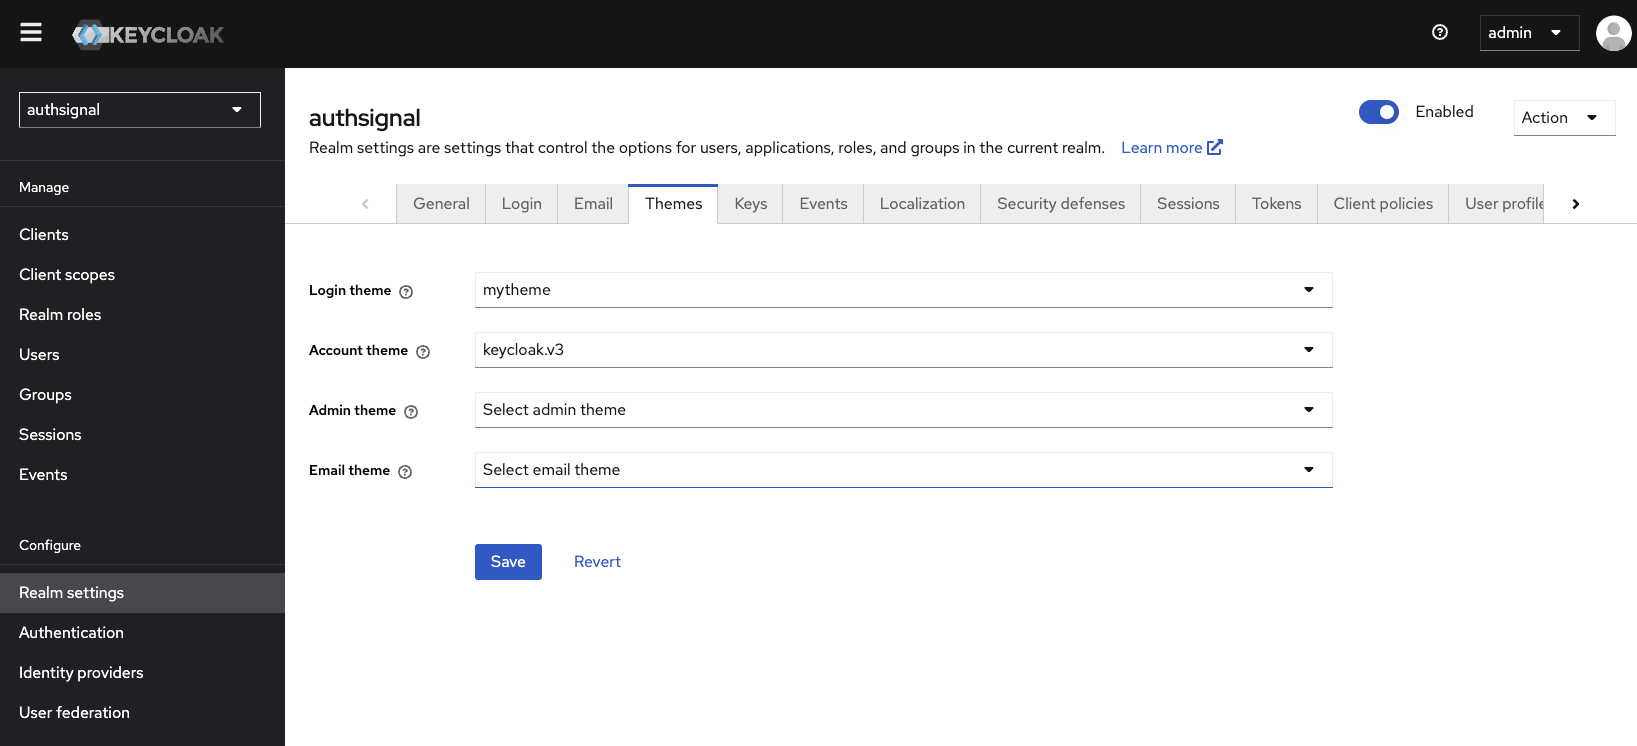
Restart your Keycloak server, and navigate to the **Realm settings** section in the Keycloak admin UI. Click **Themes**.
On the **Login theme** line, select `mytheme` and click **Save**.
You can style your theme by adding your own CSS to the
`themes/mytheme/login/resources/css/styles.css` file.
Navigate to your realm's sign-in page and you should see the new theme.
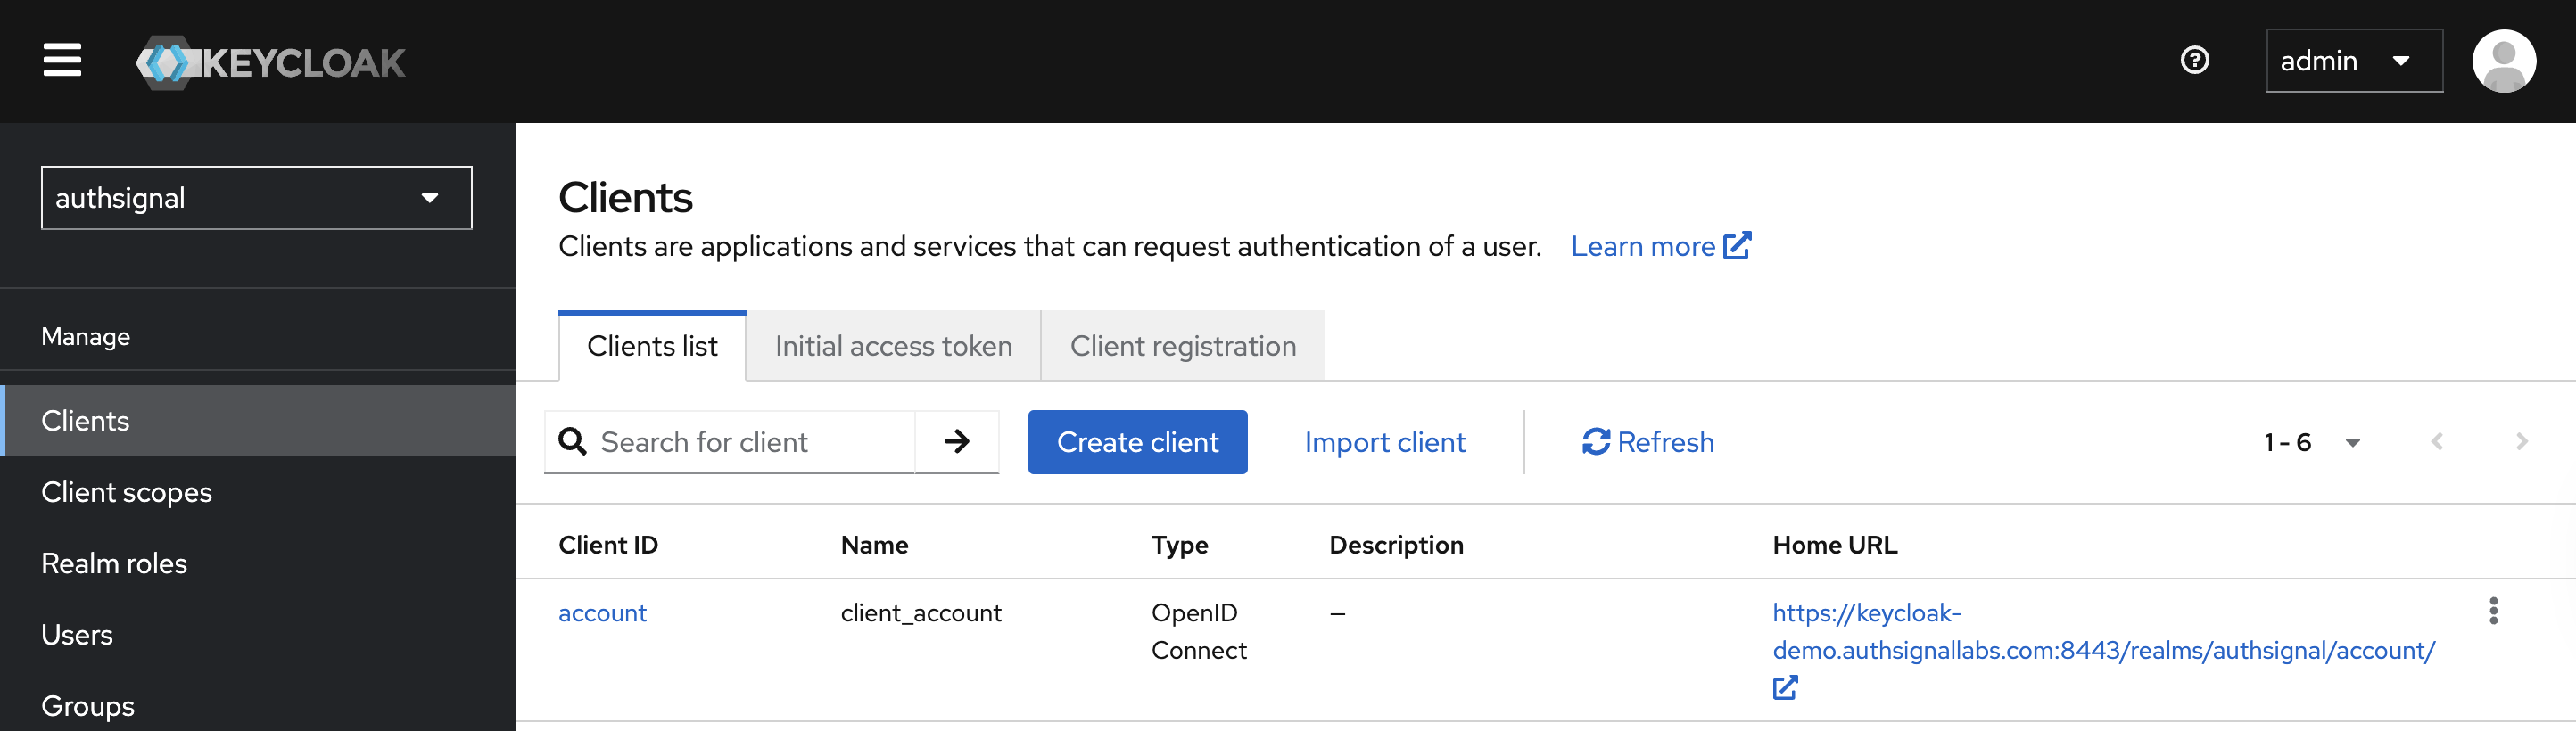
You can find your realm's sign in page URL by selecting your realm and then navigating to the
**Clients** section in the Keycloak admin UI and clicking **Home URL**.
### Passkey configuration updates
Before passkeys can be used on your Keycloak login page, you need to ensure that you have added your
Keycloak login page domain as an [expected origin](/authentication-methods/passkey/prebuilt-ui#configure-passkeys-in-the-authsignal-portal).
As an example, in this demo the passkey configuration is as follows:
* Relying Party ID: `authsignallabs.com`
* Expected Origins: `keycloak-demo.authsignallabs.com` (Keycloak login page) and `keycloak-demo-auth.authsignallabs.com` (pre-built UI custom domain)
## Conclusion
That's it! You've successfully added passkey autofill to your Keycloak sign-in flow using Authsignal.
 Click on the Authsignal Authenticator settings and toggle on **Enable Passkey Autofill**.

 ### Sign-in UI configuration
We need to add some custom code to the Keycloak sign-in page so that it can use [Authsignal's Web SDK](/sdks/client/web/setup) to handle passkey autofill.
Start by creating a new theme for your Keycloak instance, at the following path: `themes/mytheme/login/login.ftl` on your keycloak server.
You can call the theme whatever you want, but for this example, we will call it `mytheme`.
Add the following code to the `login.ftl` file. This code will allow autofill to work when the user clicks the username or password input fields.
```html themes/mytheme/login/login.ftl theme={null}
### Sign-in UI configuration
We need to add some custom code to the Keycloak sign-in page so that it can use [Authsignal's Web SDK](/sdks/client/web/setup) to handle passkey autofill.
Start by creating a new theme for your Keycloak instance, at the following path: `themes/mytheme/login/login.ftl` on your keycloak server.
You can call the theme whatever you want, but for this example, we will call it `mytheme`.
Add the following code to the `login.ftl` file. This code will allow autofill to work when the user clicks the username or password input fields.
```html themes/mytheme/login/login.ftl theme={null}
 ### Passkey configuration updates
Before passkeys can be used on your Keycloak login page, you need to ensure that you have added your
Keycloak login page domain as an [expected origin](/authentication-methods/passkey/prebuilt-ui#configure-passkeys-in-the-authsignal-portal).
As an example, in this demo the passkey configuration is as follows:
* Relying Party ID: `authsignallabs.com`
* Expected Origins: `keycloak-demo.authsignallabs.com` (Keycloak login page) and `keycloak-demo-auth.authsignallabs.com` (pre-built UI custom domain)
## Conclusion
That's it! You've successfully added passkey autofill to your Keycloak sign-in flow using Authsignal.
### Passkey configuration updates
Before passkeys can be used on your Keycloak login page, you need to ensure that you have added your
Keycloak login page domain as an [expected origin](/authentication-methods/passkey/prebuilt-ui#configure-passkeys-in-the-authsignal-portal).
As an example, in this demo the passkey configuration is as follows:
* Relying Party ID: `authsignallabs.com`
* Expected Origins: `keycloak-demo.authsignallabs.com` (Keycloak login page) and `keycloak-demo-auth.authsignallabs.com` (pre-built UI custom domain)
## Conclusion
That's it! You've successfully added passkey autofill to your Keycloak sign-in flow using Authsignal.