> ## Documentation Index
> Fetch the complete documentation index at: https://docs.authsignal.com/llms.txt
> Use this file to discover all available pages before exploring further.
# Uber app example
> Learn how to implement a sign-in UX inspired by the Uber app using SMS and email OTP, passkeys, and social login with Apple or Google.
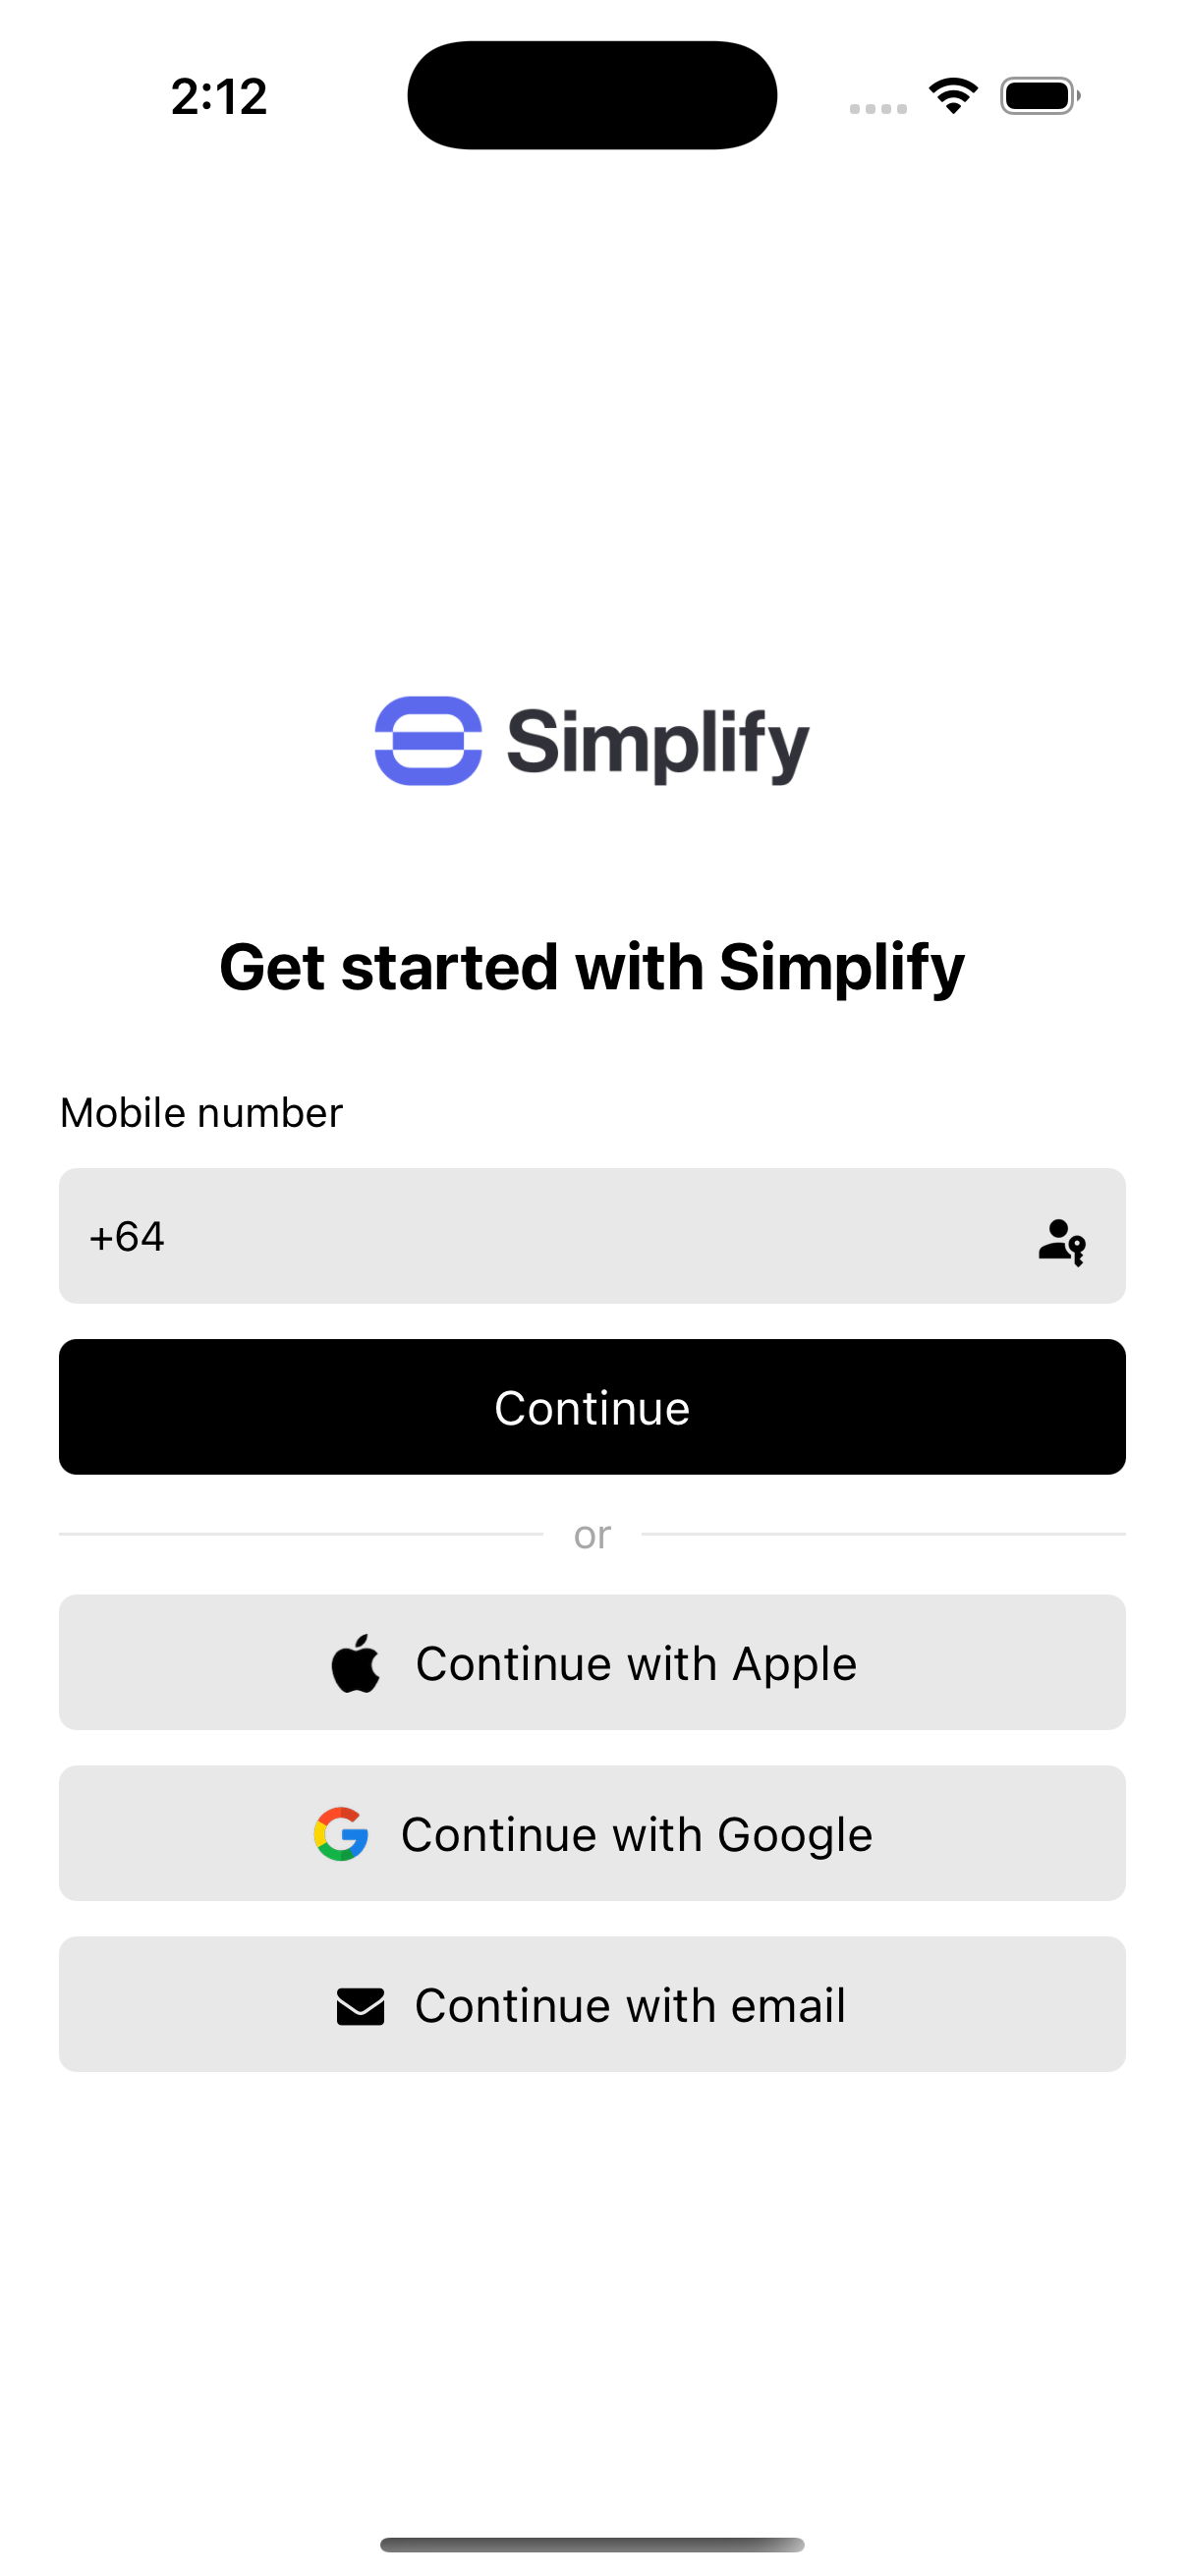
This guide demonstrates how to use Authsignal's SDKs together with Cognito to achieve a sign-in UX similar to the Uber mobile app.
 The example uses the Authsignal React Native SDK but a similar example could also be built using our [SDKs for iOS, Android, or Flutter](/sdks/client/mobile/setup).
## Github example code
## Authentication methods
Our example app uses Authsignal SDKs together with Cognito to rapidly implement five different authentication methods:
* SMS OTP (or WhatsApp OTP)
* Email OTP
* Passkey
* Sign in with Apple
* Sign in with Google
All of these authentication methods are validated in our [verify auth challenge response lambda](https://github.com/authsignal/cognito-lambdas/blob/main/triggers/verify-auth-challenge-response.ts) with a minimal amount of code:
```ts theme={null}
export const handler = async (event) => {
// For SMS, email OTP, and passkey this will be an Authsignal token
// For Apple and Google sign-in it will be an Apple or Google ID token
const token = event.request.challengeAnswer;
const { isValid } = await authsignal.validateChallenge({
action: "cognitoAuth",
userId: event.userName,
token,
});
event.response.answerCorrect = isValid;
return event;
};
```
### SMS
SMS OTP is the first authentication method which we present on the sign-in screen.
If the user opts to use SMS and it's their first time signing in, we also prompt them to:
* Input their email address after signing in
* Verify their email address via another OTP challenge
* Input their first and last name
We verify the email using Authsignal's SDKs, sharing the same UI implementation for [signing in with email OTP](https://github.com/authsignal/cognito-react-native-example/blob/main/src/screens/VerifyEmailScreen.tsx).
### Email OTP
Email OTP is an additional authentication method which the user can choose to sign in with.
If the user chooses this option and it's their first time signing in, we also prompt them to:
* Input their phone number after signing in
* Verify their phone number via another OTP challenge
* Input their first and last name
We verify the phone number using Authsignal's SDKs, sharing the same UI implementation for [signing in with SMS OTP](https://github.com/authsignal/cognito-react-native-example/blob/main/src/screens/VerifySmsScreen.tsx).
### Passkey
In our example app, a passkey can only be created after both phone number and email have been verified.
The example uses the Authsignal React Native SDK but a similar example could also be built using our [SDKs for iOS, Android, or Flutter](/sdks/client/mobile/setup).
## Github example code
## Authentication methods
Our example app uses Authsignal SDKs together with Cognito to rapidly implement five different authentication methods:
* SMS OTP (or WhatsApp OTP)
* Email OTP
* Passkey
* Sign in with Apple
* Sign in with Google
All of these authentication methods are validated in our [verify auth challenge response lambda](https://github.com/authsignal/cognito-lambdas/blob/main/triggers/verify-auth-challenge-response.ts) with a minimal amount of code:
```ts theme={null}
export const handler = async (event) => {
// For SMS, email OTP, and passkey this will be an Authsignal token
// For Apple and Google sign-in it will be an Apple or Google ID token
const token = event.request.challengeAnswer;
const { isValid } = await authsignal.validateChallenge({
action: "cognitoAuth",
userId: event.userName,
token,
});
event.response.answerCorrect = isValid;
return event;
};
```
### SMS
SMS OTP is the first authentication method which we present on the sign-in screen.
If the user opts to use SMS and it's their first time signing in, we also prompt them to:
* Input their email address after signing in
* Verify their email address via another OTP challenge
* Input their first and last name
We verify the email using Authsignal's SDKs, sharing the same UI implementation for [signing in with email OTP](https://github.com/authsignal/cognito-react-native-example/blob/main/src/screens/VerifyEmailScreen.tsx).
### Email OTP
Email OTP is an additional authentication method which the user can choose to sign in with.
If the user chooses this option and it's their first time signing in, we also prompt them to:
* Input their phone number after signing in
* Verify their phone number via another OTP challenge
* Input their first and last name
We verify the phone number using Authsignal's SDKs, sharing the same UI implementation for [signing in with SMS OTP](https://github.com/authsignal/cognito-react-native-example/blob/main/src/screens/VerifySmsScreen.tsx).
### Passkey
In our example app, a passkey can only be created after both phone number and email have been verified.
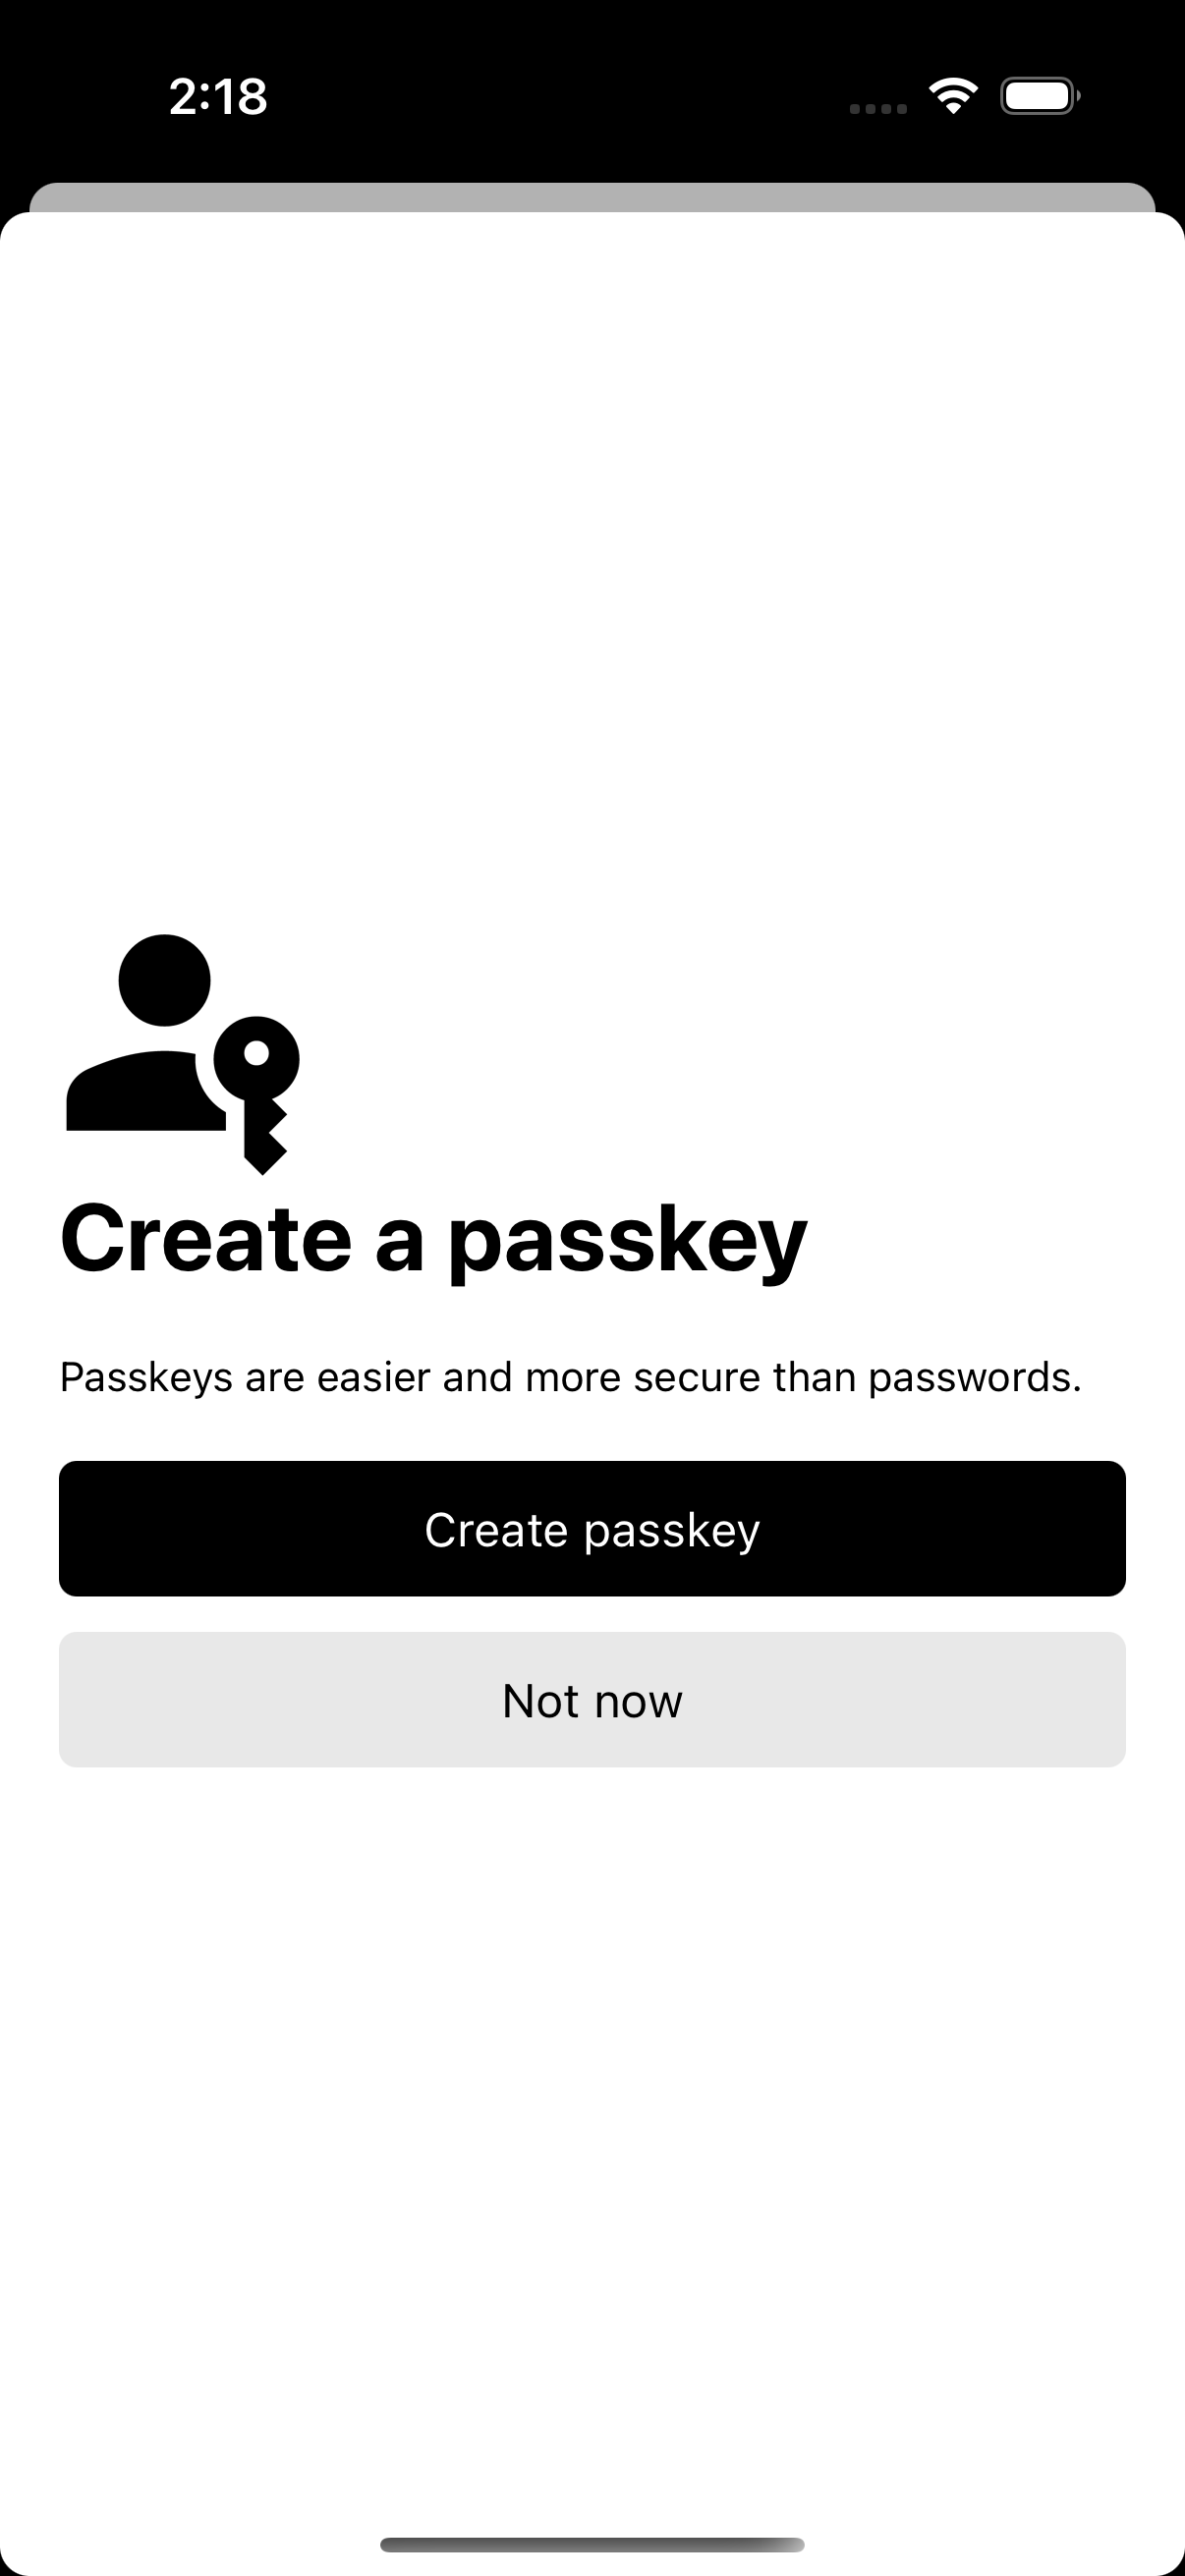 Once a passkey has been created the user can authenticate with it directly from the sign-in screen.
Following the approach taken by the Uber app, we present the passkey prompt automatically [when the sign-in screen appears](https://github.com/authsignal/cognito-react-native-example/blob/main/src/screens/SignInScreen.tsx#L38) if a passkey is available on the device.
In addition, we add a [small passkey icon inside the phone number input](https://github.com/authsignal/cognito-react-native-example/blob/main/src/screens/SignInScreen.tsx#L134) which the user can press at any time to make the passkey prompt reappear.
### Apple sign-in
Signing in with Apple is another authentication option which the user can choose.
To implement this we use the [react-native-apple-authentication](https://github.com/invertase/react-native-apple-authentication) library to obtain an Apple ID token.
```ts theme={null}
const appleAuthResponse = await appleAuth.performRequest({
requestedOperation: appleAuth.Operation.LOGIN,
requestedScopes: [appleAuth.Scope.FULL_NAME, appleAuth.Scope.EMAIL],
});
const idToken = appleAuthResponse.identityToken;
```
Then we send this ID token to Cognito as the challenge answer and use the Authsignal Server SDK to validate it within our [verify auth challenge response lambda](https://github.com/authsignal/cognito-lambdas/blob/main/triggers/verify-auth-challenge-response.ts).
### Google sign-in
Signing in with Google is the final authentication method which the user can select on our sign-in screen.
To implement this we use the [react-native-app-auth](https://github.com/FormidableLabs/react-native-app-auth) library to launch a web-based OIDC flow and obtain a Google ID token.
```ts theme={null}
const config = {
issuer: "https://accounts.google.com",
clientId: `${GOOGLE_OAUTH_APP_GUID}.apps.googleusercontent.com`,
redirectUrl: `com.googleusercontent.apps.${GOOGLE_OAUTH_APP_GUID}:/oauth2redirect/google`,
scopes: ["openid", "profile", "email"],
};
const authorizeResult = await authorize(config);
const idToken = authorizeResult.idToken;
```
Then we follow the same approach as for Apple sign-in, sending this ID token to Cognito as the challenge answer and using the Authsignal Server SDK to validate it within our [verify auth challenge response lambda](https://github.com/authsignal/cognito-lambdas/blob/main/triggers/verify-auth-challenge-response.ts).
Once a passkey has been created the user can authenticate with it directly from the sign-in screen.
Following the approach taken by the Uber app, we present the passkey prompt automatically [when the sign-in screen appears](https://github.com/authsignal/cognito-react-native-example/blob/main/src/screens/SignInScreen.tsx#L38) if a passkey is available on the device.
In addition, we add a [small passkey icon inside the phone number input](https://github.com/authsignal/cognito-react-native-example/blob/main/src/screens/SignInScreen.tsx#L134) which the user can press at any time to make the passkey prompt reappear.
### Apple sign-in
Signing in with Apple is another authentication option which the user can choose.
To implement this we use the [react-native-apple-authentication](https://github.com/invertase/react-native-apple-authentication) library to obtain an Apple ID token.
```ts theme={null}
const appleAuthResponse = await appleAuth.performRequest({
requestedOperation: appleAuth.Operation.LOGIN,
requestedScopes: [appleAuth.Scope.FULL_NAME, appleAuth.Scope.EMAIL],
});
const idToken = appleAuthResponse.identityToken;
```
Then we send this ID token to Cognito as the challenge answer and use the Authsignal Server SDK to validate it within our [verify auth challenge response lambda](https://github.com/authsignal/cognito-lambdas/blob/main/triggers/verify-auth-challenge-response.ts).
### Google sign-in
Signing in with Google is the final authentication method which the user can select on our sign-in screen.
To implement this we use the [react-native-app-auth](https://github.com/FormidableLabs/react-native-app-auth) library to launch a web-based OIDC flow and obtain a Google ID token.
```ts theme={null}
const config = {
issuer: "https://accounts.google.com",
clientId: `${GOOGLE_OAUTH_APP_GUID}.apps.googleusercontent.com`,
redirectUrl: `com.googleusercontent.apps.${GOOGLE_OAUTH_APP_GUID}:/oauth2redirect/google`,
scopes: ["openid", "profile", "email"],
};
const authorizeResult = await authorize(config);
const idToken = authorizeResult.idToken;
```
Then we follow the same approach as for Apple sign-in, sending this ID token to Cognito as the challenge answer and using the Authsignal Server SDK to validate it within our [verify auth challenge response lambda](https://github.com/authsignal/cognito-lambdas/blob/main/triggers/verify-auth-challenge-response.ts).