> ## Documentation Index
> Fetch the complete documentation index at: https://docs.authsignal.com/llms.txt
> Use this file to discover all available pages before exploring further.
# Using Authsignal with Auth0
> Learn how to integrate Authsignal with Auth0 to add MFA to your login flow, using methods such as Authenticator App, SMS OTP, Email OTP, and Passkeys.
This guide will demonstrate how to integrate Authsignal with Auth0 by creating a [Custom Action for the Login / Post-Login trigger](https://auth0.com/docs/customize/actions/flows-and-triggers/login-flow#login-post-login).
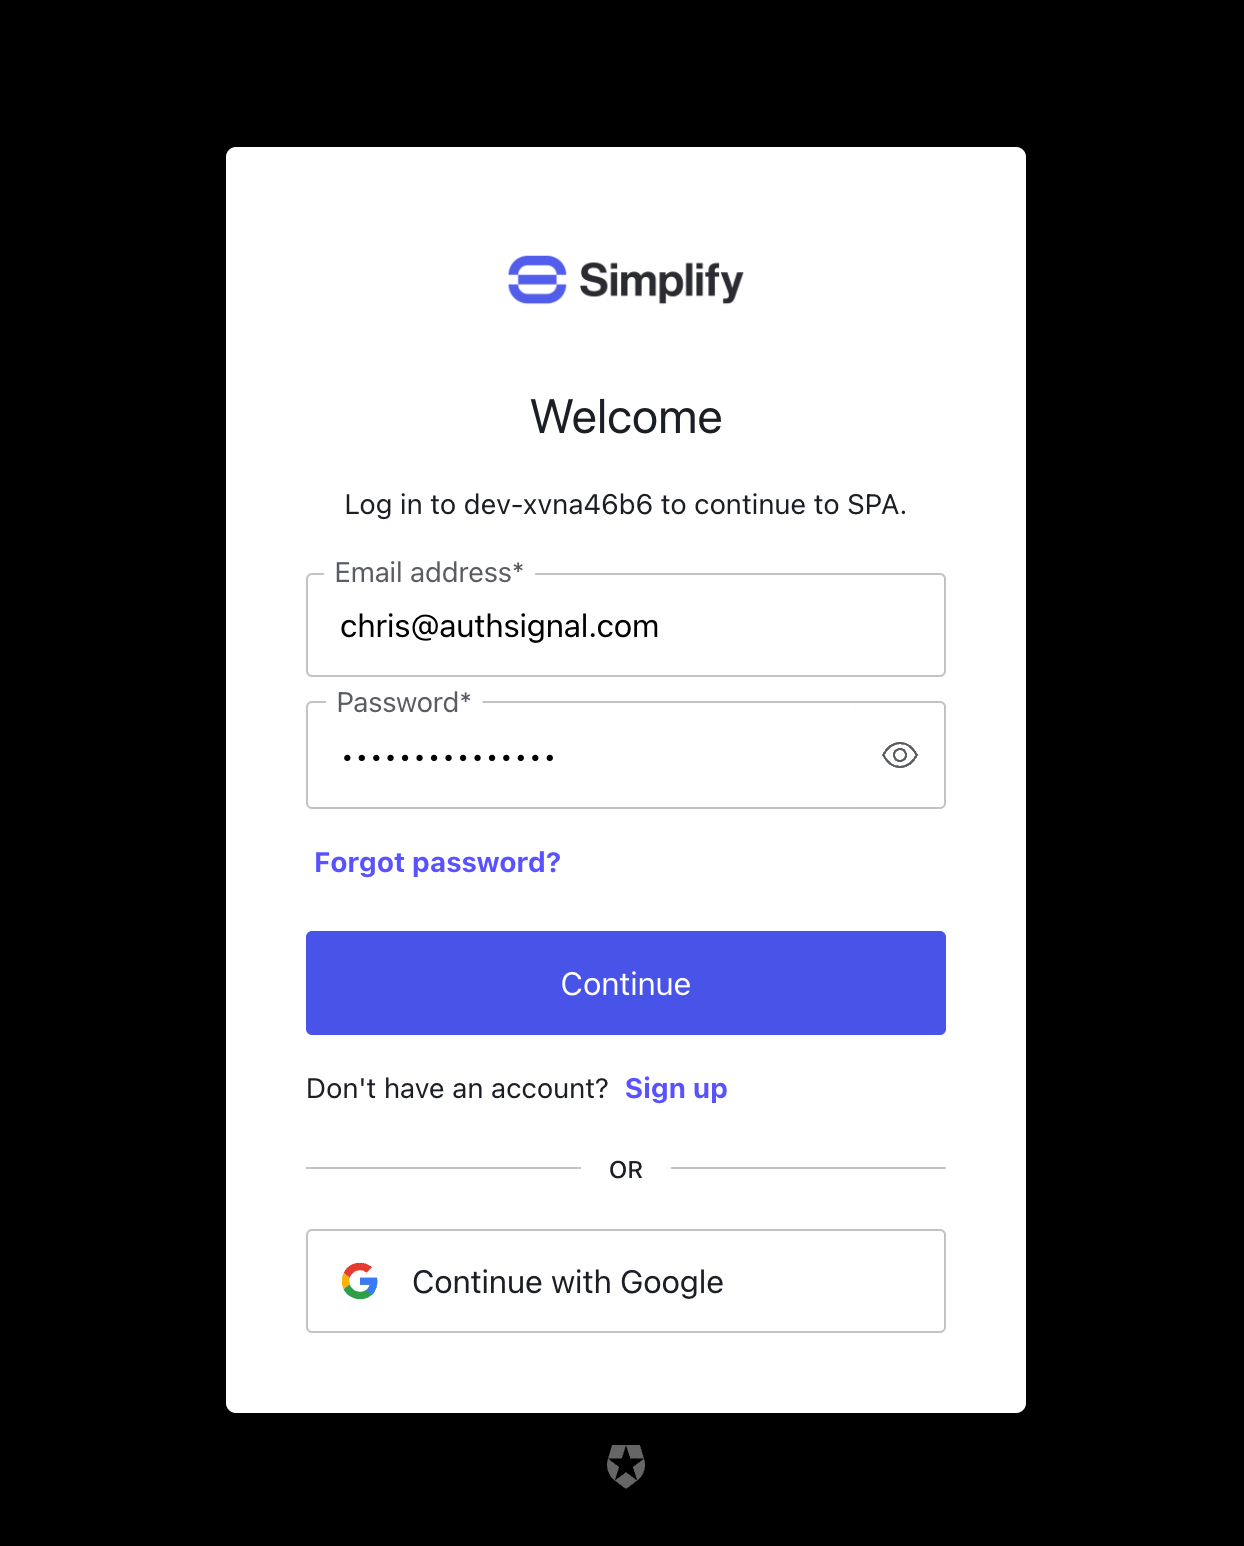
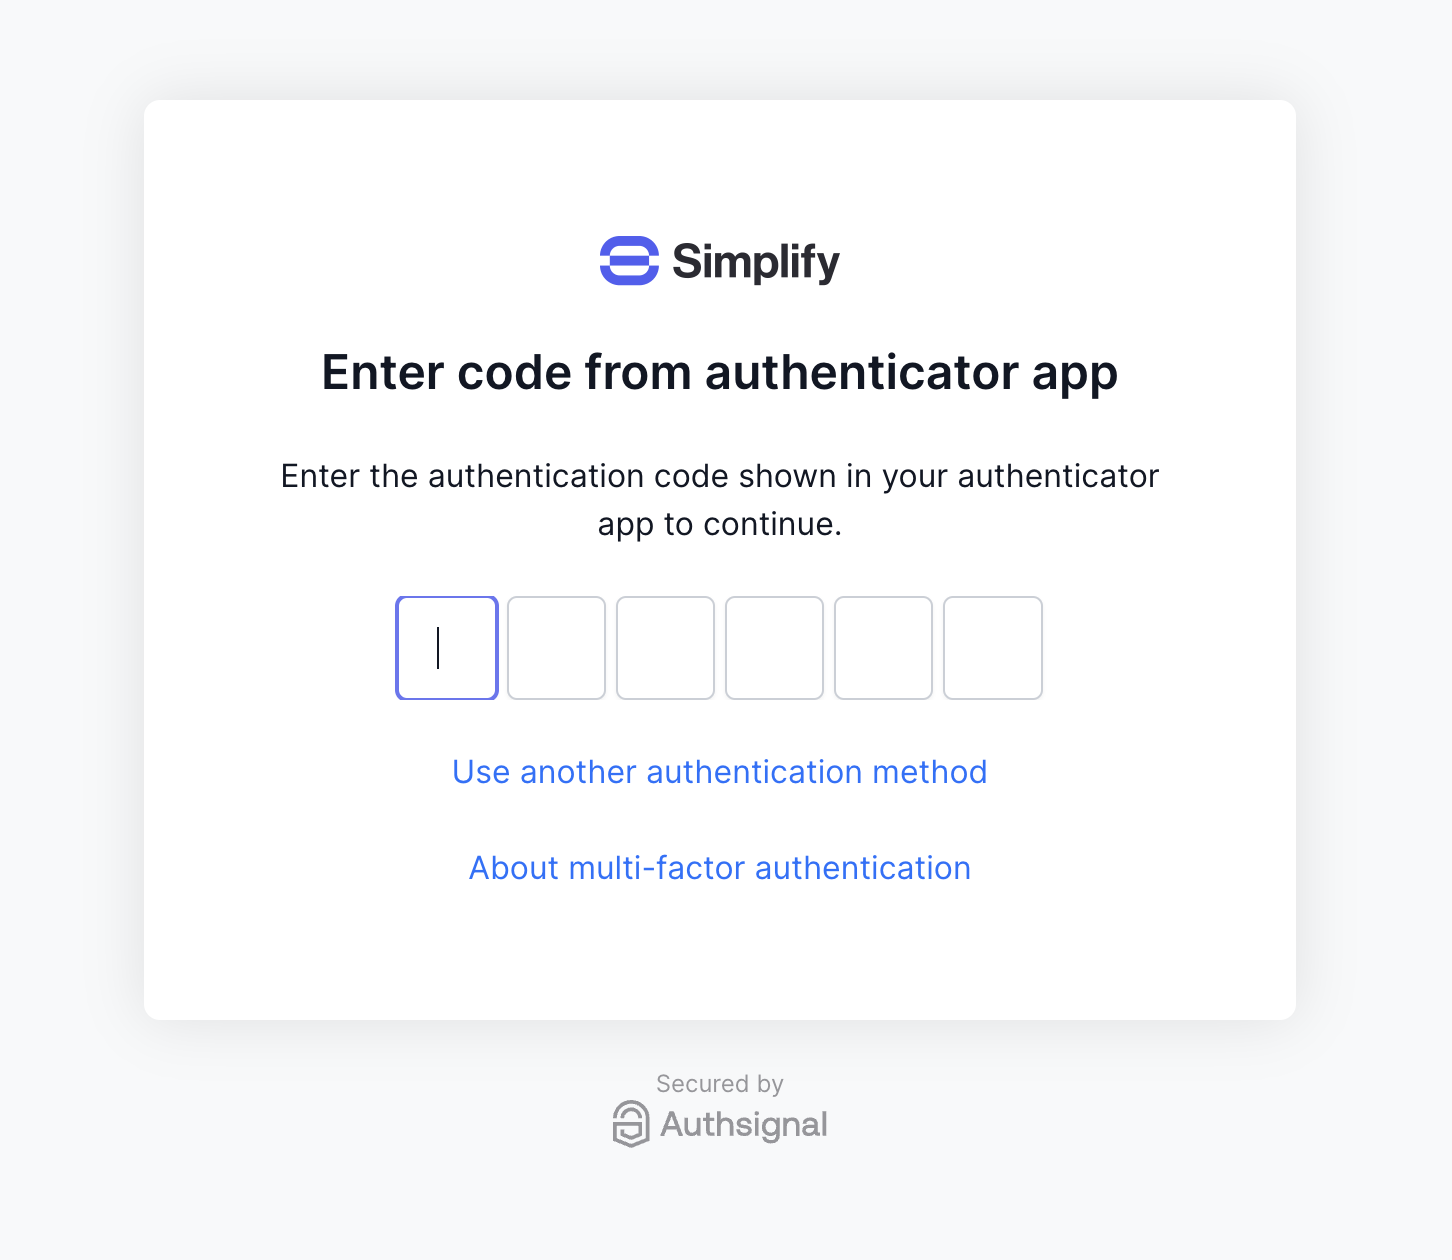
The end result will be to allow users to complete an MFA challenge after they login with their username and password, redirecting them from the Auth0 Universal Login Page to Authsignal's [pre-built UI](/implementation-options/prebuilt-ui/overview).
The integration follows Auth0’s official guidelines for redirecting users after login to do custom MFA.
You can learn more here about how to [Redirect with Actions in Auth0](https://auth0.com/docs/customize/actions/flows-and-triggers/login-flow/redirect-with-actions).
## User flow
 ## Integration steps
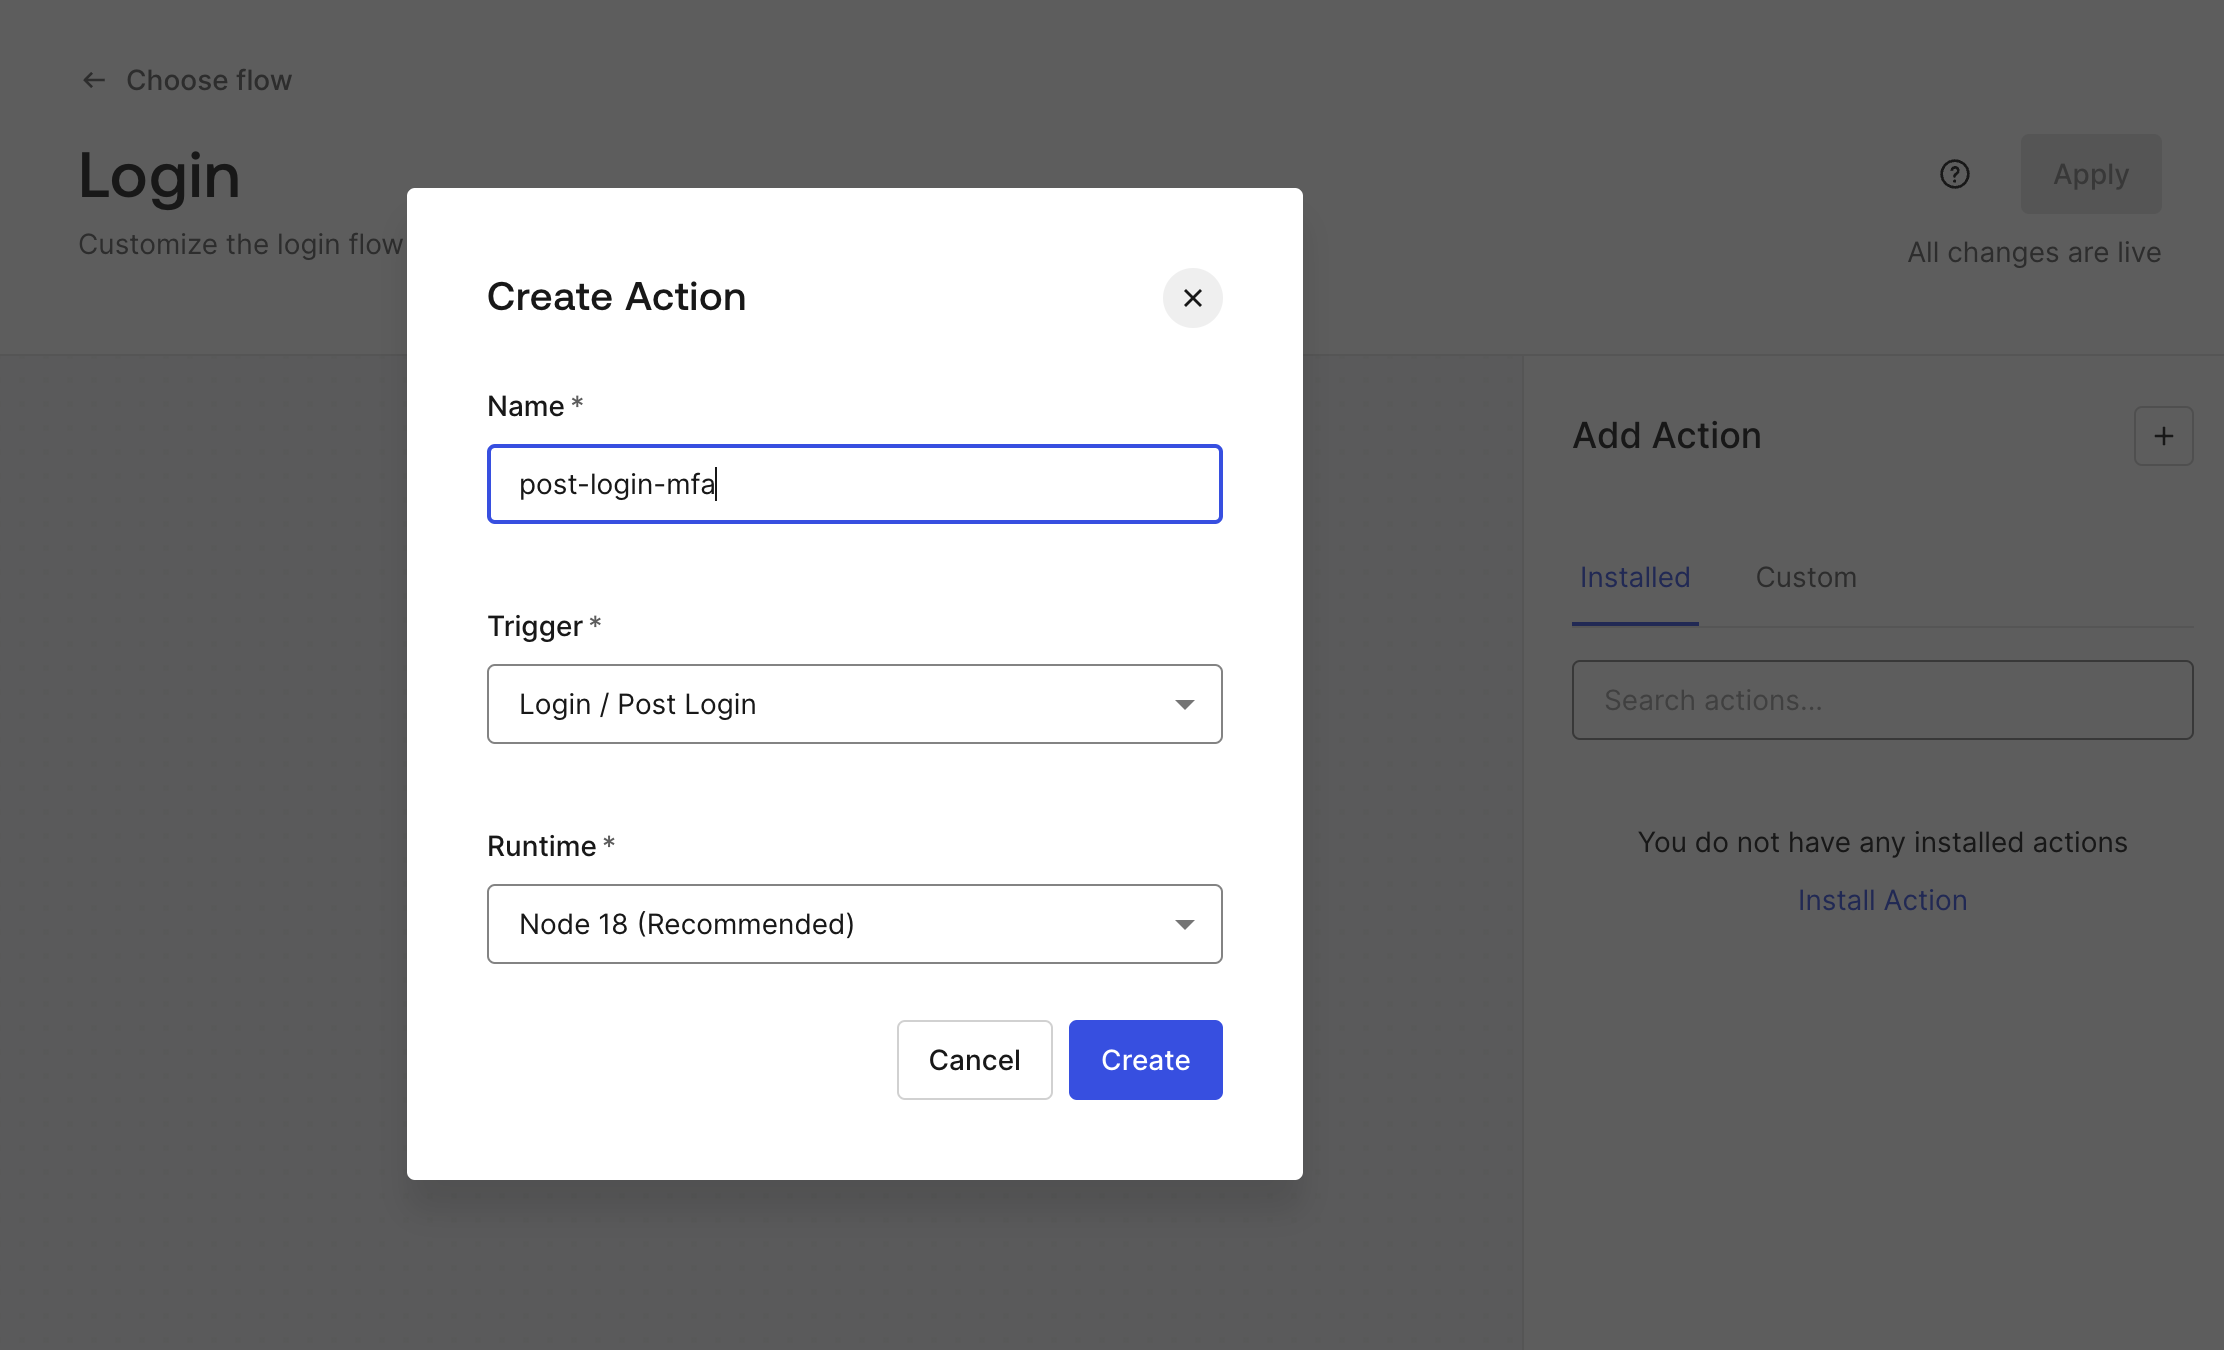
In the Auth0 Dashboard, go to Actions → Library and select “Build Custom”. Then select the “Login / Post Login” trigger and give the action an appropriate name (for example “post-login-mfa”).
## Integration steps
In the Auth0 Dashboard, go to Actions → Library and select “Build Custom”. Then select the “Login / Post Login” trigger and give the action an appropriate name (for example “post-login-mfa”).
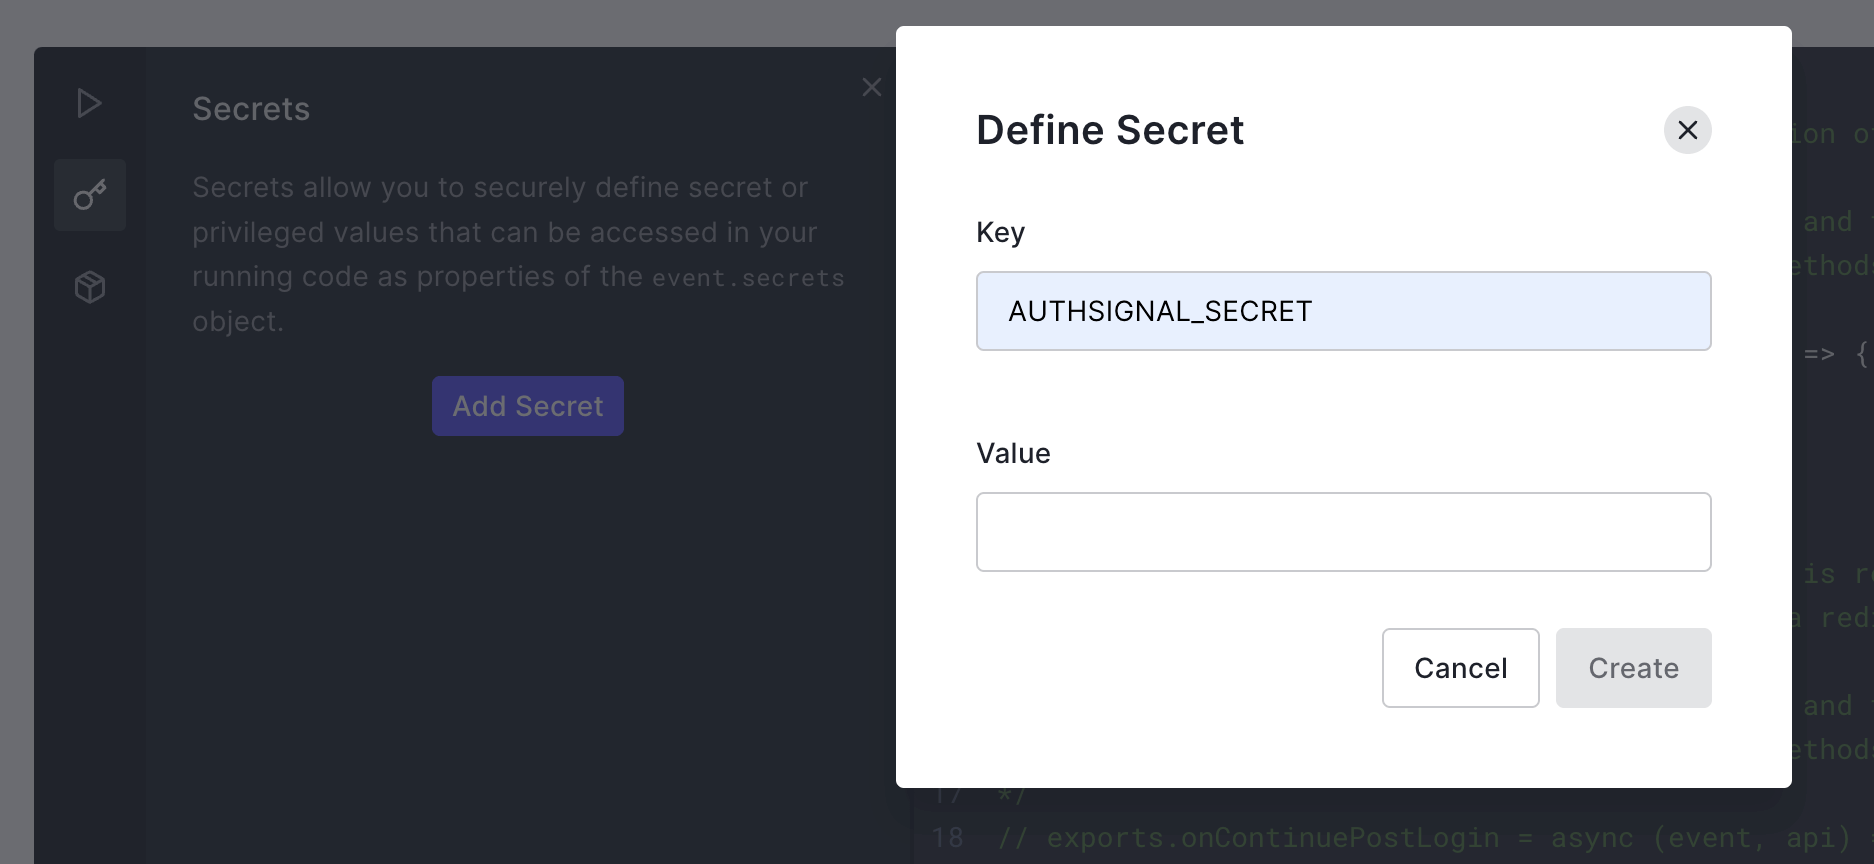
 Now your action has been created, create a new secret called `AUTHSIGNAL_SECRET` and provide the value of your secret from the Api Keys section in the Authsignal Portal.
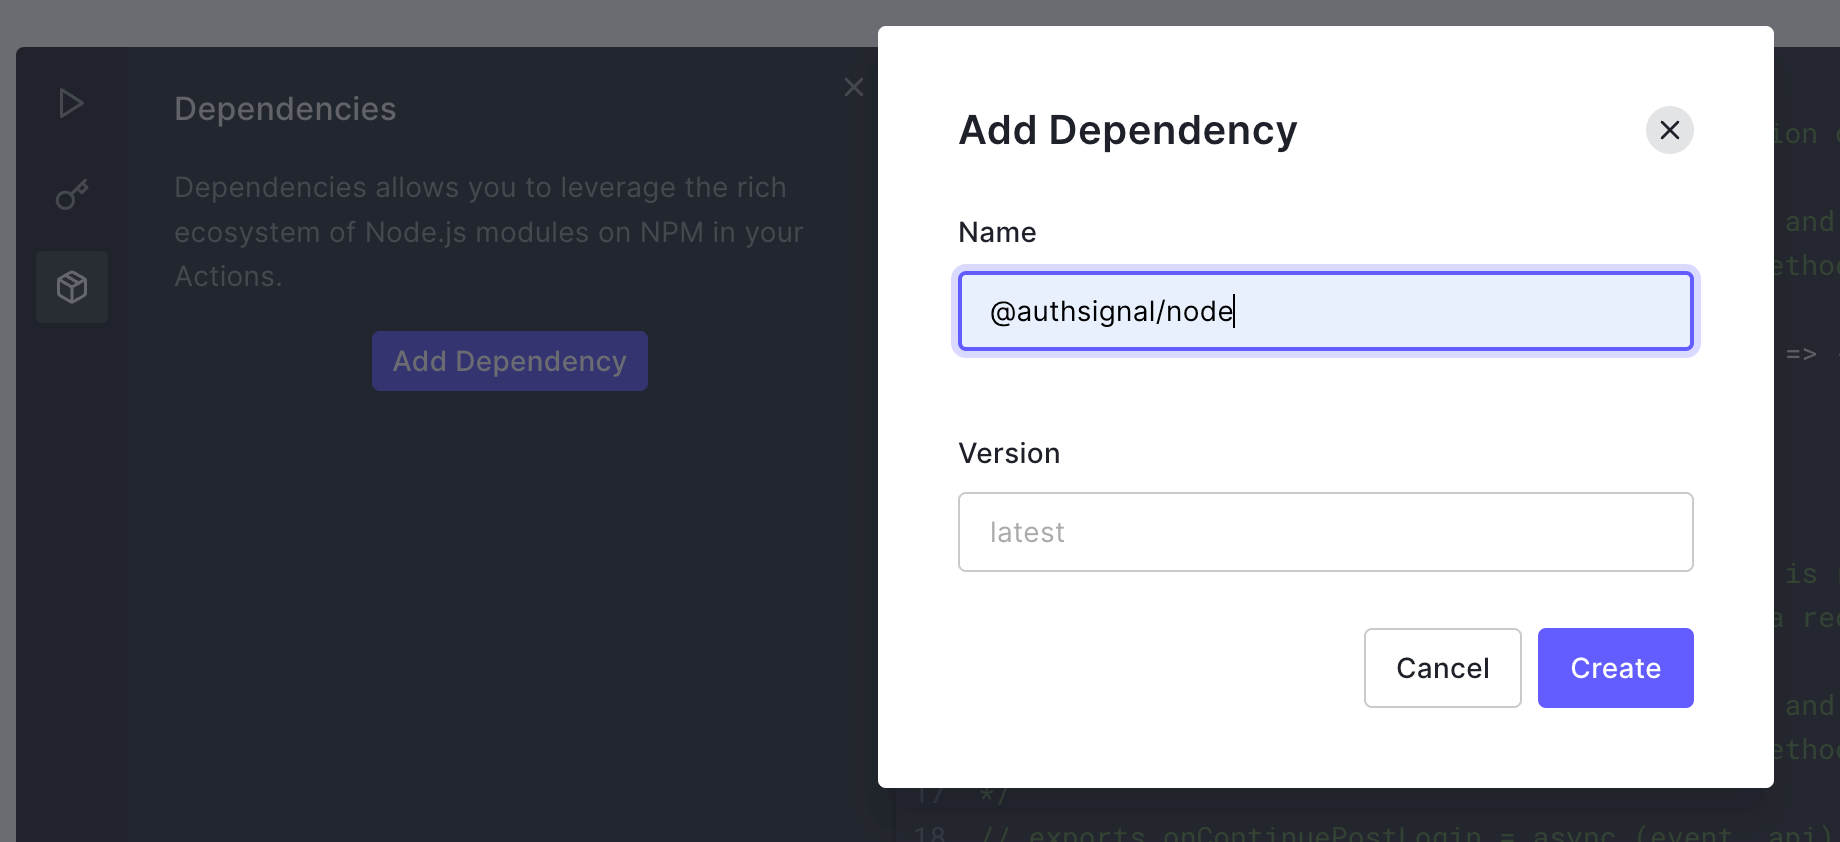
 Add the `@authsignal/node` dependency.
 Add the following code snippet to the action.
```javascript theme={null}
const { handleAuth0ExecutePostLogin, handleAuth0ContinuePostLogin } = require("@authsignal/node");
exports.onExecutePostLogin = handleAuth0ExecutePostLogin;
exports.onContinuePostLogin = handleAuth0ContinuePostLogin;
```
If using a non-US region (e.g. AU or EU) you will need to override the API URL as follows:
```javascript theme={null}
const { handleAuth0ExecutePostLogin, handleAuth0ContinuePostLogin } = require("@authsignal/node");
const apiUrl = "https://eu.api.authsignal.com/v1";
exports.onExecutePostLogin = async (event, api) => {
await handleAuth0ExecutePostLogin(event, api, { apiUrl });
};
exports.onContinuePostLogin = async (event, api) => {
await handleAuth0ContinuePostLogin(event, api, { apiUrl });
};
```
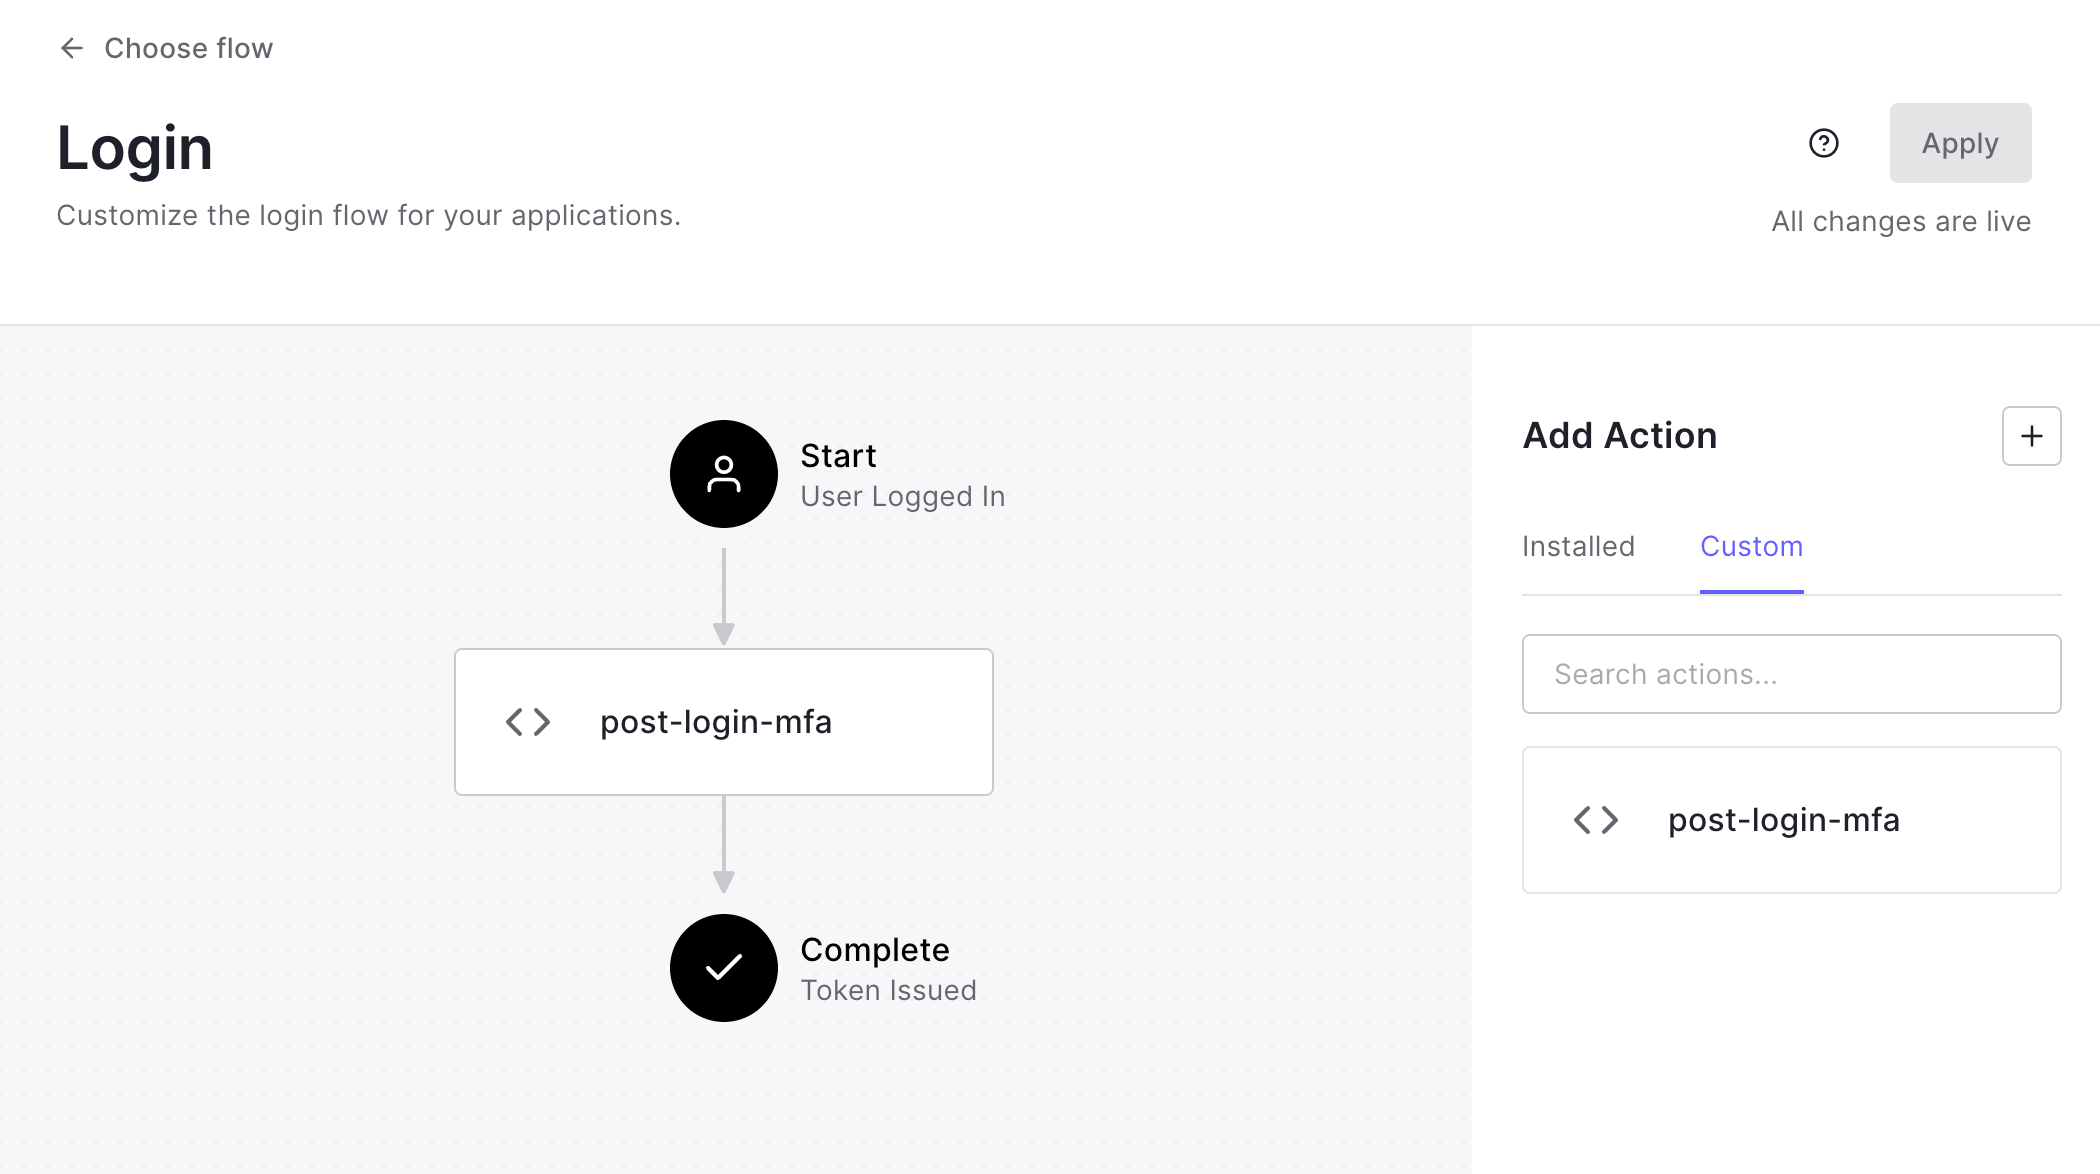
Now connect your action in the Flows section of the Auth0 Dashboard by dragging it into the Login flow.
Add the following code snippet to the action.
```javascript theme={null}
const { handleAuth0ExecutePostLogin, handleAuth0ContinuePostLogin } = require("@authsignal/node");
exports.onExecutePostLogin = handleAuth0ExecutePostLogin;
exports.onContinuePostLogin = handleAuth0ContinuePostLogin;
```
If using a non-US region (e.g. AU or EU) you will need to override the API URL as follows:
```javascript theme={null}
const { handleAuth0ExecutePostLogin, handleAuth0ContinuePostLogin } = require("@authsignal/node");
const apiUrl = "https://eu.api.authsignal.com/v1";
exports.onExecutePostLogin = async (event, api) => {
await handleAuth0ExecutePostLogin(event, api, { apiUrl });
};
exports.onContinuePostLogin = async (event, api) => {
await handleAuth0ContinuePostLogin(event, api, { apiUrl });
};
```
Now connect your action in the Flows section of the Auth0 Dashboard by dragging it into the Login flow.
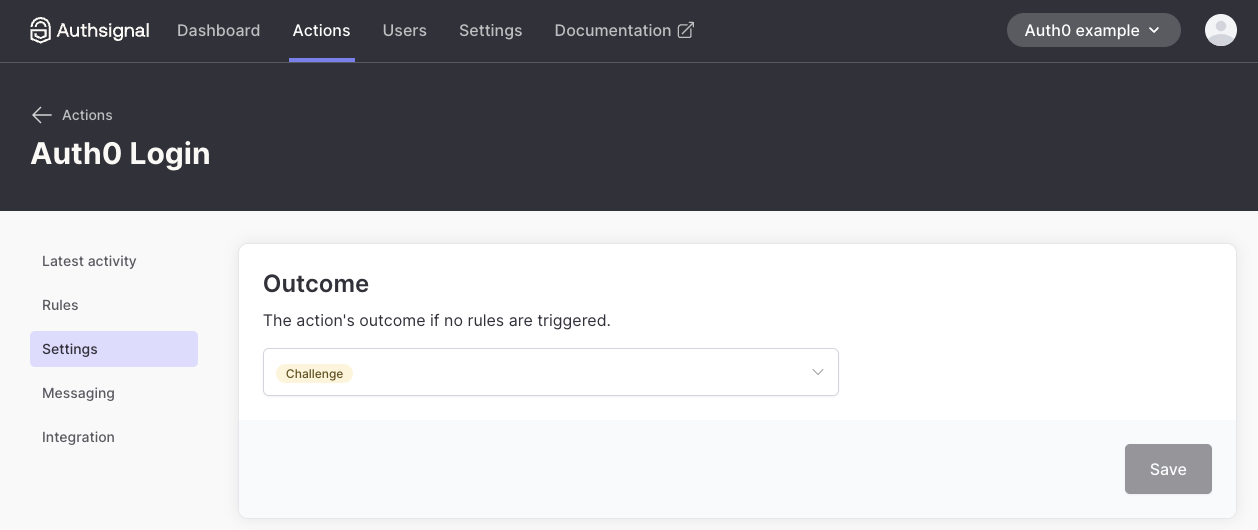
 Once the previous steps have been completed, the next time the Auth0 action is run you will see an action appear in the Authsignal Portal called **“Auth0 Login”.** You will need to set the default outcome for this action to `Challenge` and save it.
 That’s it! You’ve done everything required to add MFA to your Auth0 login flow using Authsignal.
## Next steps
* [Refining the MFA experience](/integrations/auth0-refine-mfa)
* [Using an internal user ID](/integrations/auth0-internal-user-id)
That’s it! You’ve done everything required to add MFA to your Auth0 login flow using Authsignal.
## Next steps
* [Refining the MFA experience](/integrations/auth0-refine-mfa)
* [Using an internal user ID](/integrations/auth0-internal-user-id)