> ## Documentation Index
> Fetch the complete documentation index at: https://docs.authsignal.com/llms.txt
> Use this file to discover all available pages before exploring further.
# Custom branding
> Customize the look and feel of the pre-built UI to match your app's brand.
For a more seamless user experience you can heavily customize the pre-built UI branding by providing your own theme.
Visit the [branding tab in the Authsignal Portal](https://portal.authsignal.com/organisations/tenants/customizations) to get started.
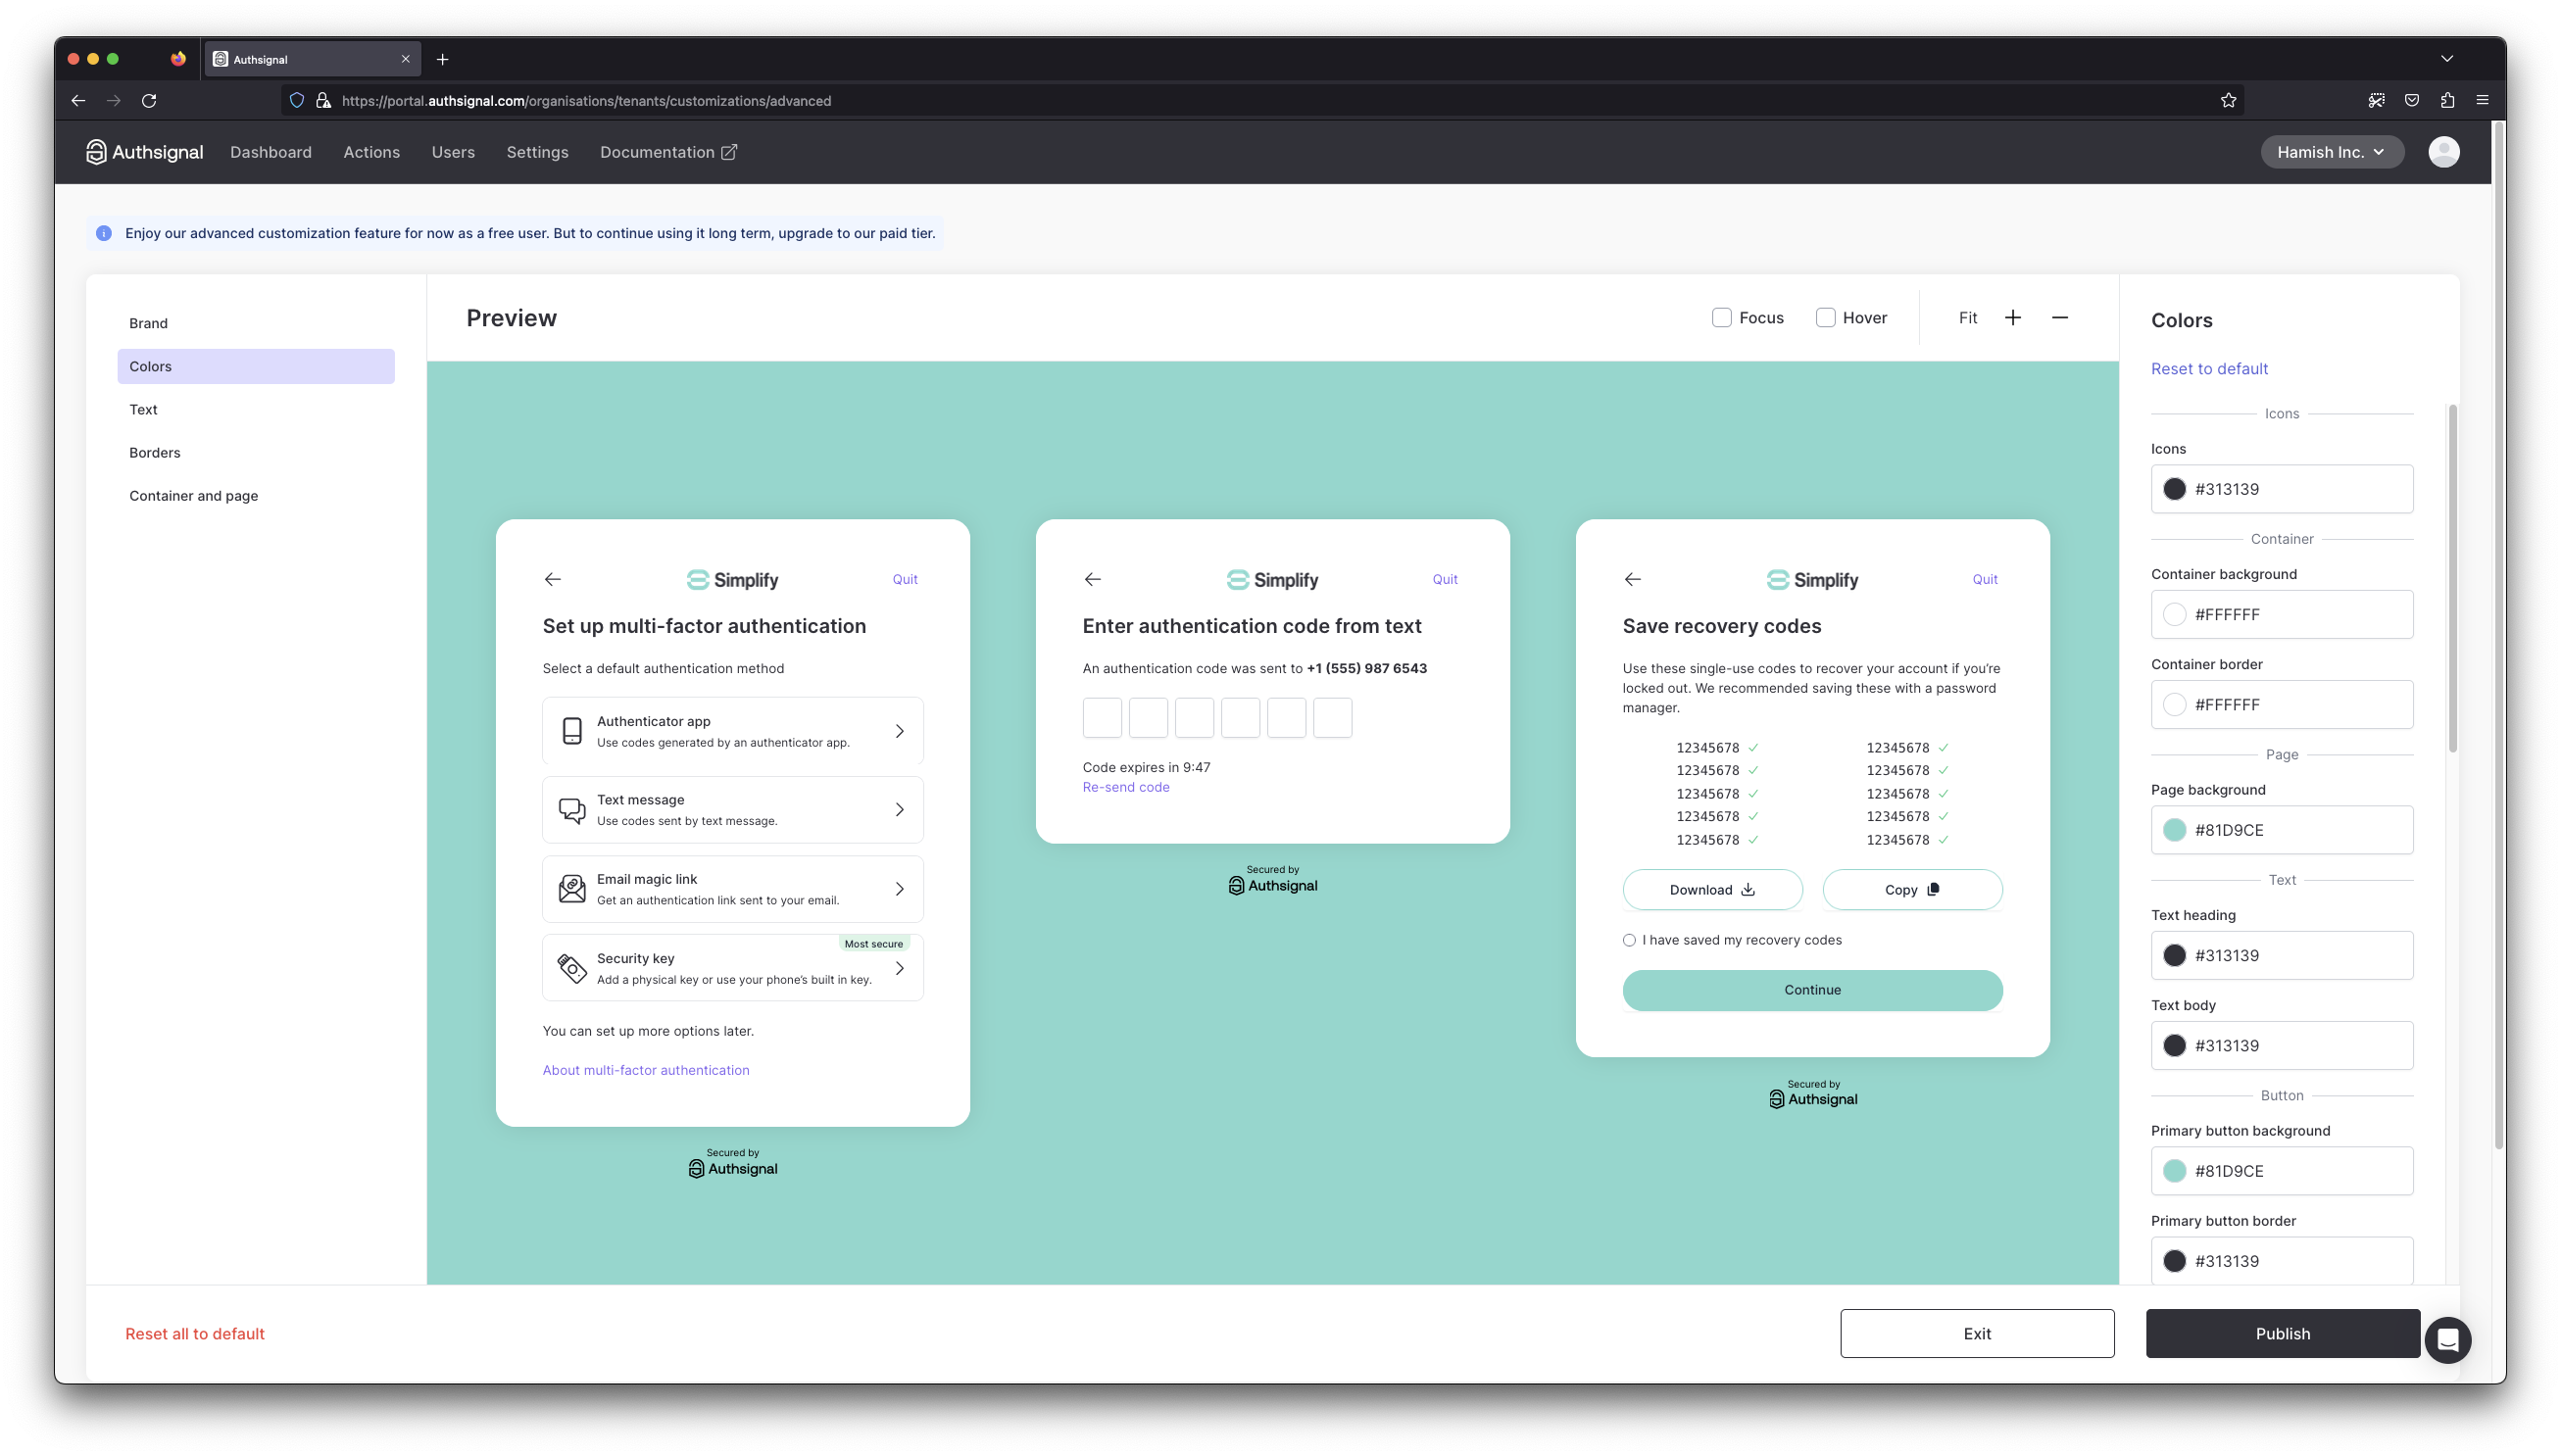
If you require a more bespoke branding experience then try out our [UI customization tool](https://portal.authsignal.com/organisations/tenants/customizations/advanced).
This tool allows you to change a wide range of design tokens (colors, borders, alignment, text) to tweak the look and feel of the entire pre-built UI.
 ## Custom templates
To override the pre-built UI's layout you can provide a custom template.
Custom templates, at a bare minimum, must contain the following structure.
```html theme={null}
```
The `authsignal-head` and `authsignal-widget` tags are required for the pre-built UI to function
correctly.
To update your tenant's custom template, you can send the following payload to the [Update Theme endpoint](/api-reference/management-api/update-theme).
```json theme={null}
{
"template": ""
}
```
The `template` string must have escaped special characters.
## Adding custom HTML/CSS
Using a custom template allows you to add your own HTML/CSS.
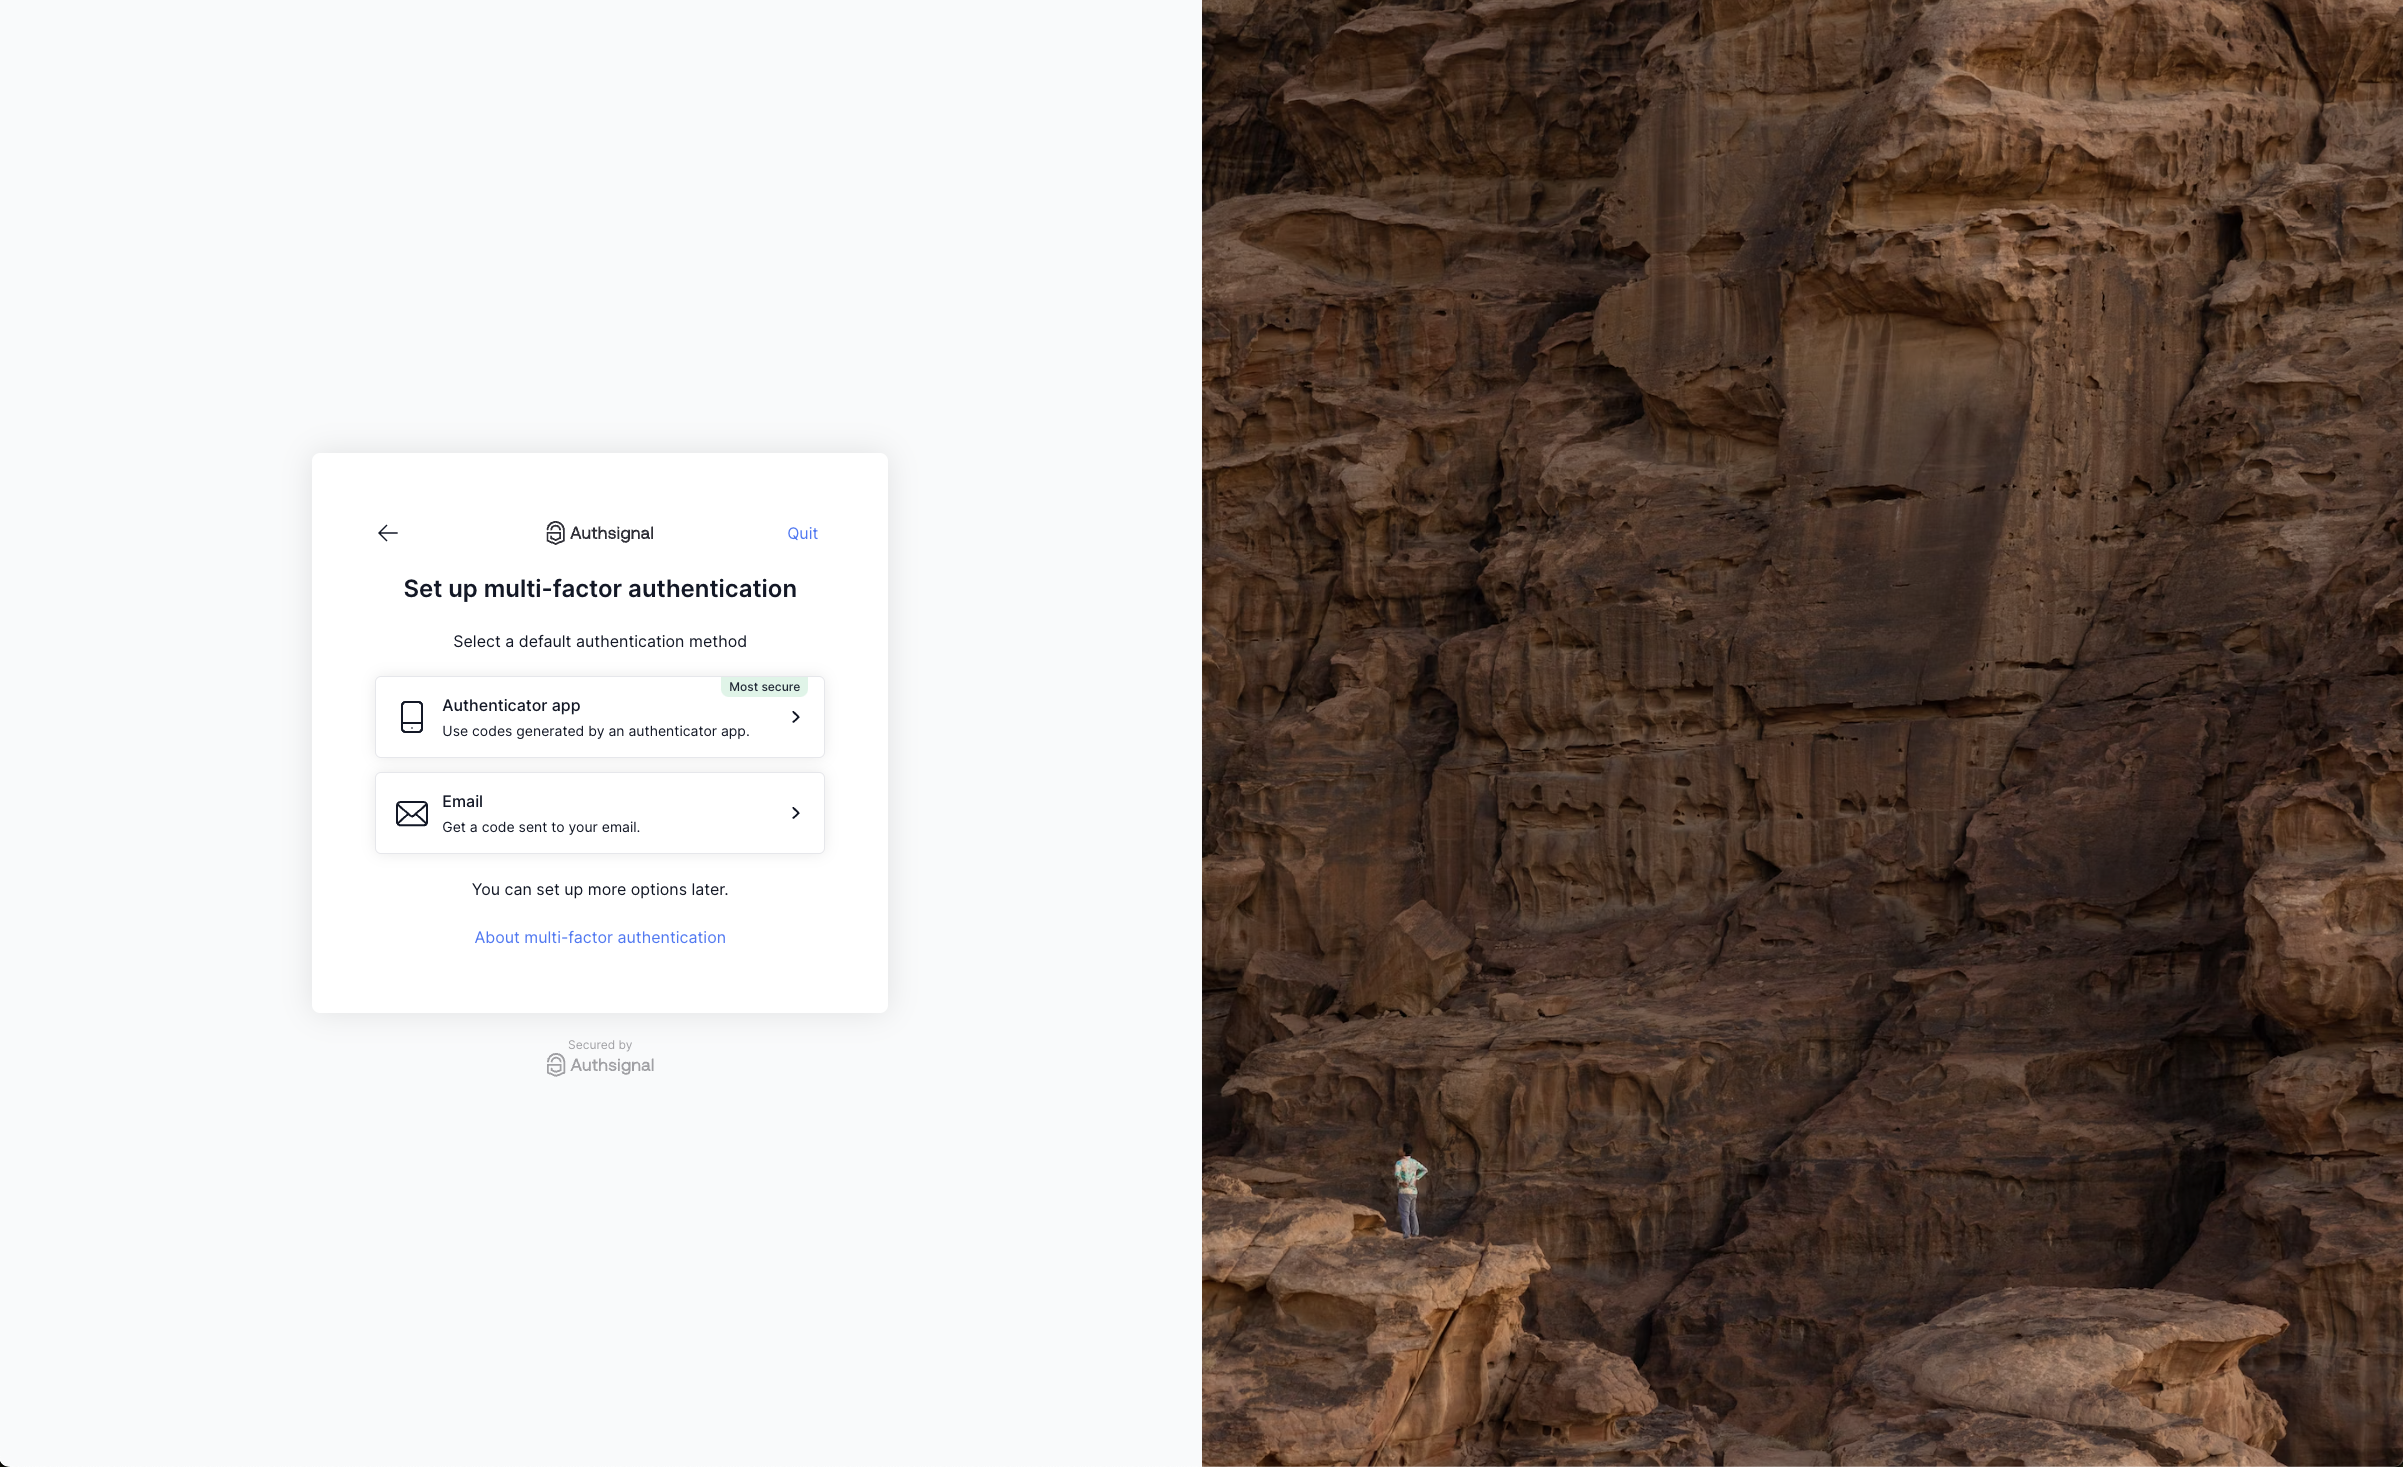
For example, if you wanted to show an image next to the pre-built UI you could use the following template:
```html theme={null}
```
Which would result in:
## Custom templates
To override the pre-built UI's layout you can provide a custom template.
Custom templates, at a bare minimum, must contain the following structure.
```html theme={null}
```
The `authsignal-head` and `authsignal-widget` tags are required for the pre-built UI to function
correctly.
To update your tenant's custom template, you can send the following payload to the [Update Theme endpoint](/api-reference/management-api/update-theme).
```json theme={null}
{
"template": ""
}
```
The `template` string must have escaped special characters.
## Adding custom HTML/CSS
Using a custom template allows you to add your own HTML/CSS.
For example, if you wanted to show an image next to the pre-built UI you could use the following template:
```html theme={null}
```
Which would result in:
 ## Adding custom JavaScript
To add custom JavaScript to your custom template you can use the following structure:
```html theme={null}
```
## Adding custom JavaScript
To add custom JavaScript to your custom template you can use the following structure:
```html theme={null}
```